
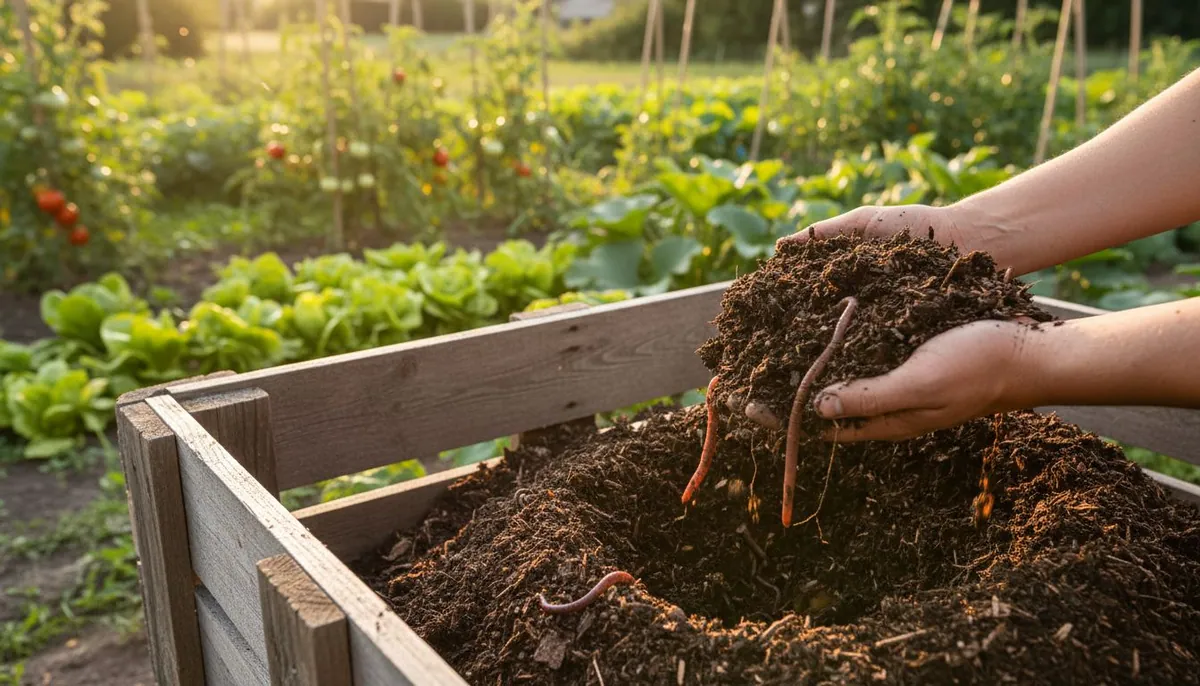
Learning how to compost at home is one of the highest-return skills a gardener can pick up. With nothing more than kitchen scraps, fallen leaves, and a corner of the yard, you can turn what would otherwise be trash into a dark, crumbly, sweet-smelling material that feeds your soil for free. Compost improves almost everything about a garden: it feeds the microbes that make nutrients available to plants, helps sandy soil hold water, loosens heavy clay, and reduces the waste you send to the landfill. This guide walks you through the whole process from your first bucket of scraps to finished compost you can spread on beds, so that composting for beginners feels approachable rather than intimidating.
Why Learning How to Compost at Home Matters
Compost is not fertilizer in the conventional sense, and that is exactly its strength. Instead of dumping a concentrated dose of nutrients on your plants, compost feeds the living soil food web: the bacteria, fungi, protozoa, and earthworms that slowly release nutrients in a form roots can actually use. A soil rich in organic matter holds moisture longer, drains better, resists compaction, and buffers plants against stress.
There is also the waste angle. A large share of what the average household throws away is organic material, food scraps and yard trimmings, that would readily break down. Composting at home keeps that material out of the landfill, where buried organic matter releases methane, and instead turns it into something genuinely useful. For anyone working toward greater food security or a lower-input garden, a steady supply of homemade compost is a foundation worth building.
The Science: Browns and Greens
Every successful compost pile comes down to one balance: the ratio of carbon-rich materials to nitrogen-rich materials, or what most gardeners simply call browns and greens. Microbes need carbon for energy and nitrogen to build proteins, and getting the mix roughly right is what separates a fast, odor-free pile from a slimy or stalled one.
Browns (Carbon)
Browns are dry, dead, and often literally brown. They provide the bulky carbon that gives a pile structure and airflow. Common browns include:
- Dry autumn leaves and shredded twigs
- Straw and dried grass
- Shredded cardboard and uncoated paper
- Sawdust and wood chips (untreated wood only)
- Paper egg cartons and toilet-paper tubes
Greens (Nitrogen)
Greens are moist, fresh, and full of nitrogen. They are the fuel that heats a pile up. Common greens include:
- Fruit and vegetable scraps
- Fresh grass clippings
- Coffee grounds and tea leaves (grounds from your morning coffee are prized by composters)
- Plant trimmings and spent annuals
- Manure from chickens, rabbits, cows, or horses (never from dogs or cats)
A practical target is roughly two to three parts browns to one part greens by volume. You do not need to weigh anything or measure a precise carbon-to-nitrogen ratio; the mix is more forgiving than the numbers suggest. If the pile smells sour or looks slimy, add browns. If it sits cold and dry and nothing seems to be happening, add greens and a little water. Alongside the right balance, a pile needs moisture (about as damp as a wrung-out sponge) and oxygen. Get those four things right, carbon, nitrogen, water, and air, and decomposition takes care of itself.
Choosing a Method: Hot, Cold, or No-Turn
There is no single correct way to compost. The best method depends on how fast you want finished compost, how much material you have, and how much effort you want to put in.
Hot Composting
Hot composting is the fastest method and the one that produces the highest-quality result. By building a large pile all at once (a cubic yard is the classic minimum) with a good balance of browns and greens, you give the microbial population enough mass and fuel to heat up dramatically. A well-built hot pile can reach internal temperatures high enough to kill many weed seeds and plant pathogens. You turn it every few days to reintroduce oxygen, and it can finish in a matter of weeks to a couple of months. The tradeoff is labor: hot composting rewards you for turning, monitoring moisture, and gathering enough material to build a big pile at once.
Cold Composting
Cold composting is the lazy gardener's method, and there is nothing wrong with that. You simply add materials to a pile or bin as they become available and let time do the work. A cold pile never heats up much, so it will not reliably kill weed seeds or diseased material, but it will eventually break down into perfectly good compost, usually over six months to a year. This is the most common approach for busy households and works well when you are in no hurry.
No-Turn and Sheet Composting
If you dislike turning entirely, a no-turn system layers coarse browns into the pile from the start to keep air channels open, so you rarely if ever need to turn it. A related technique is composting directly on the garden bed itself, which overlaps with sheet mulching, sometimes called lasagna gardening. There you build alternating layers of browns and greens right where you intend to plant and let them decompose in place over a season.
Vermicomposting
A fourth path uses worms rather than heat. Red wigglers housed in a bin eat through kitchen scraps and produce castings that are among the richest soil amendments available. Vermicomposting is compact, odor-free when managed well, and ideal for apartments or anyone short on outdoor space. Because it is a craft of its own, we cover it in depth in our dedicated guide to worm composting.
Bins and Piles: Setting Up Your System
You do not need to buy anything to start composting, but a little containment keeps things tidy and speeds the process. Your options range from free to fancy:
- Open pile: The simplest choice. Just a heap in a discreet corner. Free, easy to turn, but slower to heat and less tidy.
- Three-bin system: A favorite of serious composters. One bin for fresh material, one for actively cooking compost, and one for finished product, so you always have a batch at each stage.
- Enclosed bin: A plastic or wooden bin keeps out pests, holds heat and moisture, and looks neat, which matters in an urban or suburban setting.
- Tumbler: A sealed drum you rotate by hand. Easy to turn, pest-proof, and fast, though limited in capacity.
Whatever you choose, site the pile on bare soil if possible so worms and microbes can move in from below, and pick a spot with some shade to keep it from drying out. A pile roughly three feet on each side is the sweet spot: big enough to hold heat, small enough to manage.
What to Add and What to Avoid
Most organic kitchen and yard waste belongs in the pile, but a few items cause more trouble than they are worth. Keeping the wrong things out prevents odors, pests, and health risks.
Good to Add
- Vegetable and fruit scraps, peels, and cores
- Coffee grounds, paper filters, and tea leaves
- Crushed eggshells
- Grass clippings and garden trimmings
- Dry leaves, straw, and shredded paper or cardboard
- Chopped prunings and spent plants (chopping speeds breakdown)
Best to Avoid
- Meat, fish, bones, and dairy — they smell strongly and attract rodents and flies
- Greasy or oily foods — they coat materials and slow decomposition
- Dog and cat waste — it can carry pathogens harmful to people
- Diseased plants and aggressive weeds gone to seed — unless your pile runs hot enough to kill them
- Glossy or coated paper and anything treated with chemicals
- Black walnut leaves and twigs — they contain a compound that can suppress plant growth
A useful habit is to chop or shred materials before adding them. Smaller pieces mean more surface area for microbes to work on, which noticeably speeds up the whole process.
Troubleshooting Common Problems
Composting is forgiving, but a few predictable issues come up. Almost every one traces back to the balance of browns and greens, moisture, or air.
- The pile smells like rotten eggs or ammonia. It is too wet and too high in greens, which starves it of oxygen. Mix in plenty of dry browns and turn it to let air back in.
- Nothing is happening; the pile is cold and dry. It likely needs nitrogen and water. Add greens such as grass clippings or fresh scraps, moisten it to the wrung-out-sponge stage, and give it a turn.
- Pests are visiting. Rodents and flies are usually drawn by meat, dairy, or exposed food scraps. Bury fresh greens in the center of the pile, cover them with browns, and switch to an enclosed bin if the problem persists.
- The pile is slow but otherwise healthy. Patience is fine, but if you want to speed it up, chop materials smaller, turn more often, and make sure the pile is large enough to retain heat.
How to Use Finished Compost
Compost is ready when it is dark brown, crumbly, and smells like rich forest soil, with none of the original scraps recognizable. Depending on method and season, that takes anywhere from a few weeks to a year. Once it is done, there are many ways to put it to work:
- Top-dress beds: Spread an inch or two over the surface of vegetable and flower beds and let worms work it in.
- Amend at planting: Mix a few handfuls into each planting hole to give transplants a strong start. This pairs naturally with a thoughtful crop rotation plan that keeps soil balanced season to season.
- Enrich potting mixes: Blend compost into container soil for a slow, gentle nutrient supply.
- Make a mulch layer: A thin compost layer under coarser mulch in the vegetable garden feeds the soil while the mulch conserves moisture and suppresses weeds.
Think of compost as a soil conditioner first and a mild fertilizer second. It will not replace targeted feeding for heavy-feeding crops, so many gardeners use it alongside organic fertilizers for the best results. Growing high-biomass plants like comfrey nearby gives you an easy, renewable source of nitrogen-rich greens to keep feeding the pile.
Getting Started This Week
You can begin composting today with almost no investment. Set a small container on the kitchen counter for scraps, choose a shady spot outdoors for your pile or bin, and start layering browns and greens as material accumulates. Keep the pile as damp as a wrung-out sponge, turn it when you can, and adjust the balance whenever it smells off or stalls. Within a few months you will have your first batch of finished compost, and the habit of turning waste into fertility will quietly transform your garden. Composting for beginners really is this simple: give the microbes food, water, and air, and let nature do the rest.
Sources
- Cornell Waste Management Institute, Cornell University — Composting resources and the science of the carbon-to-nitrogen ratio
- United States Environmental Protection Agency (EPA) — Composting at Home guidance
- USDA Natural Resources Conservation Service — Soil health and organic matter management
- Royal Horticultural Society (RHS) — Composting and garden waste guides
- University of Illinois Extension — Composting for the Homeowner
About the Author
Lucas is a writer and researcher focused on sustainable agriculture and permaculture practices.