
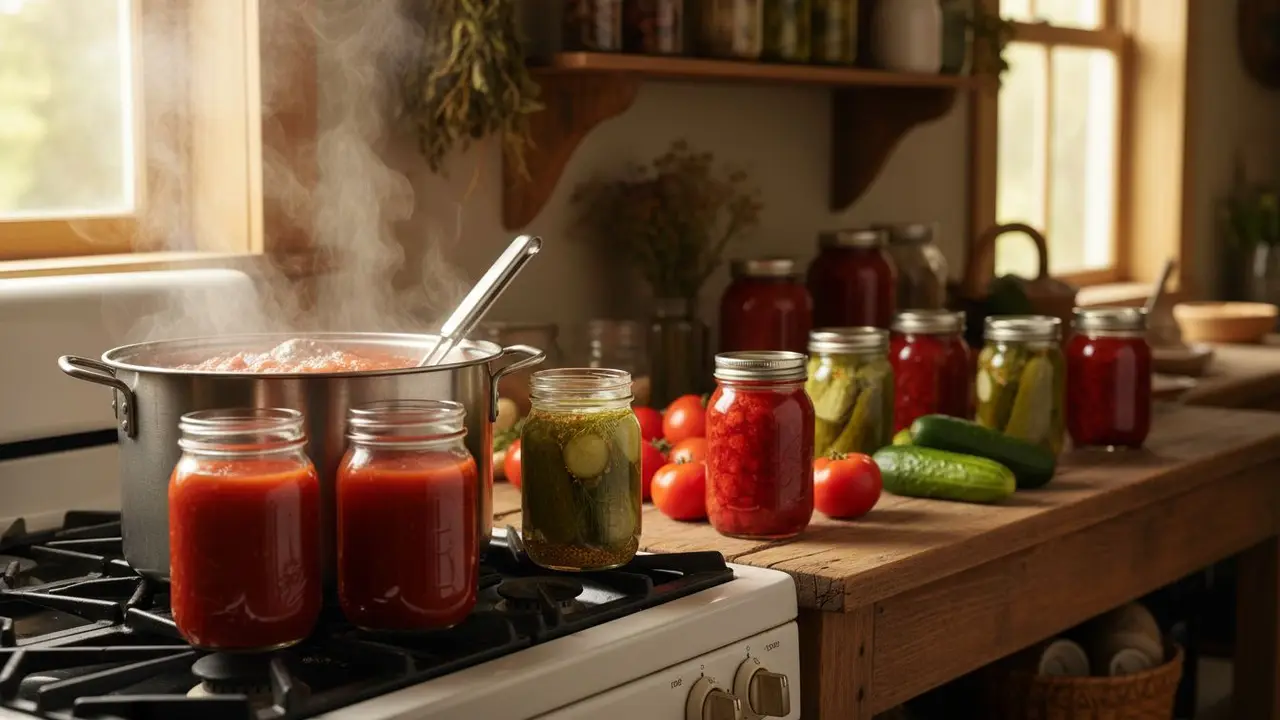
There is a particular kind of pride in looking at a pantry shelf lined with jars you filled yourself: ruby tomato sauce, jewel-bright jam, crisp pickles, all shelf-stable and ready for winter with no refrigeration at all. Water-bath canning is how most people get there, and it is the friendliest canning method for a beginner, needing little more than a big pot. But canning is the one preservation method where the rules are not suggestions, they are safety-critical, because done wrong it can produce deadly botulism. The good news is that the rules are simple and, once you understand the single principle behind them, easy to follow every time. This guide will teach you that principle first, then walk you through the method.
Before anything else, let me be direct about the most important fact in home canning, because everything else depends on it.
The One Rule That Makes Canning Safe: Acidity
The danger in home canning is a bacterium called Clostridium botulinum. Its spores are common in soil, they survive the temperature of boiling water, and they thrive in exactly the conditions inside a sealed jar: moist, oxygen-free, and low in acid. There, they can produce the toxin that causes botulism, a rare but potentially fatal illness. As Michigan State University Extension explains in its guidance on home canning and botulism, the toxin can be present with no bulging lid, no off smell, and no visible sign at all.
Here is the principle that keeps you safe: a high-acid environment (a pH of 4.6 or below) stops C. botulinum from growing. Because water-bath canning only reaches the boiling point of water, about 212°F, it is safe only for high-acid foods. That single sentence is the foundation of everything below.
- High-acid foods (safe for water-bath canning): most fruits, jams and jellies, vinegar pickles and relishes, fruit juices, and properly acidified tomatoes and salsa.
- Low-acid foods (never water-bath canned): all plain vegetables such as green beans, corn, and carrots, along with meats and dried beans. These must be processed in a pressure canner, which reaches about 240°F, the temperature required to destroy botulism spores. A water bath cannot make them safe, no matter how long you boil them.
If you take away only one thing from this article, let it be that line: water bath for high-acid foods, pressure canner for low-acid foods, and never the two confused.
Water-Bath vs. Pressure Canning
To make the distinction concrete: water-bath canning submerges filled jars in boiling water and is the correct, safe method for high-acid foods only. Pressure canning uses a specialized pressure canner to reach the much higher temperatures that low-acid foods require. They are not interchangeable, and a pressure canner is a different piece of equipment with its own procedures. This guide covers water-bath canning; if you want to can plain vegetables or meats, you will need to learn pressure canning separately from a reliable source like the National Center for Home Food Preservation.
What You Need
One reason water-bath canning is so beginner-friendly is the short equipment list.
- A water-bath canner or a deep stockpot with a rack. The jars must sit on a rack, not directly on the pot bottom, and be covered by one to two inches of water.
- Canning jars, new lids, and bands. Use proper Mason jars. The flat lids are single-use and must be new each time to seal reliably; bands can be reused.
- Basic tools: a jar lifter for handling hot jars, a canning funnel, a non-metallic tool for removing air bubbles, and clean towels.
- A tested recipe. This is not optional gear, it is the most important item on the list, and I will come back to why.
How to Water-Bath Can, Step by Step
Working from a tested recipe, the process follows a reliable rhythm. The steps below reflect the standard method taught by the Utah State University Extension guide to water bath canning and other Extension sources.
- Prepare and heat the jars. Wash jars in hot soapy water and keep them hot until you fill them, which prevents them from cracking when the hot food goes in. Prepare your food exactly as the tested recipe directs.
- Fill, leaving the right headspace. Ladle the hot food into hot jars, leaving the headspace your recipe specifies (often a quarter inch for jams, a half inch for fruits). This gap is what lets a vacuum seal form.
- Remove bubbles and wipe rims. Slide your bubble tool around inside to release trapped air, then wipe each rim clean so nothing prevents a seal.
- Apply lids fingertip-tight. Set a new flat lid on each jar and screw the band down just until you feel resistance, "fingertip-tight," never cranked hard.
- Process in boiling water. Lower the jars onto the rack, make sure water covers them by one to two inches, and bring it to a full, rolling boil. Only then start timing, and process for the exact time the recipe gives, adjusted for your altitude.
- Cool undisturbed. Turn off the heat, wait about five minutes, then lift the jars straight up and set them on a towel where they can sit undisturbed for 12 to 24 hours. Do not retighten the bands.
The first time I did this and heard the little metallic "ping" of lids sealing one by one on the counter that evening, I was hooked. It is one of the most satisfying sounds in a homestead kitchen.
Two details beginners often miss
Two points deserve extra emphasis. First, altitude matters. Water boils at a lower temperature as elevation rises, so at higher altitudes you must increase the processing time exactly as your recipe's altitude chart directs; skipping this is a genuine safety error. Second, after cooling, check every seal. Press the center of each lid: a sealed lid is concave and does not flex or pop. Any jar that did not seal is not shelf-stable, so refrigerate it and use it within a few days. Sealed jars, labeled and stored somewhere cool, dark, and dry, keep their best quality for about a year.
The Best Foods for Water-Bath Canning
Because water-bath canning is for high-acid foods, the pantry it fills is a delicious one:
- Jams and jellies from strawberries, blueberries, grapes, figs, and elderberries.
- Applesauce and apple butter from apples, and canned pears in light syrup.
- Pickles and relishes from cucumbers in a vinegar brine.
- Tomatoes, with one crucial caveat below.
Tomatoes deserve a special word. They sit right on the borderline of the acidity threshold, and modern varieties can be less acidic than older ones, so current guidelines require you to add acid, bottled lemon juice or citric acid in the tested amount, to every jar of tomatoes or tomato salsa you water-bath can. Grandma's plain-tomato method is no longer considered safe, and this is exactly the kind of thing I learned by reading current Extension guidance rather than trusting an old habit. Add the acid; it is not optional.
Safety Rules You Must Not Break
Canning rewards a careful cook. Follow these non-negotiables, echoed by the Penn State Extension and every reputable canning authority, and you can can with complete confidence.
- Water-bath only high-acid foods. Low-acid vegetables and meats must be pressure canned. No exceptions.
- Use only current, tested recipes, and follow them exactly. Do not scale up the vinegar-to-vegetable ratio in pickles, add extra low-acid peppers or onions to a salsa, or thicken with flour; changes like these can push a safe recipe into the danger zone. I have been tempted to improvise a salsa and stopped myself for exactly this reason.
- Acidify your tomatoes every time, as above.
- Adjust for altitude and use new lids every time.
- When in doubt, throw it out. Never taste or use food from any jar that failed to seal, is leaking, bulging, spurting when opened, moldy, or off-smelling. Because botulism toxin can be invisible, discard suspect low-acid jars without tasting.
Where Canning Fits in a Well-Stocked Pantry
Water-bath canning is the method for turning a high-acid abundance, a flood of tomatoes, a berry patch in full swing, a cucumber vine that will not quit, into shelf-stable jars that need no electricity and last for a year. It rounds out a complete preservation toolkit. What keeps fresh goes into cold storage, as in my guide to storing vegetables for winter; what suits the cold goes into the freezer; low-acid gluts can be fermented or dried in a solar dehydrator; and saving your own seed begins the cycle again. Spreading a harvest across all of these methods is what makes a pantry truly resilient.
Together these skills are the heart of self-reliant winter homesteading and a wonderfully frugal way to eat your own garden all year; even the peels and cores go back to the compost pile. My honest advice is to start small and safe: pick one tested jam or pickle recipe, gather your jars, and give it a careful first try. Respect the acidity rule, follow the recipe, and you will be rewarded with a pantry that carries your garden clear through to spring. For more on growing and keeping a resilient food garden, our preservation and storage library has a guide for every method.
Sources
About the Author
Lucas is a writer and researcher focused on sustainable agriculture and permaculture practices.