
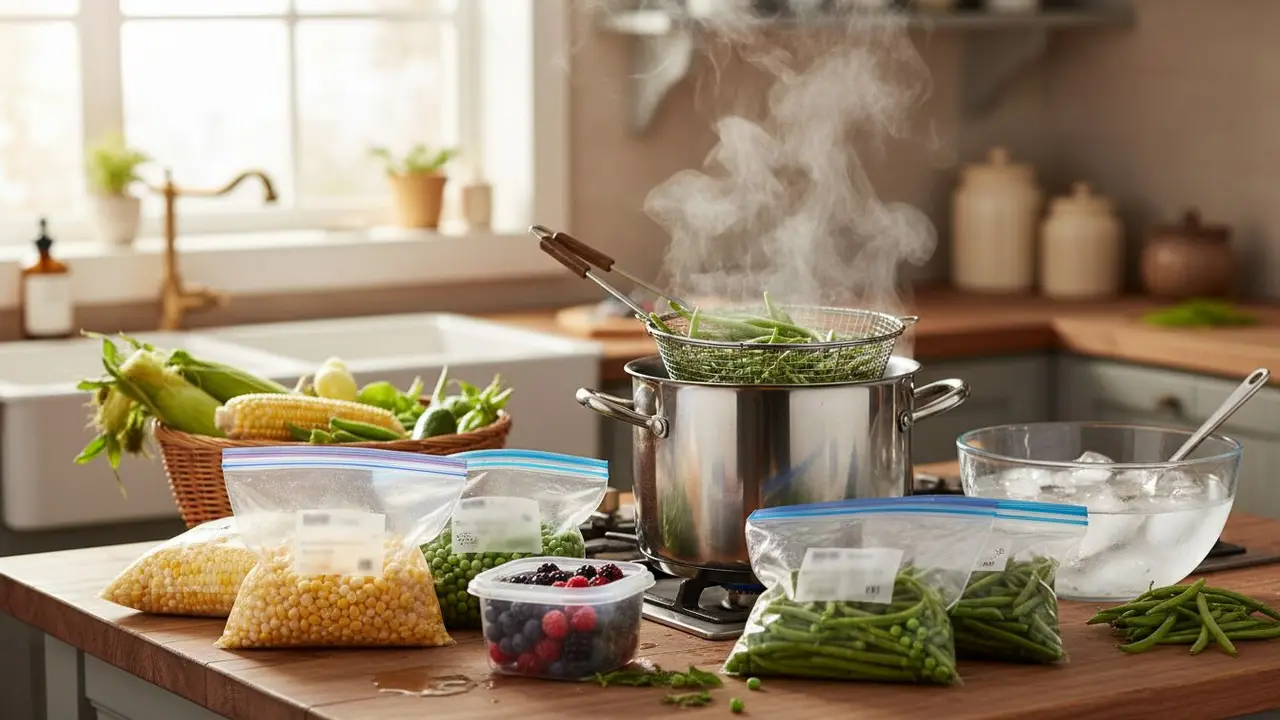
When people ask me the easiest way to put up a garden harvest, my answer is almost always the same: freeze it. Of all the preservation methods, freezing vegetables is the fastest, the most forgiving, and the best at keeping produce close to garden-fresh in flavor, color, and nutrition. There is a catch, though, and it is the reason so many home-frozen vegetables come out disappointing: most of them need to be blanched first. Skip that one step and you get faded, tough, off-tasting results; do it right and you can open a bag of green beans in January that taste like a July afternoon. Freezing does ask for a freezer and a bit of electricity, unlike fermenting or root cellaring, but it is the friendliest method for a beginner and the one I lean on most.
In this guide I will explain why blanching matters, how to freeze vegetables step by step, which crops freeze beautifully and which do not, and how to keep everything free of freezer burn.
Why Freezing Works, and Why Blanching Matters
Freezing preserves food by locking its water into ice, which halts the microbes that cause spoilage. But cold alone does not stop everything. Vegetables contain natural enzymes that keep right on degrading their color, flavor, texture, and nutrients even at freezer temperatures, just more slowly. That is why raw-frozen vegetables slowly turn drab and develop stale, hay-like flavors over months in the freezer.
The fix is blanching: a brief scald in boiling water (or steam) followed by an immediate plunge into ice water. That quick heat deactivates the enzymes so they can no longer spoil quality, and the ice bath stops the vegetable from actually cooking. As Michigan State University Extension puts it plainly in its guidance that blanching vegetables before freezing is important, the step is essential for preserving color, texture, flavor, and nutritional value. I learned this the hard way my first year, when I froze a big batch of green beans raw to save time and opened them months later to find them grayish, tough, and tasting of old straw. Now I never skip it.
How to Freeze Vegetables, Step by Step
Once you know the rhythm, blanching and freezing a batch goes quickly. Here is the process I use, which follows the standard method from the National Center for Home Food Preservation.
- Prep the vegetables. Wash them well, trim, and cut into uniform, meal-sized pieces so they blanch and freeze evenly.
- Blanch in boiling water. Bring a large pot of water to a rolling boil, add the vegetables, and start timing as soon as the water returns to a boil. Blanching times are specific to each crop, from about a minute for thin greens to several minutes for dense pieces, so work from a reliable blanching chart rather than guessing.
- Shock in ice water. The instant the time is up, scoop the vegetables into a big bowl of ice water for the same number of minutes you blanched them. This stops the cooking cold and sets the color. Do not skip or shorten it.
- Drain and dry thoroughly. Excess surface water turns into ice crystals and freezer burn, so drain well and pat the pieces reasonably dry.
- Tray-freeze first. Spread the pieces in a single layer on a baking sheet and freeze until solid, then transfer to bags. This keeps everything loose so you can pour out just a handful instead of chiseling apart one frozen brick.
- Pack, seal, and label. Pack into freezer bags or rigid containers, press out as much air as possible, and label every package with its contents and the date.
That tray-freezing trick was a small revelation for me. The first time I open-froze a tray of sweet corn kernels and strawberries before bagging them, being able to shake out exactly the portion I needed all winter felt like a superpower compared to the solid clumps I used to fight with.
Blanching Times at a Glance
Blanching time depends on the vegetable and the size of the pieces, and getting it right matters: too short and the enzymes survive, too long and you have partly cooked the food. These are approximate boiling-water times to get you oriented, but always confirm against a full blanching chart from the National Center for Home Food Preservation before you start a batch.
- Peas: about 1.5 minutes
- Spinach and tender greens: about 2 minutes
- Green beans, broccoli florets, and diced carrots: about 3 minutes
- Asparagus: 2 to 4 minutes, depending on stalk thickness
- Corn on the cob: 7 to 11 minutes, depending on ear size
If you would rather hold onto a few more nutrients, steam blanching is a good alternative for many crops: hold the vegetables over boiling water in a steamer basket for roughly a third longer than the water-blanching time. Either way, the ice-water bath afterward is non-negotiable.
Which Vegetables Freeze Well, and the Exceptions
Most garden vegetables freeze wonderfully once blanched. Some of the best performers include green beans, broccoli, cauliflower, peas, carrots, corn, asparagus, spinach and other cooking greens, and winter squash (cooked and pureed). Shredded zucchini freezes well for winter baking, too.
A few crops are the exceptions that need no blanching at all:
- Peppers and onions can be chopped and frozen raw for use in cooked dishes.
- Berries like strawberries, blueberries, and raspberries just get tray-frozen raw and bagged.
- Tomatoes can be frozen whole and raw; I stash bags of them all season and, come winter, run a frozen tomato under warm water so the skin slips right off for sauce. The texture goes soft, so freeze them for cooking, not for slicing.
- Fresh herbs freeze well chopped into ice cube trays with a little water or oil.
Then there are the vegetables that simply do not freeze well fresh: high-water salad crops like lettuce, cucumbers, and radishes turn to limp mush. Those are far better eaten fresh or turned into ferments and pickles instead.
Tips for Best Quality and Avoiding Freezer Burn
Freezer burn, those dry, discolored patches, is just moisture that has escaped the food and refrozen. It is harmless but tastes stale, and good packaging is your main defense. Use freezer-grade bags or rigid containers rather than thin storage bags, which are too permeable for long storage. A vacuum sealer is a worthwhile investment if you freeze a lot, but you can get most of the benefit for free by pressing the air out of a bag by hand, or lowering a nearly-sealed bag into a pot of water so the water pressure squeezes the air out before you close it. A few more habits keep your harvest in top shape.
- Freeze at peak freshness. The quality you freeze in is the quality you get out, so process vegetables as soon after harvest as you can.
- Remove the air. Air is the enemy. Press it out of bags or use a vacuum sealer, and leave a little headspace in rigid containers for anything with liquid.
- Freeze quickly and do not overload. Adding too much unfrozen food at once raises the freezer's temperature; freeze in modest batches at the coldest setting so everything firms up fast.
- Label and rotate. Date everything and use it within about eight to twelve months for the best flavor, oldest first.
- Portion into meal sizes. Freezing in the amounts you actually cook with saves you from thawing more than you need.
Where Freezing Fits Among the Preservation Methods
Freezing is the easiest method and the best at preserving fresh texture and flavor, but it is worth being honest about its trade-off: it depends on electricity and freezer space, and a long power outage puts the whole store at risk. That is exactly why I do not rely on it alone. What freezes best goes in the freezer; what keeps fresh goes into cold storage, as I describe in my guide to storing vegetables for winter; what suits it gets turned into ferments or dried in a solar dehydrator. Spreading a harvest across several methods is what makes a pantry resilient, and saving your own seed closes the loop back to next year's garden.
Together these skills are the backbone of self-reliant winter homesteading and a deeply frugal way to eat well year-round; the trimmings and blanching scraps even go back to the compost pile. My honest advice is to start with one easy crop, a bag of blanched green beans or a tray of berries, and build from there. There are few better feelings than pulling a taste of summer out of the freezer in the dead of winter, knowing you grew it yourself. For more on growing and keeping a resilient food garden, our preservation and storage library has a guide for every method.
Sources
About the Author
Lucas is a writer and researcher focused on sustainable agriculture and permaculture practices.