
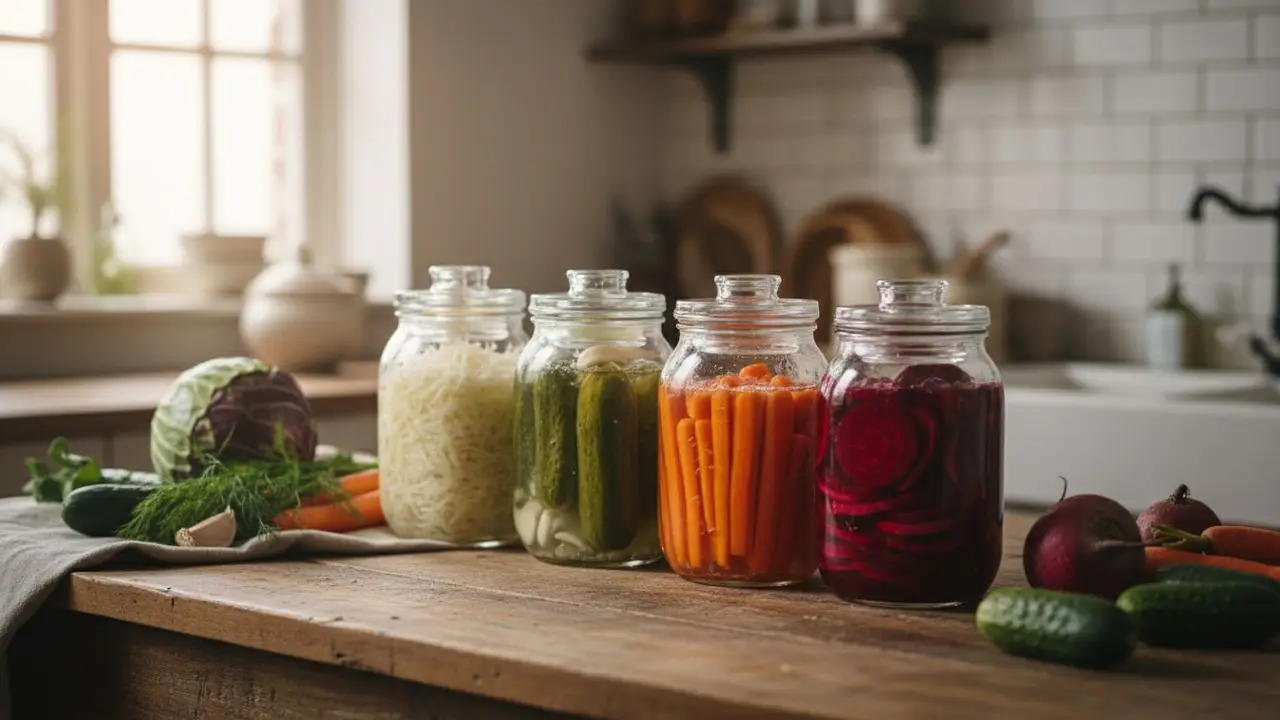
Of all the ways to preserve a harvest, fermenting vegetables is my favorite, and it may be the oldest. Long before canning jars or freezers, people kept their vegetables through winter by packing them in salt and letting nature do the rest. The technique is called lacto-fermentation, and it is almost magically simple: with nothing but salt, water, and time, a head of cabbage becomes tangy sauerkraut that keeps for months and is arguably more nutritious than the fresh cabbage you started with. No electricity, no special canning gear, no risk if you follow a few basic rules. For a permaculture gardener trying to turn a summer glut into winter meals with the lightest possible footprint, fermentation is hard to beat.
In this guide I will explain what lacto-fermentation actually is, why it is worth doing, the simple equipment you need, how to make a first batch of sauerkraut, what else you can ferment, and how to keep it all safe.
What Is Lacto-Fermentation?
Lacto-fermentation sounds technical, but the process is beautifully natural. Vegetables carry beneficial Lactobacillus bacteria on their surfaces. When you submerge them in a salty, oxygen-free environment, those bacteria go to work converting the vegetables' natural sugars into lactic acid. That acid is the whole trick: it preserves the food, creates the signature tangy flavor, and makes the environment too acidic for the spoilage organisms and pathogens that would otherwise rot your harvest. As Michigan State University Extension explains in its overview of the science behind fermenting vegetables, salt and the exclusion of oxygen select for these good bacteria while suppressing the bad ones.
The "lacto" refers to lactic acid, not dairy, so these ferments are entirely plant-based. It is also worth clearing up a common confusion: lacto-fermentation is not the same as vinegar pickling. When you pickle in vinegar, you are adding acid from outside. When you ferment, the vegetables make their own acid. Both give you a tangy "pickle," but only fermentation builds the living culture of probiotics that makes it special.
Why Ferment Your Vegetables?
Beyond preservation, fermentation offers a stack of benefits that few other methods can match.
- It preserves without power. A finished ferment keeps for many months in a cool cellar or refrigerator, no canning or freezing required.
- It boosts nutrition. Fermentation preserves vitamins and adds beneficial probiotic bacteria that support gut health. Historically, vitamin-C-rich sauerkraut kept sailors free of scurvy through long winters.
- The flavor is incredible. Fermentation develops a complex, tangy, savory depth that fresh vegetables simply do not have.
- It is cheap and low-tech. A jar, some salt, and your vegetables are nearly all you need, which makes it a wonderfully frugal way to put food by.
- It handles a glut. When the garden hands you twenty pounds of cabbage or cucumbers at once, fermentation turns that overwhelm into a pantry full of food.
What You Need to Get Started
One of the joys of fermenting is how little equipment it takes. Here is the short list.
- Fresh vegetables. Start with your best, freshest produce; as with all preservation, quality in means quality out.
- The right salt. Use pure, non-iodized salt such as pickling salt, kosher salt, or plain sea salt. This matters: iodized table salt and the anti-caking agents in it can inhibit fermentation and cloud or discolor your ferment, a lesson I learned from one murky, soft first batch.
- A jar or crock. A simple glass mason jar works beautifully to start; a stoneware crock is the traditional vessel for larger batches.
- A weight. You need something to hold the vegetables down under the brine, whether a purpose-made glass weight, a small water-filled bag, or a clean rock.
- A loose lid or airlock. Fermentation produces carbon dioxide that must escape, while oxygen should be kept out, so a loosely applied lid or an airlock lid is ideal.
- Non-chlorinated water for any brine, since chlorine can inhibit the bacteria. Let tap water sit out overnight or use filtered water.
How to Make Sauerkraut: The Perfect First Ferment
Sauerkraut is where nearly everyone starts, because it needs no separate brine, the cabbage makes its own. This "dry-salted" method, described by the University of Wisconsin Extension's safe-preserving guide to sauerkraut, works like this.
- Shred and salt. Finely shred fresh cabbage and weigh it. The reliable rule is about 2 to 2.5 percent salt by weight; the classic ratio from the National Center for Home Food Preservation is roughly 3 tablespoons of salt to 5 pounds of cabbage. Sprinkle the salt over the shredded cabbage in a large bowl.
- Massage it. Work the salt in with your hands for several minutes. This is my favorite part: the salt draws water out of the cabbage until it is sitting in a pool of its own brine. The first time you feel a dry bowl of shreds turn wet and glistening, you understand the whole process.
- Pack it tight. Press the cabbage firmly into your jar or crock, pushing out air pockets, until the brine rises to cover it completely. Every shred must stay submerged.
- Weight and cover. Set a weight on top to keep the cabbage under the brine, then apply a loose lid or airlock.
- Ferment and taste. Leave it at cool room temperature, ideally around 65 to 72°F, and let it work for one to four weeks. Taste it every few days; when it reaches the tang you like, move it to the refrigerator or a cold cellar, where it will keep for months.
The single golden rule, which I learned the messy way when a batch with cabbage poking above the surface grew a patch of mold, is submerge to preserve. Fermentation is anaerobic; anything above the brine and exposed to air is where problems start. Keep it down and keep it under.
Beyond Sauerkraut: What Else to Ferment
Once sauerkraut clicks, a whole world opens up. Most vegetables that are not shredded are fermented in a salt-water brine instead of dry salting, typically following a tested recipe's ratio of non-iodized salt to non-chlorinated water. Some favorites from my own garden:
- Fermented dill pickles from cucumbers, with dill and garlic — the classic crunchy, sour pickle.
- Fermented carrot sticks and radishes, which stay pleasantly crisp and make a fast, forgiving first brine ferment.
- Fermented beets, earthy and deep, and a gateway to beet kvass.
- Kimchi, the Korean staple built on cabbage and radish with ginger, garlic, and chili.
When a wave of produce comes in all at once, I ferment whatever the garden is overflowing with. It has rescued many a cucumber glut that I could never have eaten fresh in time.
Troubleshooting and Safety
Fermenting vegetables at home is remarkably safe, precisely because the lactic acid drives the pH low enough to inhibit harmful bacteria. Extension food-safety specialists and the National Center for Home Food Preservation consider properly made fermented vegetables one of the safer preservation methods, provided you use the correct salt ratio, keep everything submerged, and work with clean equipment. Still, it helps to know what is normal and what is not.
- Totally normal: cloudy brine, active bubbling, a sour or pungent smell, and softening over time. These are all signs of a healthy ferment.
- Harmless but skim it: a thin white film on the surface is usually kahm yeast. It is not dangerous; just skim it off and make sure everything is submerged.
- Throw it out: fuzzy mold in colors like green, black, pink, or blue, or a genuinely rotten, putrid smell rather than a sour one. When in doubt, compost it and start again.
To keep yourself firmly on the safe side, always follow a tested recipe from a reputable source like the National Center for Home Food Preservation or your state Extension service, rather than guessing at salt amounts. The Utah State University Extension guidance on fermentation is another reliable starting point. Get the salt and submersion right, and the process is genuinely hard to mess up.
Where Fermenting Fits in a Self-Reliant Kitchen
Fermentation is one leg of a complete harvest-keeping system. What stores well fresh goes into cold storage, as I cover in my guide to storing vegetables for winter; what dries well goes into the solar dehydrator; and much of the rest can be fermented. Save your own seed to grow it all again, and you have closed the loop. Together these low-input skills are the heart of winter homesteading, letting you eat from your own garden long after the growing season ends. The vegetable trimmings, of course, go to the compost pile to feed next year's soil.
My honest advice is to start today with a single jar of sauerkraut. Shred a cabbage, weigh in your salt, massage it into its own brine, and pack it down. In a couple of weeks you will taste something you made with nothing but salt and patience, and I suspect you will be as hooked as I am. For more on growing and keeping a resilient food garden, our preservation and storage library has a guide for every method.
Sources
About the Author
Lucas is a writer and researcher focused on sustainable agriculture and permaculture practices.