Guide to Growing Self-Sufficient Living Fences
When looking to fence our homes or properties, in a world where consumerism and quick fixes are leading us towards concrete jungles and rising temperatures, how can we forget about the simplest common solutions which existed and regenerated our lands for so long?
Self-renewing living fences have existed for ages in indigenous culture. They have been the safest and most beneficial alternative to conventional fences.
They stood the test of time, they repaired themselves when disturbed. They grew into healthy ecosystems and later into forests full of singing birds n bees and everything in nature. They provided cool breeze and shade on a sunny day and were warm in winter. They gave us green and blooming privacy, protected and helped build healthy soils!
It’s high time we make them mainstream again and I hope this guide helps you get started on building one because the sooner the better!
Regenerative Properties of Living Fences
Living fences are also referred to as hedges or bio-fences that have the potential to reduce the dependency on concrete and metal for fencing. They are made up of lines of plants, vines or shrubs planted across the boundaries of farms, houses or fields.
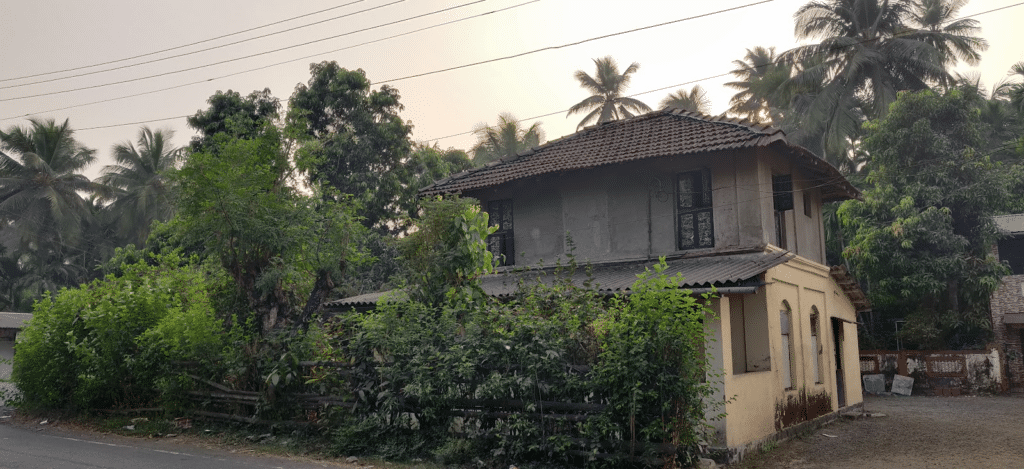
Here in India, we have fences that are a couple of generations old, existing in both urban homes and rural farming sites. They are maintained by simply pruning and weaving the new growth and sometimes adding in more plants to strengthen it and replace the dead ones.
There exist fences which when left unattended turn into a small self-sufficient guild with its own microclimate zones, with or without human intervention in longer run.
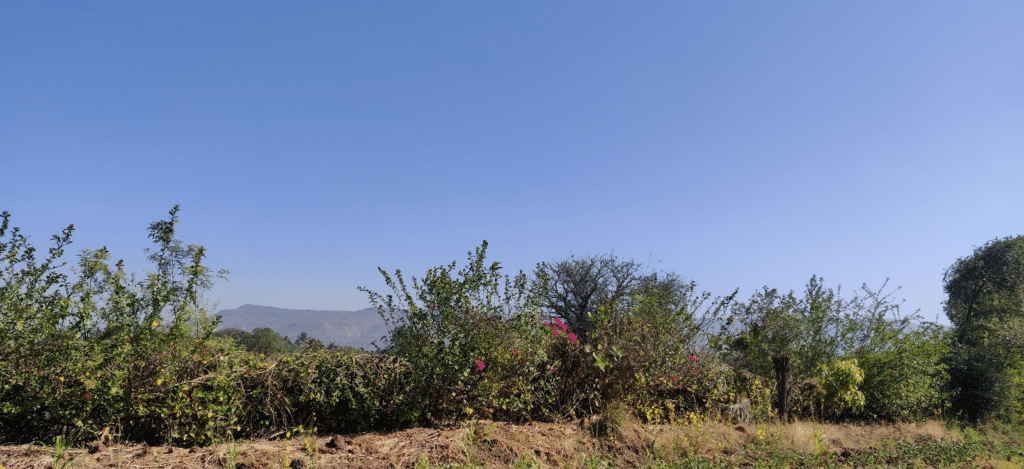
Privacy
Living fences have been used for ages for privacy and partition, the height is managed based on privacy requirements like the height of buildings or the number of floors. Shade-loving thick foliage species are selected for better privacy, especially in between adjacent houses.
Noise and Pollution Filter
The fences grown densely with bushes and herbaceous plants act as great noise reduction barriers and pollution filters, especially for houses adjacent to main roads and busy streets. Shikakai (Acacia concinna) is a preferred one as a noise and pollution filter.
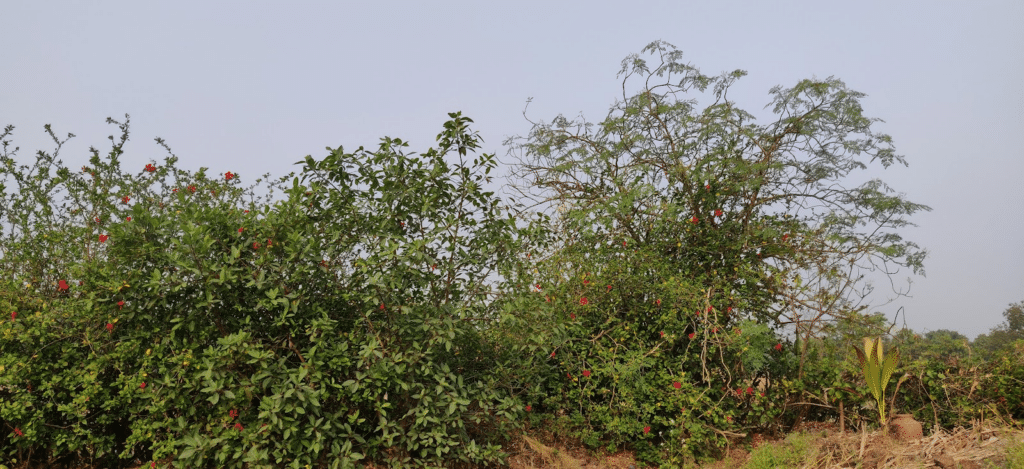
Protection and Deflection
In countries like India where seasonal open grazing is common, the fences help protect the farms, especially newly planted trees. Once established, they help deflect rodents and wild wildlife as well helping reduce the need of building huge concrete fences amidst ecologically sensitive areas.
Windbreak
Living fences are excellent windbreaks for fields as well as houses, when planted in patterns (small shrubs to large trees) in the predominant wind direction, they help deflect and prevent loss of moisture and damage caused due to strong winds. Acting as a filter they also cool down the hot winds passing through them creating a stable microclimate that helps the plants and soil life around the fence flourish.
Soil Health & Erosion Prevention
The soil around the fence grows healthy over years due to diverse favorable conditions like, the prevention of moisture loss due to direct exposure to sun and harsh winds, the diverse root systems and soil life around them, the regular supply of mulch falling, the bird and insect drops which add nutrients and help create healthy soils.
The close placement of plants, especially, grasses, shrubs and bushes help hold soil and create physical barriers to stop soil erosion by wind and slow down the erosion caused by heavy water flows. Vetiver and bamboo planted along the bunds of paddy fields and terrace farms help reduce erosion by holding the soil together with roots.
Micro Environment & Habitat Creation – The Edge Effect
The living fences attract and host native as well as migratory birds, bees and a myriad of insects including beneficial insects due to the diverse plant species, soil life and habitat which makes nesting easy and safe with availability of food and moisture.
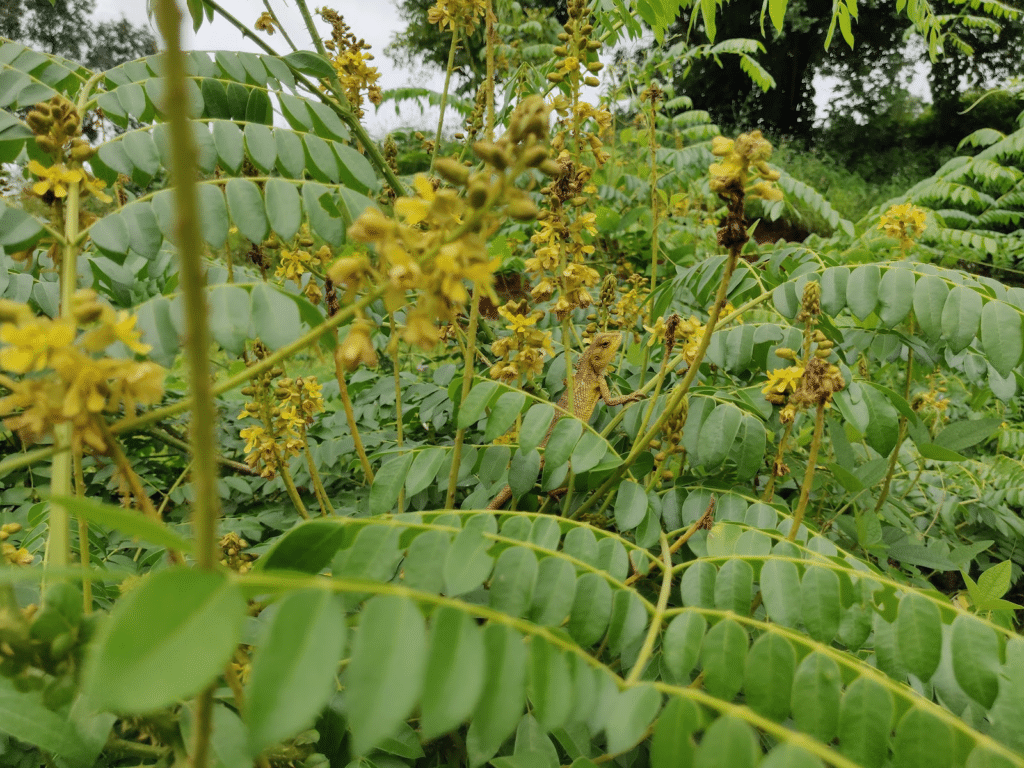
As the days pass, you will find your living fence showing an edge effect, a patch of two overlapping ecosystems hosting life from both your farm or fence and the adjacent lands. Also, the fence slowly becomes home to unique species that aren’t found in either ecosystem but are uniquely adapted to the conditions of the transition zone that your living fence is creating.
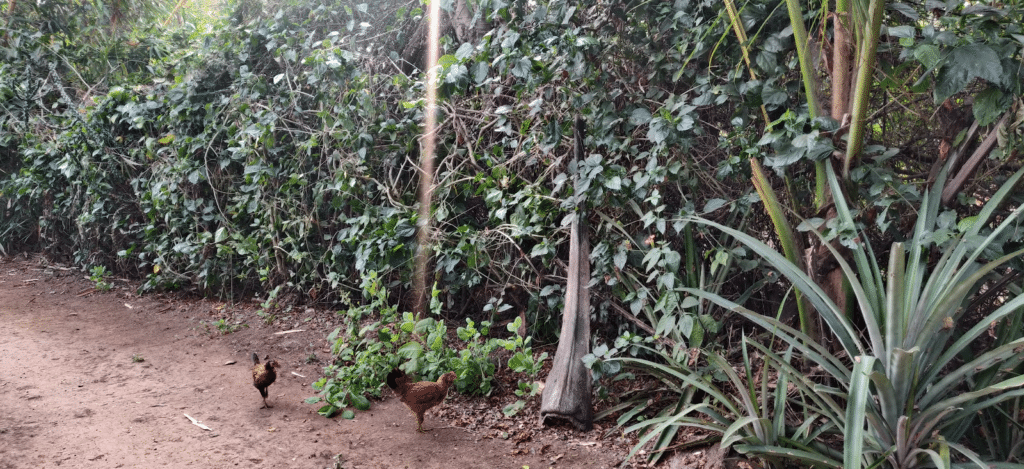
Yield & Economic Providers – Food, Medicine & Fodder
For ages, living fences have been used as shared spaces to grow common medicinal plants in my locality. Plants like Adulsa, butterfly pea, holy basil, giloy, babul, caesalpinia bonducella, Indian screw nut and more have been integrated into living fences for folk medicine preps.
Edible species like karvanda (Carissa carandas), air potatoes,moringa, mulberries, malabar spinach, seasonal guards, beans and more keep taking over the fences from time to time.
Fodder species like sesbania grandiflora, Grewia optiva, Indian jujube and more are included.
Together they are not only harvested for personal consumption however the seasonal produce is sold in markets regularly and thus the fence also acts as an economic provider.
Social Permaculture & Community Building
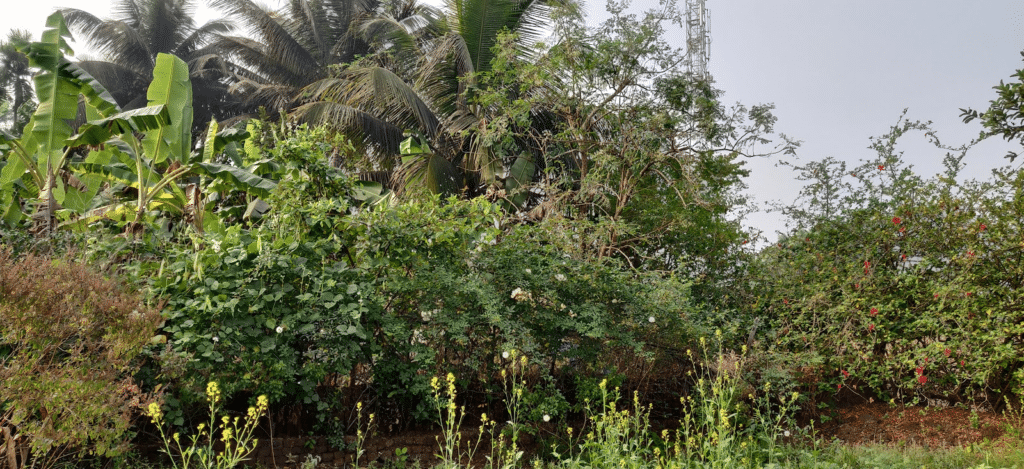
Traditional living fences are agreed upon and coordinated between community members, it encourages shared decision-making, community participation and trust. These fences mostly encompass larger areas like fields in a particular locality or fencing around community settlements like villages, hamlets or small towns.
The plants are selected based on common goals like restricting or guiding cattle moment, protection from strong winds or general protection.
Beautification and Ornamentation
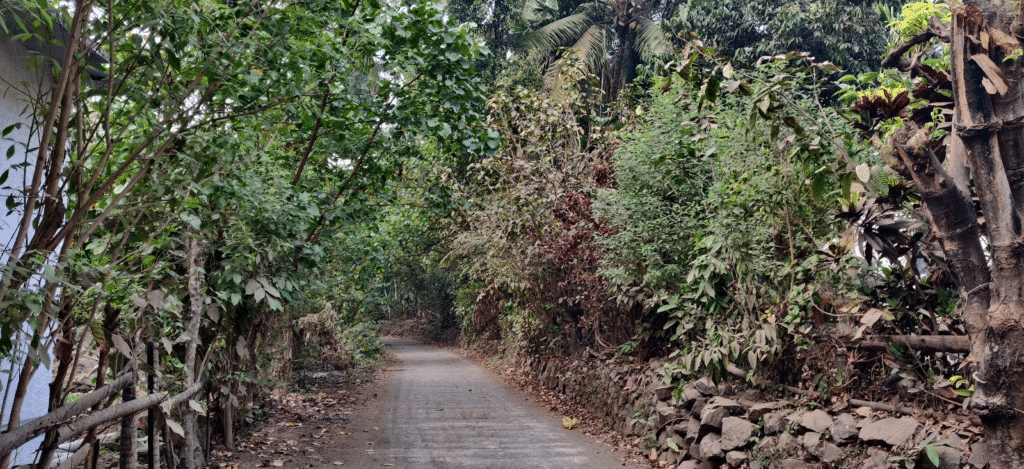
Well, anything that blooms and has green leaves is bound to look good. Coming from a tropical wet and dry zone, I bet our fences look gorgeous even when it partially turns brown during deciduous periods, we love the mix of hues 🙂.
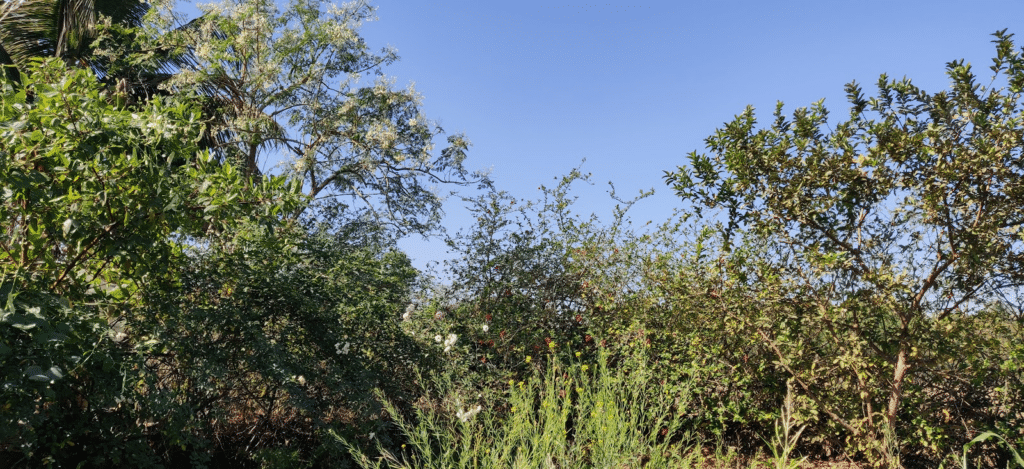
So if your purpose of getting a fence is related to beautification or ornamentation, especially landscaping, the living fences are your safest biological hazard-free buddies.
Guide to Growing your Live Fence
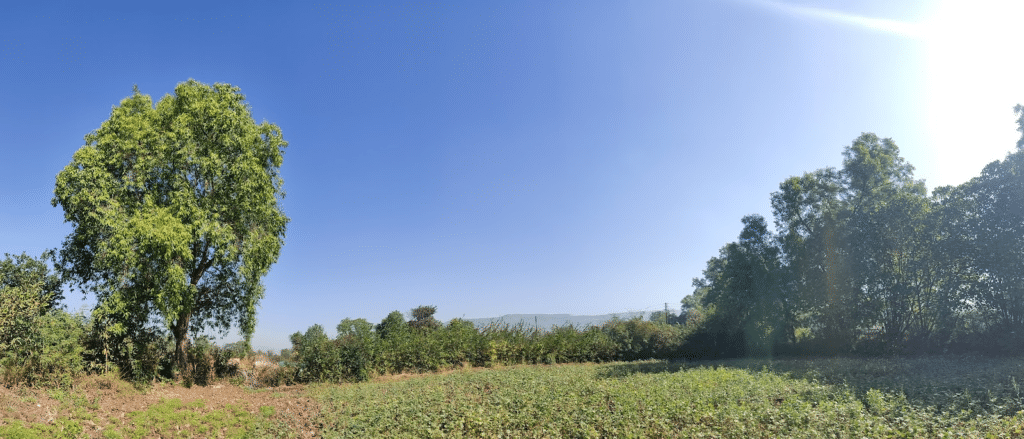
Growing up on a zero-budget farm, we have always tried to integrate plants, mix and match until a suitable solution to meet our needs unravelled. This has been one of the most simple ways to grow a fence with easily available materials from the vicinity.
Our living fences, grown in a similar manner over decades, have taught us about patience and resilience.
Below is how the process can be explained through the Permaculture Design Methodology.
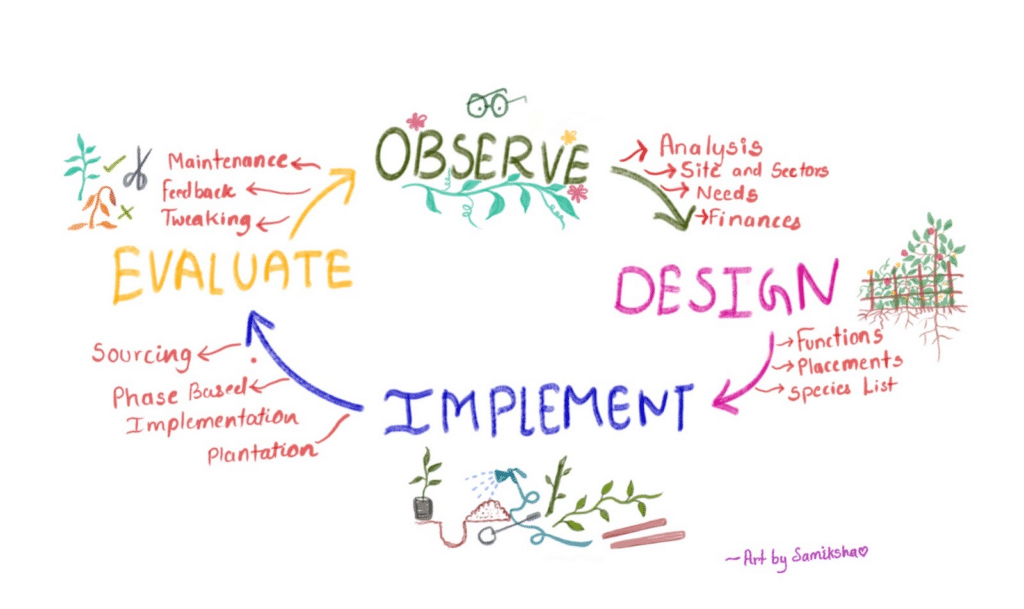
Step 1: Observe and Interact
Observe and interact, is one of the 12 principles of permaculture. It talks about taking time to observe and analyze the existing systems around you.
This step involves making notes of factors that will affect plants, selecting plant species that will grow under local circumstances without energy wastage and observing them to decide what will get you the desired outcomes with minimal effort, repeat this infinitely ;).
To begin with, well it can be as simple as observing, trying to understand and taking notes.
- Existing Fence & Finances: Start with simply walking around your property, and make points about existing fences like your observation regarding their durability, purpose, remaining life, maintenance intervals, cost and material required.
- Site Analysis: Add in basic observations of your site, about your soil type, space, wind direction, weather, climate zone, human and animal moment, availability of sun, bandwidth to irrigate, existing fence, the living things around it, what is happening at present, how have they behaved over years and more.
- Need Analysis: Next try to understand what purpose you wish to serve with your fence. Do you wish to add strength, more privacy, reduce the intensity of the wind, have some shade, and host some native and migratory birds, bees, butterflies, and other life forms? Make a list.
- Plant Species Analysis: Visit the ecosystems around to understand local plants like nearby forests, grasslands, wetlands and like existing living fences, tiny local ecosystems thriving with plants, One of the best ways is to understand the layers of forest to see which species are at what level and which will help you meet your needs.
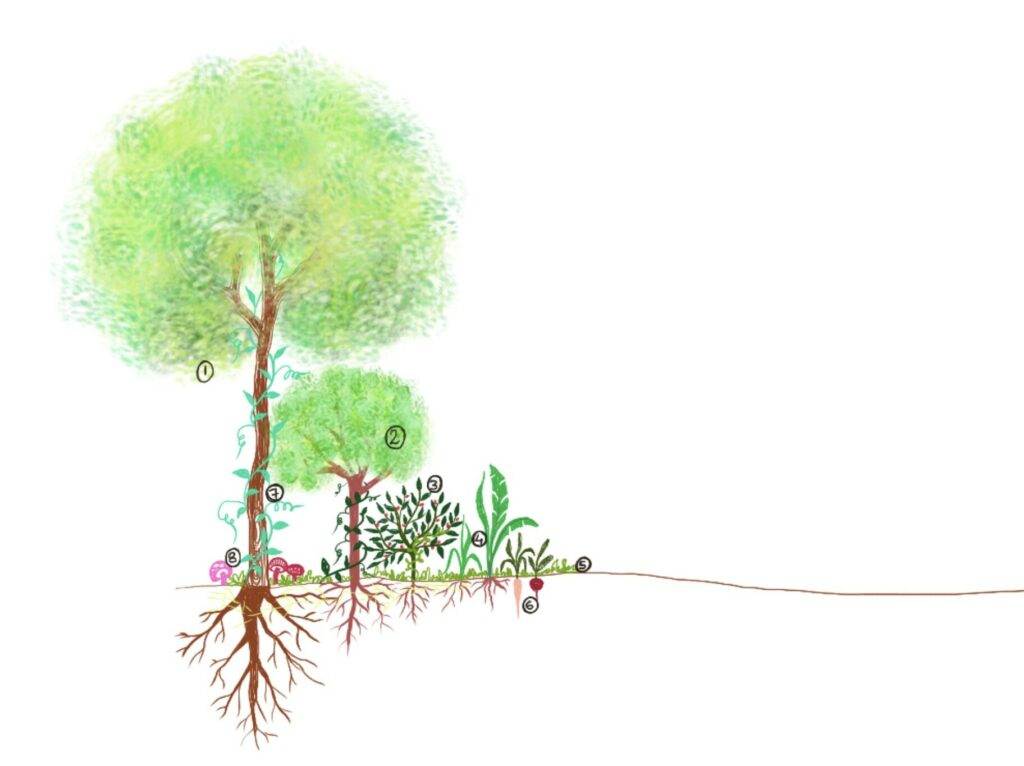
- Canopy: 30 feet + higher fruit, nuts and timber trees.
- Sub-Canopy: Between 10 to 30 feet high trees.
- Shrub Layer: fruiting bushes, berries, thorny bushes, currants and more
- Herbaceous Layer: small bushes and plants like bananas, medicinal and culinary herbs.
- Ground Cover: Horizontal plant layer that creeps on the ground covering it.
- Rhizosphere: tubers, root crops, rhizomes and also an extension of other layers that come out of it.
- Vertical Layer: made of vines and climbers taking support of other layers.
- Fungal network: below and on the surface of the soil.
Get creative with your observations, don’t hold back!
Step 2: Designing & Selecting Plants
Now you have basic insights about your site and it’s time to brainstorm! Just sit with collected information and try to arrange it together like a jigsaw puzzle that helps meet your needs in the most energy-efficient form.
Begin with understanding which plant you would like to place where.
Like evergreen bushes for privacy, robust woody varieties for windbreaks and shade, thorns for protection and defense, vines to add more strength, wildflowers for attracting bees and butterflies and more, you have to make a list and try to select the ones which work best for you.
Plants vs Functions Brainstorming (Example)
This is a simple exercise where you scribble plant names or types and match them against functions or needs.
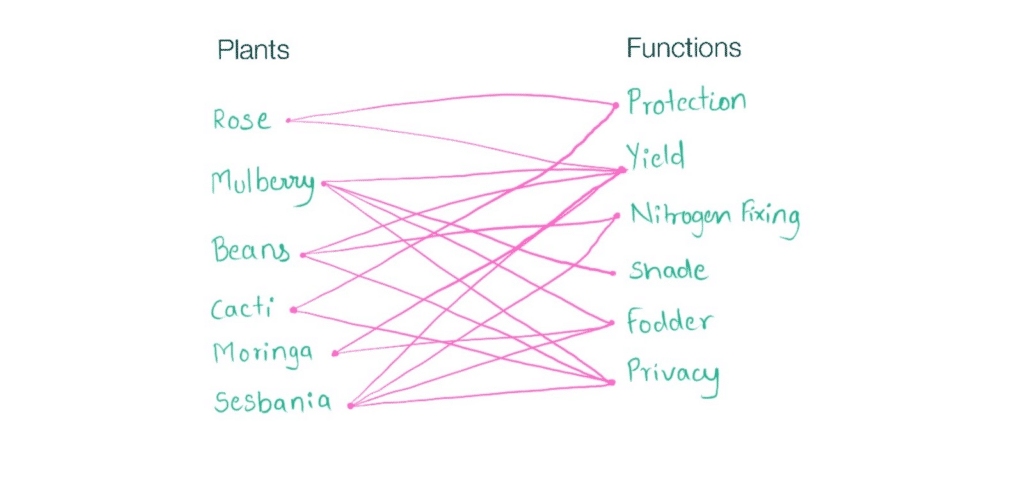
Most of the plants overlap the functions helping stack functions and form a strong and mutually support each other which is a good sign, like finding a plant that grows quickly, can act as a privacy hedge as well as is a nitrogen fixer and gives amazing flowers or fruits with minimal maintenance, that is like hitting a jackpot!
Quick Tips:
Aim for selecting as many native species as possible because they will grow best without consuming more energy in the form of soil management, pest management, invasive concerns and irrigation requirements.
If you have a large patch that has animal, wildlife or human moments, you might have to invest in a short-term fence that can last for years like a dry thorny bush temporary fence or dry bamboo fence. This is basically to give you and your newly planted fence protection until they establish.
The forest layer chart and your notes are the best guides to deciding upon the height and functions of your fence.
Bushes and shrubs are preferred traditionally, along with ground cover species to build soils, keep them covered and retain moisture.
It is recommended to avoid canopy-level trees in dense living fences at an early stage as they block the sunlight and continue growing higher than the desired fence height if not pruned and maintained.
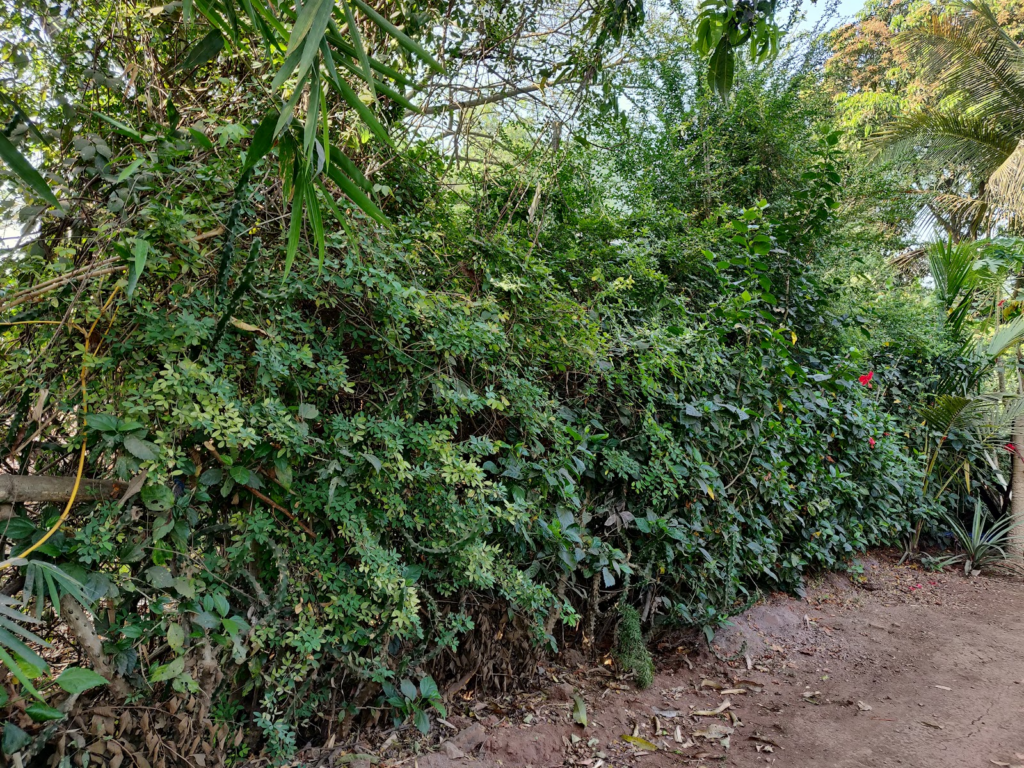
Use this to design your fence by placing plants beside and below each other in such a way that you can grow more in smaller spaces and stack them up on each other like vines on shrubs and bushes.
This design exercise will help you understand which species to select and how to stack their functions to get the desired outcome.
Step 3: Implement
By the time you complete the design and plant research, 80 % of your work is already done, now you simply have to source the plants and implement your design by researching the planting techniques for your selected plants.
Dimensions
The width of your living fence can be of any dimension ranging from 3 meters to 5 meters depending on your needs. For example, when designing living fences as fire break plus grazing prevention, 4 to 5 ft of the fence is consumed by a continuous line of fire break plants like agave followed by an inner thick line of another 4 to 5 ft width thorny shrubs and woody vines.
However, if your purpose is simply beautification or a visual barrier, the width can be as small as a foot or 2 wide, enough to have a row of plants.
Quick Tips:
- If wild grazing animals are a threat, consider planting thorny bushes, cacti and unpalatable foliage plants on the other side of your fence to repel and deflect.
- Use wet seasons to your advantage, begin planting or propagating when its starts to rain.
- For structure, you can use any existing wood or dry plant material as a framework to channel the new plants. These materials will eventually break down and decompose slowly as the plants establish over years.
- If you have a huge plot, begin with your living fence first and avoid planting dense canopy trees near the fence. This will help the fencing plant receive ample sunlight to grow dense from the base itself and avoid straight growth heading toward the sky.
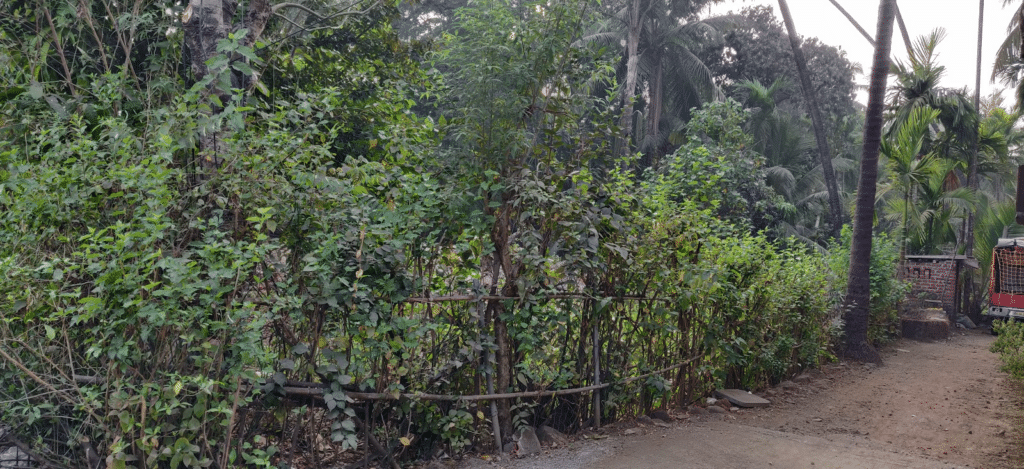
Quick Propagation Tip: Look for quick-growing plants in the initial years, this will help strengthen the foundation and grow quickly from cuttings and can establish within a year. Like here in our locality, Jatropha, Vitex Negundo, Hibiscus, Agave, Cacti, Mulberry, Tapioca, Giloy and Yam vines are most preferred to grow from cuttings and for establishing within a year.
As your quick growing plants are established in the initial year, you can simultaneously raise new plants from seeds or cuttings in planters or nurseries.
Step 4: Evaluate
(Accepting Feedback & Maintaining)
Once your fence starts growing, it gives you feedback about what’s working and what’s not, like which plants are flourishing and which need replacements. We just have to listen, tweak and repeat the design process to improvise.
You don’t have to be perfect and neither will be your fence in the beginning, however over years, just by repeating the process, it turns into a journey of understanding, unlearning and relearning to do things better and help the fence grow more self-sufficient and productive.
Quick Tip: Usually, plants used as living fences, start to shoot new stems once cut, thus selective cutting and regular pruning is suggested for renewing the plants unless you want to let it grow into a forest.
Ensure relevant irrigation in the initial years, especially the first year until your plants establish themselves to start retaining moisture and regulate the temperature of the soil around them.
Keep replacing the dead plants and introduce new species whenever you feel the need, the more the merrier.
The same design process can be applied for various needs like coming up with a new fence from scratch, replacing an old fence with a living fence or adding native and productive species. However, always feel free to improvise and come up with your versions of the methods, ones that suit you and your local conditions :).
Conclusion
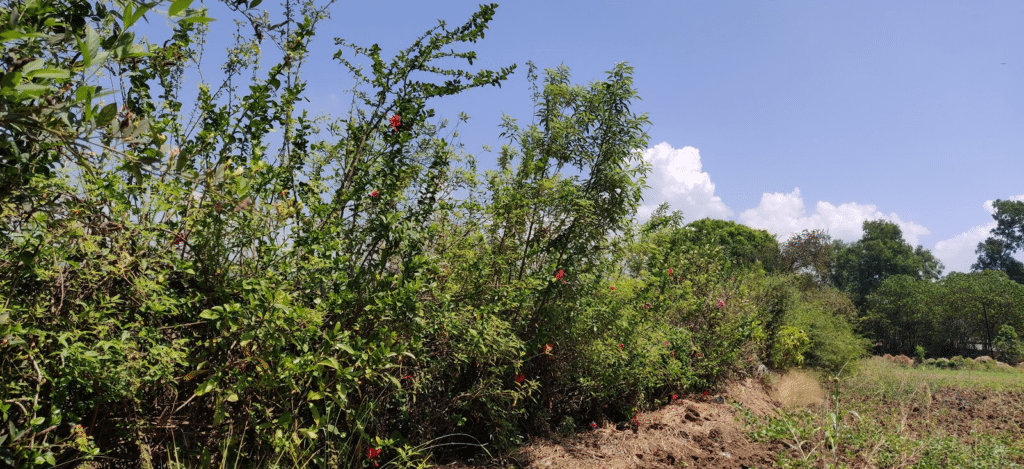
As permaculture believes it, the solutions to our most complex problems are embarrassingly simple and so are living fences. So, when such a cool energy-efficient alternative, tried and tested over years exists, is it really necessary to spend on a fence, using up valuable space where plants and other life forms can thrive instead?

