
Dehydrating food is a simple way to preserve the surplus from your harvest. But electric dehydrators are expensive and consume a lot of energy (not to mention counter space). Luckily, you can build a solar dehydrator with materials you probably already have on hand. Plus, it uses an abundant and, more importantly, clean source of energy– the sun!
Now don’t get me wrong, solar dehydration is not without its challenges. But don’t worry. We’ll explain how and why solar dehydration works. Then we’ll show you how to build your own dehydrator, from basic ideas to more complex projects.
Not only that, I’ll share my first-hand experience building and using a solar dehydrator. You’ll learn the secrets of what works and (sometimes more importantly) what doesn’t work.
So put on your shades and prepare to be dazzled as we look at solar dehydrators!
Harnessing the Power of the Sun
We all know the role the sun plays in growing our harvest. However, we often neglect to think of how we can harness that same power to help us preserve our bounty. This is a shame because humans have been using the sun to help preserve food for thousands of years. Harnessing the heat of the sun, you easily dehydrate your surplus food to enjoy later.
Dehydration is a simple idea. By evaporating the water from your food, you remove a key component necessary for pathogens to grow. Removing the water in this fashion doesn’t greatly diminish the nutritional content, nor does it diminish the food’s flavor. In fact, in many instances, dehydrating your food concentrates the flavor, making it more intense– think of the difference between a plump grape and a shriveled-up raisin. Not only does it taste great– dried food is lighter and smaller, making it easier to store and carry.
If you just put your food out in the sun, it will eventually dry out. However, if your food doesn’t dry out quickly enough, it can spoil. And then all your hard work is ruined. And no one wants that. The idea behind a solar dehydrator is to concentrate the sun’s heat to dry your food more quickly, so it doesn’t spoil.
There are many different materials and techniques that you can use to dehydrate your food effectively. Some methods may use materials you may already have on hand. Others require your purchase materials and have some basic construction skills. You’ll have to decide which method is best for you.
Brainstorming Your Design
Solar dehydrators come in all shapes and sizes. When considering your design, you will want to take into account several factors. First, you want to think about how frequently you plan on using your dehydrator. Then you will want to think about what you plan to dehydrate and in what quantities. Also, take some time to figure out what your budget for materials and time is. And don’t forget to factor in your DIY skills. All of these components together will help determine the best solar dehydrator for YOU.
Are You a Passionate Dehydrator, or is This a One-Time Thing?
As we said, the first thing to take into account is how often you think you will be using your solar dehydrator. This will affect how much energy you want to put into your project. For example, if you are only looking to use the dehydrator once, perhaps to preserve an unexpected surplus, then you probably don’t want to invest a lot of money into materials.
For a project like that, you can go super low-tech with minimum investment. You can check out this youtube video to get an idea of how minimal your solar dehydrator can be. He makes a solar dehydrator out of a couple of sheet pans, some clips, and a cooling rack.
This basic idea will get you started if you don’t plan to dry out a lot of food. However, if you plan on dehydrating regularly, you probably want to build something a bit more solid and stable than a couple of sheet pans pinned together. You also may want your design to be mobile. A mobile solar dehydrator allows you to always take advantage of the best position of the sun as it moves throughout the seasons.
However, you want to consider more than just how frequently you will use your solar dehydrator when considering designs.
What Are You Dying to Dry?
You can put a wide range of food and plant-based items into a solar dehydrator. But not everything drys best at the same time and temperature. Low moisture items, like herbs and flowers, dry very quickly, even at lower temperatures. High-moisture items, like tomatoes, require more time and better airflow to properly dehydrate before they mold.
When planning your solar dehydrator, you should carefully consider what kind of food you want to dry, as this will affect the components you include. For example, we eventually added a small solar-powered fan in our solar dehydrator to help increase airflow over high-moisture items.
Besides knowing what you plan on dehydrating, think about how much you will want to dehydrate at one time. While an electric dehydrator may seem slow, a solar dehydrator is even slower. Because they only work when the sun is out in the daytime, some items can take days in your solar dehydrator before they are ready.
How Much Do You Want To Spend?
A certain amount of commitment is involved when you decide to build something. And it’s always important to realistically assess how much time and money you are willing to invest in your project. If you are only planning on building a dehydrator because you have a sudden unexpected windfall of fruit, then you may want to just use items you already have.
On the other hand, if you are an avid consumer of dehydrated products and know you will have a continuous supply of surplus to preserve, then it makes sense to invest additional time and energy into building something that you can use over and over.
Nuts, Bolts, and Power Tools
Before you begin to build anything, it is crucial to accurately evaluate your skill level when it comes to nuts, bolts, and power tools. If you watched the video above, you saw that you can build a solar dehydrator without any fancy tools at all, so if you are technically challenged, don’t let that scare you off. Just choose a design accordingly.
On the other hand, if you are handy or willing to learn, you will find solar dehydrator plans available at all levels of varying complexity. The method we used to build our solar dehydrator did involve a fair bit of cutting and drilling, but it didn’t involve any complex carpentry skills.
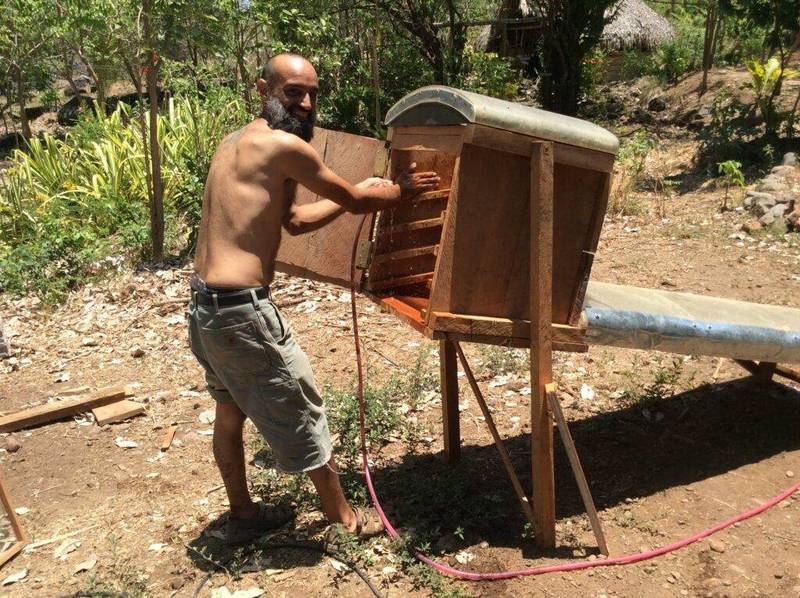
How We Built Ours
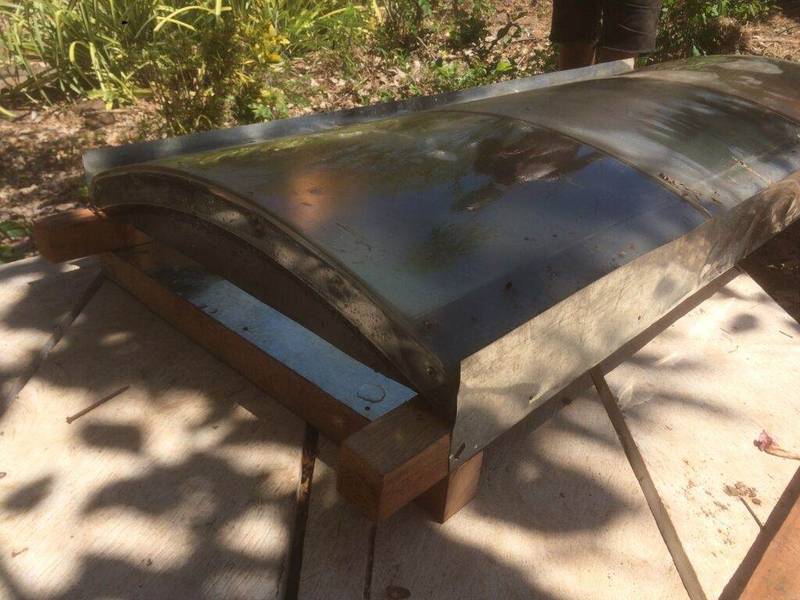
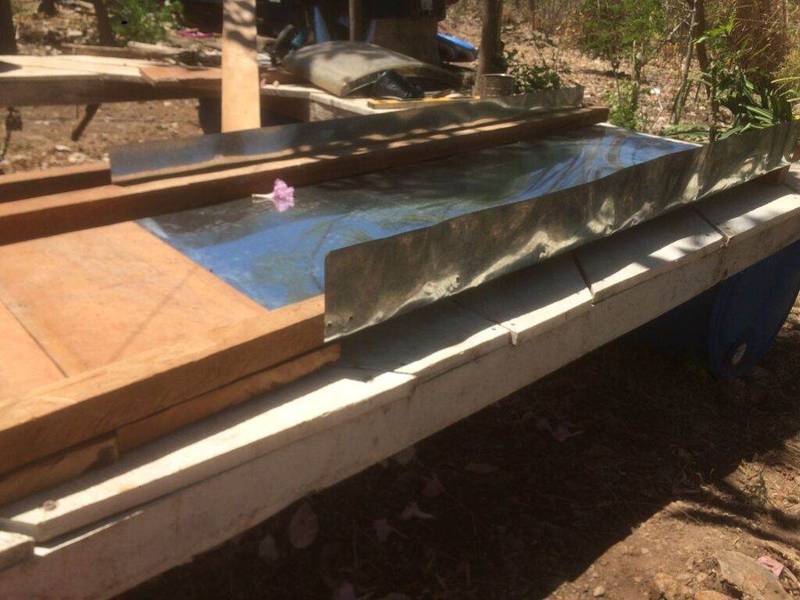
Our solar dehydrator has two main parts– the solar collector and the drying box. The solar collector concentrates the sun’s heat to warm the air. Our solar collector is made from sheet metal and repurposed acrylic domes. This is the part of the dehydrator that connects with the drying box.
The drying box is where you place the products you want to dehydrate. The hot air from the solar collector rises into your drying box. Here the warm air circulates around your food, slowly evaporating out the water.
When we built our solar dehydrator, we were lucky enough to have materials left over from previous construction projects that we could repurpose, so our costs were practically zero. A solar dehydrator doesn’t have to be expensive, and I highly encourage you to rummage around and find recycled materials that you can use for yours.
Most of the materials we used, like lumber and sheet metal, should be pretty easy to find. The only unique part of our design is the curved acrylic pieces we used in our solar collector. But You can easily replace those with another form of transparent plastic.
We based much of our design on the materials we had on hand– especially the acrylic domes. The dimensions of the acrylic domes determined both the length and width of the solar collector. You can vary the dimensions of your solar collector and drying box based on your individual needs. There is no need to follow our directions exactly. However, even if you follow our directions exactly, the angle of your solar collector will be unique based on where you live.
In order to maximize the efficiency of your solar dehydrator, you want to place the angle of inclination of your solar collector at the same angle you would place solar panels to capture the most sun. Where I live in the tropics, this angle is relatively low, around 15 degrees. However, your tint angle will be more extreme if you are in a more northern (or southern) latitude.
You can find the correct tilt angle for your solar dehydrator using a tilt angle calculator, like the one found at Footprinthero.com. It’s pretty straightforward. Just enter where you live, and it will tell you the best angle for your latitude. You will notice there is an extreme difference in the angle as the seasons vary. If you plan to use your dehydrator year-round, you will want to account for the change somehow. One way you can do this is by creating telescoping legs that allow you to raise and lower the collector.
Materials list:
- Lumber
- Sheet metal
- Clear plastic
- Hinges
- Screening material
- Screws and Nails
When we built our solar dehydrator, we first completed the solar collector. Then we made the drying chamber. Once we constructed both pieces separately, we joined them together. Finally, we elevated the dehydrator to the correct tilt angle. So let’s start with the solar collector.
Solar Collector
The most significant factor that affected the design of our solar collector was the transparent acrylic domes we used. These domes were 22 inches by 26 inches. These numbers determined both the length and width of our solar collector. We decided to use three acrylic domes in place of clear plastic to trap in the heat. This meant that the solar collector was 26 inches wide and 66 inches long.
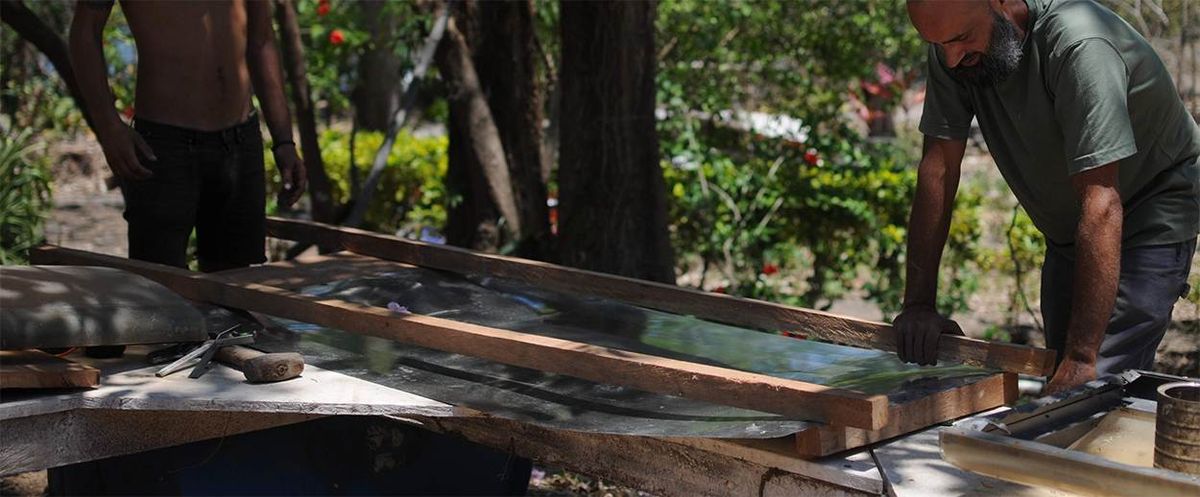
We cut two 2X2 pieces of lumber 7 ft long. We also cut one more 2X2 piece 22 inches long, as well as two pieces that we one foot by 22 inches. In between the long and short pieces, we wedged a piece of sheet metal that measured 5 ft by 30 inches.
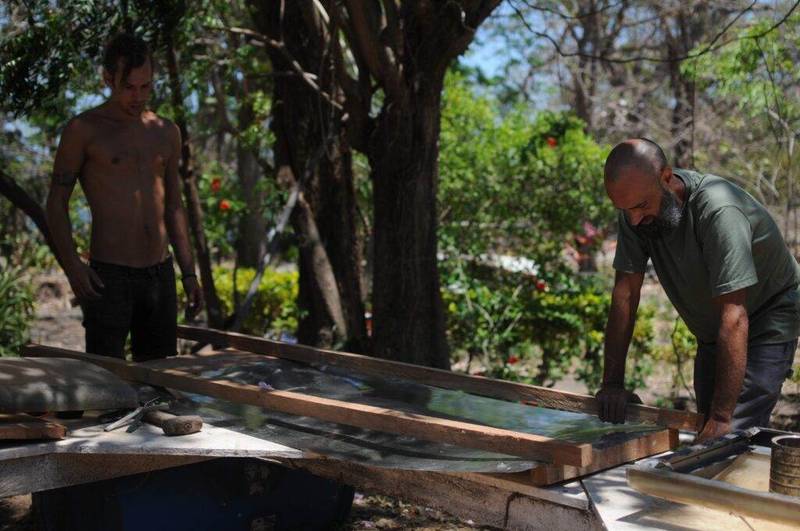
This will be the bottom of the solar collector. First, we nailed the thin short piece to one end of the long pieces to hold the sheet metal in place. You want to leave the sheet metal with several inches of overhang on both sides. Later you will wrap this up to attach it to your transparent plastic.
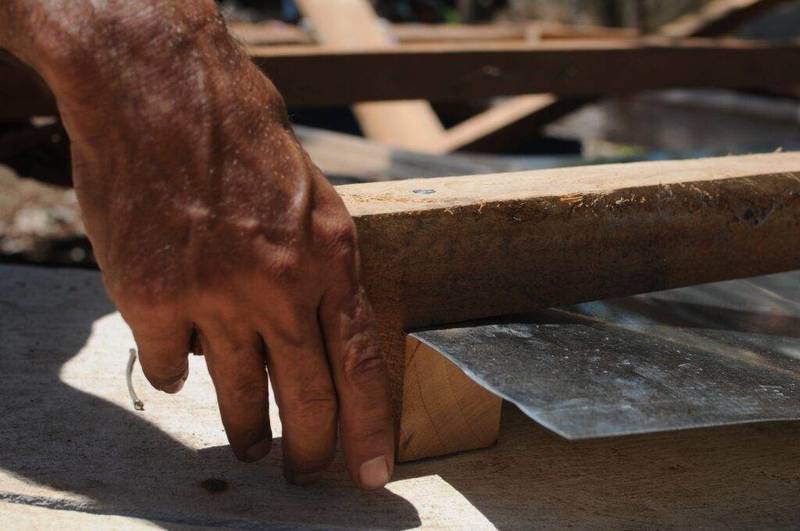
Next, we nailed the two 1 ft pieces at the other end. These pieces are beneath where the drying box will be. Make sure the wood overlaps the sheet metal to hold it in place.
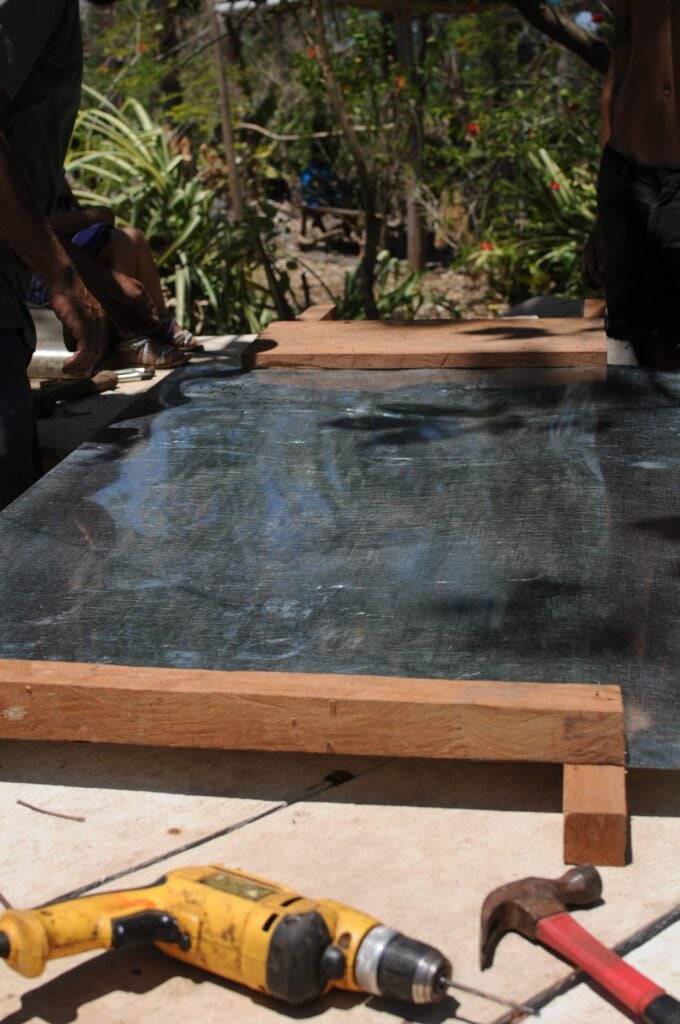
Once the sheet metal was firmly attached between all the lumber, we flipped the collector over. Then we bent up the sheet metal that was hanging over the edge. We used this overhang to connect the transparent domes to the base.
We placed all three domes and checked their positions before we did any drilling.
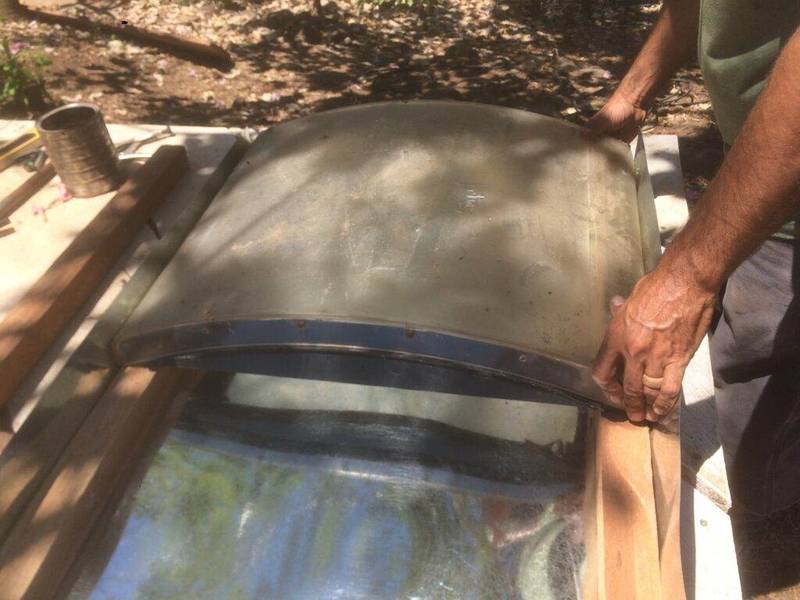
We wanted each dome to rest snuggly on top of the 2X2 pieces below.

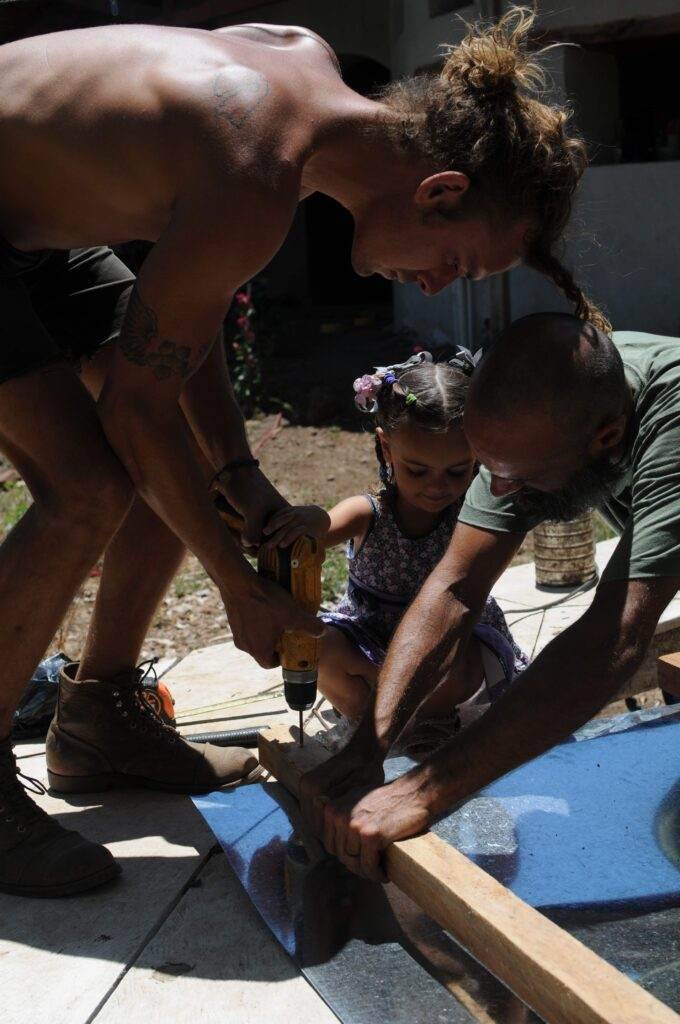
Once all three domes were set correctly, we folded the sheet metal up and used screws to connect the sheet metal to the acrylic. We did need to use a drill to get through the hard materials.
Once we connected both sides of the sheet metal, we were ready to move on to the drying chamber.
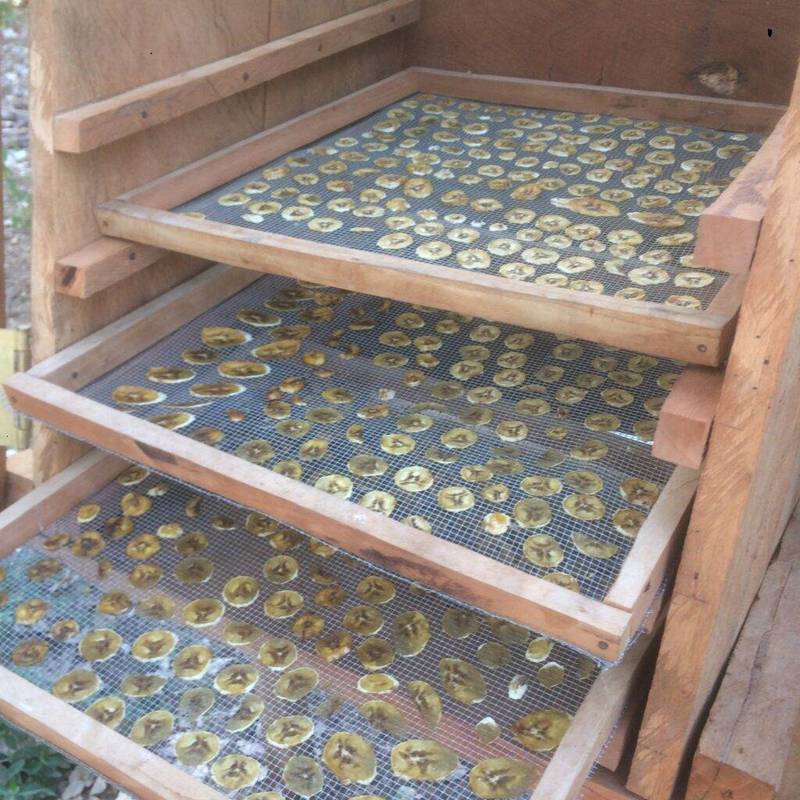
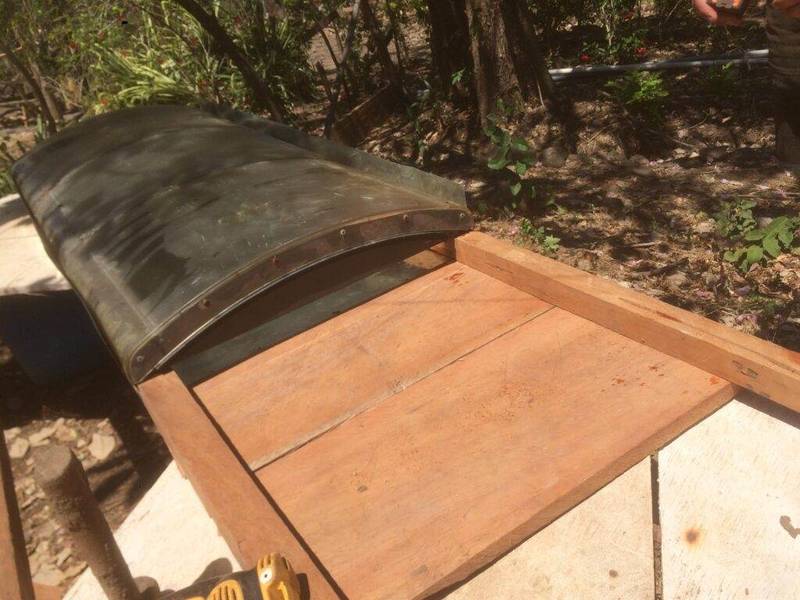
Drying Chamber
The drying chamber really isn’t anything more than a simple box that you put your drying trays in. Again, we made ours out of wood we had previously purchased, but you can build yours out of what you have on hand. Our box is more or less a 2-foot square, with a door on the back and slats inside to hold trays.
For this, we used the same one-foot boards we used on the solar collector. We used two boards per side for the three sides. We used two additional boards to make the door, which we attached with hinges. We used some skinny cross braces to get the door to hold together.
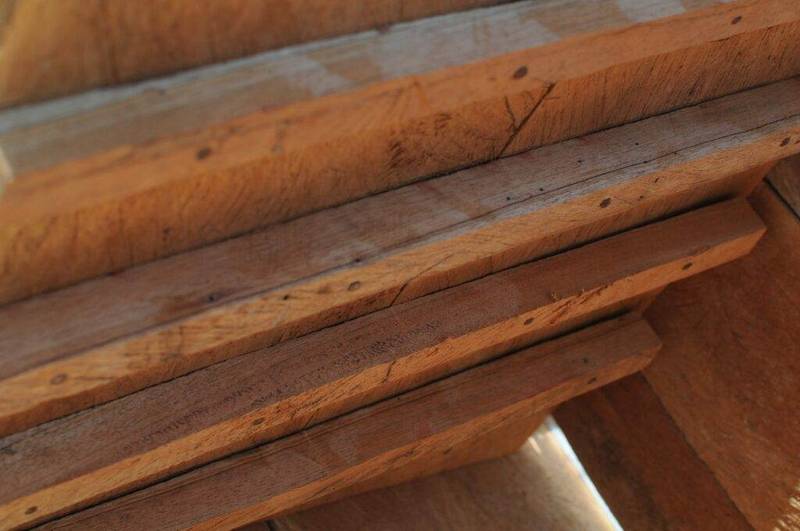
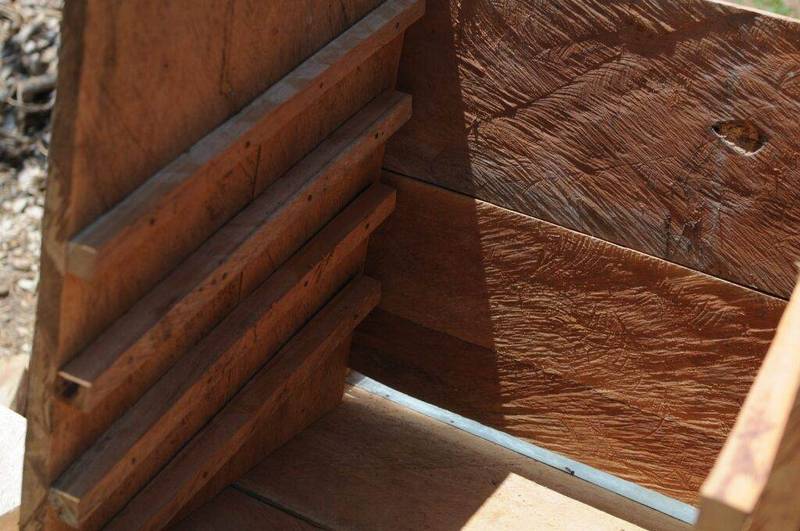
Inside this box, you want to make some sort of rails for your drying trays to rest on. We cut small pieces of wood and nailed them to the sides. It is easiest to attach the rails before you construct the box. The rails helped the two boards that made the sides hold together. Make sure you place your rails at the same angle as your tilt angle. Otherwise, your trays will slide out. Once the rails are on, you can connect the three sides.
We didn’t build a top or bottom out of wood. We had extra transparent domes, so we chose to use one more for the top of the drying box. We later placed a small solar panel beneath that dome to provide power to a DCl fan. There was no need to build a bottom since the drying box rests on top of the solar collector.
We first attached the three-sided box to the solar collector. Then we added the transparent dome on top and secured the door. Next, we attached the legs. Again, this height will be different for everyone. You want to find your tilt angle to determine how tall your legs should be.
We added some small legs to the front so the solar collector wasn’t resting directly on the ground. We also added some screening across the front. You want the air to be able to enter the solar collector freely, but you also want to do your best to keep out insects that are attracted to all the sweet-smelling fruit.
We were able to complete the project over a couple of days with minimal expenses. If you are handy, you can do the same!
Tips and Tricks for Solar Dehydrating
We built our solar dehydrator about five years ago, and since the initial construction, we’ve learned a lot about what works and what doesn’t. The first critical thing to know is that using a solar dehydrator is slower than using an electric one. And when you think about it, it makes sense. An electric dehydrator runs 24 hours a day, but a solar dehydrator only works when the sun is out. So obviously, it will take longer.
However, the longer drying time can create problems. The longer it takes for your food to dry out, the greater the risk of food spoilage. And nighttime isn’t the only thing that makes solar dehydrators take longer. Ambient humidity is another factor that can prolong your drying times. The more humidity there is in the air, the longer it will take to evaporate the moisture in your food.
During our super humid rainy season, I don’t bother to use my dehydrator for anything moist, like tomatoes, for example. They simply mold. I can, however, use it to dry herbs and other low-moisture plants.
Now just because there are challenges using a dehydrator doesn’t mean there aren’t solutions. As I mentioned before, we eventually added a small solar-powered DC fan to our design. The fan isn’t anything fancy. It’s kind you find cooling the inside of your computer. We hooked it up to a small 12 v solar panel. Now, when there is sun, the fan turns on and helps to circulate the warm air. We found that adding the fan helped speed up our drying times and vastly improved our results.
This fan is just one thing we learned to help improve our dehydrating skills. We also found that how we prepared our food before we put it in the dehydrator was as crucial as the design of the dehydrator itself.
First, you want to make whatever you plan to dehydrate is sliced thin. The thinner it is, the faster it will dry out. This is especially true of high-moisture fruits and vegetables. If you plan to do a lot of dehydrating, invest in a mandoline. This tool will allow you to cut thin, uniform slices easily.
Once you slice your food, make sure you leave space on your drying trays for the air to circulate. I’m always tempted to cram as much as possible into the dehydrator since I know I have to wait a few days before I can do my next batch. But I have learned DON’T DO IT! If your food is too crowded, the air can’t properly circulate. If that happens, your food will take way longer to dry out. And when you go to check on your bounty, you are much more likely to find it has all spoiled. (Don’t ask how I know that!)
However, while solar dehydration can seem tricky at first, you will learn what works once you practice. If you start with low-moisture foods, sliced thin, with plenty of space, you should get great results from the start. And as you practice more, you will learn what works best for you where you live and gain more confidence to experiment.
Final Thoughts
Solar dehydration is an excellent method of food preservation. From low-tech to high-tech designs, they all rely on the same principals– harnessing the sun’s power to remove water from your food. Doing this makes your food last longer and, in some cases, even taste better.
The design we shared is just one of many effective designs out there for solar dehydrators. You can follow it as written or choose to adapt it to your unique circumstance. Just remember to consider the different factors that can impact your final design.
Once you have built your dehydrator, you are ready to start using it. With proper food preparation– cutting the material small and leaving plenty of room for airflow– you can expect great success. Once you begin dehydrating, you’ll find yourself looking for new and exciting things to try to dry out.
So what are you waiting for? Get building!
About the Author
After ten years of living on Ometepe, Rachael is passionate about the connection between nature, food, and homes. She believes in returning to living in homes made from local materials and eating food grown close by.