
For years I gardened the way most people do: I bought whatever fertilizer the label promised would help, dug it in, and hoped. Some beds thrived and some sulked, and I never really knew why. The day I finally learned how to test my garden soil was the day the guesswork ended. A soil test is the single most useful piece of information you can have about your ground, because it tells you exactly what your soil already has, what it lacks, and whether its pH is even letting your plants use the nutrients that are present. In a permaculture garden built on feeding the soil rather than force-feeding the plant, that knowledge is the foundation everything else stands on.
In this guide I will walk through why a soil test matters, what it actually measures, how to take a sample that gives you honest numbers, the difference between a professional lab and a home kit, and how to turn the results into real decisions in the garden. It is not complicated, and doing it once will change how you think about your soil for good.
Why Test Your Soil at All?
The short answer is that you cannot fix what you cannot see. Soil looks uniform from the surface, but two beds a few feet apart can differ wildly in pH and nutrient levels. Testing replaces guessing with facts, and that pays off in three ways.
- You stop wasting money and inputs. Adding phosphorus or potassium to soil that already has plenty is money down the drain, and excess nutrients can wash into waterways. A test tells you what to skip.
- You fix the real bottleneck. Struggling plants are often held back by pH or a single deficiency, not a general lack of "plant food." Correcting that one thing does more than any all-purpose fertilizer.
- You protect long-term soil health. Knowing your organic matter level and pH lets you build fertility deliberately instead of lurching from one product to the next.
I learned this the expensive way. One bed of mine grew stunted, pale crops for two seasons no matter how much organic fertilizer I threw at it. A five-dollar test finally told the story: the pH had drifted well below 5.5, and the plants simply could not absorb the nutrients already sitting in the soil. A dose of lime the following season, and that bed became one of my best. No amount of fertilizer would have solved a pH problem.
What a Soil Test Actually Measures
A standard soil test from a university lab reports several things, and it helps to know what each one means before your results land in your inbox.
pH: the master variable
Soil pH measures how acidic or alkaline your soil is, and it matters more than almost anything else because it governs nutrient availability. As Penn State Extension explains, when pH sits outside a plant's preferred range, nutrients get locked up chemically and become unavailable even if they are physically present. Most vegetables and fruits do best in slightly acidic to neutral soil, roughly a pH of 6.0 to 7.0. There are important exceptions: blueberries demand acidic soil around 4.5 to 5.5, and potatoes favor the slightly acidic end, partly because it helps suppress scab. This is why pH is the first number I look at on any report.
Nutrients and organic matter
A test also reports plant-available levels of key nutrients, typically phosphorus (P), potassium (K), calcium, and magnesium, and it usually rates each as low, optimum, or excessive. One thing that surprises new gardeners, noted by both Clemson Cooperative Extension and other labs, is that standard tests generally do not report nitrogen. Nitrogen is so mobile in the soil, constantly cycling and leaching, that a single snapshot would be meaningless, which is exactly why we manage it through compost, nitrogen-fixing cover crops, and organic matter rather than a lab number. Most tests also report your percentage of organic matter, which is one of the best indicators of overall soil health, and many include the cation exchange capacity, a measure of the soil's ability to hold onto nutrients.
How to Take a Good Soil Sample
Here is the part that determines whether your results are worth anything: the sample. A lab can only analyze what you send it, and a careless sample gives you precise numbers for the wrong soil. The goal is a representative composite sample that averages the whole area you are testing.
My routine, which follows what soil labs like the UMass Soil and Plant Nutrient Testing Laboratory recommend, looks like this:
- Sample by zone. Test areas with different histories separately. My vegetable beds, the lawn, and the fruit trees each get their own sample, because they have been managed differently and will read differently.
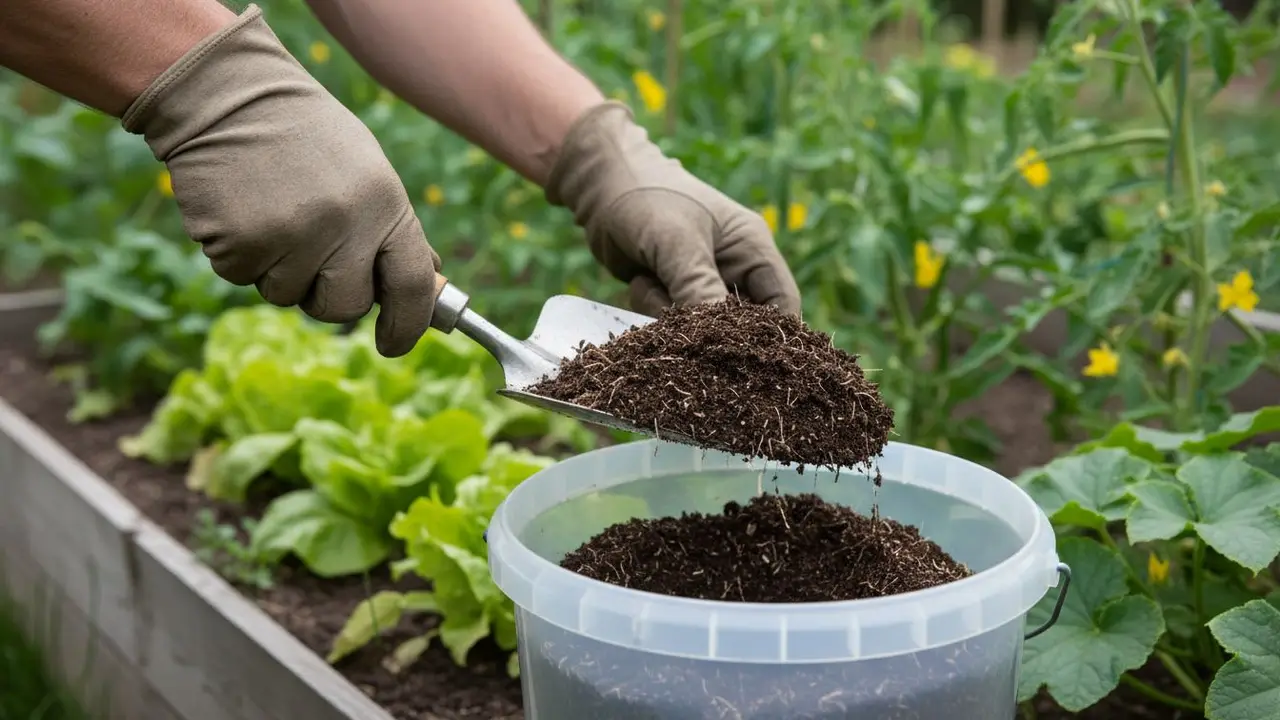
- Take many small cores, then mix. Within one zone I zig-zag across the whole area and pull ten to fifteen small slices of soil with a trowel, dropping them all into a clean plastic bucket. I mix that thoroughly and scoop out the cup or two the lab asks for. That blend is what makes the result representative rather than a fluke reading from one spot.
- Get the depth right. For a vegetable garden, sample down to about six inches, the working root zone. For lawns, sample shallower, around three inches.
- Keep it clean. Use a clean bucket and avoid touching the soil with galvanized or brass tools, which can contaminate a micronutrient reading. Let the sample air-dry before mailing.
The best time to sample is fall or early spring, and ideally you sample at the same time of year each time so results are comparable. For an established garden, testing every two to three years is plenty; for a brand-new bed, always test before you start amending.
Lab Test vs. Home Kit: Which Should You Use?
There are two ways to get numbers, and they serve different purposes.
A professional lab test, almost always available cheaply through your state's land-grant university Extension service, is the gold standard. For a modest fee you mail in your sample and receive accurate readings for pH and nutrients plus, crucially, specific recommendations for how much lime or fertilizer to add for the crops you name. Services like the Michigan State University Extension soil test mailer are built exactly for home gardeners. This is what I use whenever I need real decisions, because the tailored recommendation is worth more than the raw data.
A home test kit or pH meter is the quick-and-dirty option. The color-change chemical kits and inexpensive probe meters you find at garden centers can give you a rough, instant read on pH, which is genuinely useful for a fast check. But they are far less accurate than a lab, especially for nutrient levels, and they come with no interpretation. I keep a probe meter for spot-checking, but I never make a major amendment decision on its word alone.
The one test you can do yourself: soil texture
There is one valuable test that needs no kit at all. To gauge your soil texture, the balance of sand, silt, and clay that drives drainage and workability, fill a straight-sided jar about a third full of soil, top it up with water and a pinch of dish soap, shake it hard, and let it settle for a day or two. Sand drops to the bottom within a minute, silt over a few hours, and clay forms the top layer. The relative bands tell you what you are working with. When I moved to a property with heavy clay, this simple jar test told me immediately that my priority was adding organic matter and building raised beds rather than chasing nutrients.
How to Act on Your Results
Numbers only matter if you do something with them. Here is the order I work through a report.
Fix pH first. Because pH unlocks everything else, it is always my first move. If the soil is too acidic, garden lime raises the pH; if it is too alkaline, elemental sulfur lowers it. A good lab report tells you exactly how much to apply based on your buffer pH, so you are not guessing at the rate. These amendments act slowly, so I apply them in fall to be ready for spring.
Address real deficiencies, ignore phantom ones. If phosphorus or potassium reads low, I choose a targeted organic amendment to supply it. If a nutrient reads optimum or high, I add nothing, no matter what a bag promises. This is where testing saves the most money. One "poor" bed of mine turned out to be high in phosphorus all along; I had been feeding it a nutrient it did not need for years.
Build organic matter no matter what. Almost every soil test recommendation for a home garden includes raising organic matter, and this is the one amendment that is always safe and always helpful. A generous layer of finished compost improves structure, feeds soil life, buffers pH, and slowly releases nutrients. In my no-dig beds I simply top-dress with compost every year and let the worms do the mixing, which steadily lifts organic matter over time.
Acting on a test also quietly supports plant health downstream. Balanced nutrition and correct pH grow sturdier, more resilient plants, which is a cornerstone of preventing plant disease, and a calcium reading can flag the kind of imbalance behind blossom end rot on tomatoes. Testing also pairs naturally with crop rotation, since different crops draw down different nutrients as they move through your beds.
Test Once, Garden with Confidence
My honest takeaway after years of gardening blind and then gardening with data is that a soil test is the highest-value few dollars you can spend on your garden. It ends the cycle of buying products on faith, it protects you from over-applying, and it turns soil building from a mystery into a plan. Start by contacting your local Extension office for a soil test kit, pull a proper composite sample from each zone this fall, and read the results before you buy a single amendment. For the next steps, from choosing the right amendments to building fertility the low-input way, our soil and gardening library has a guide for each part of the journey. Know your soil, and everything you grow in it gets easier.
Sources
- Penn State Extension — Soil Testing
- Clemson Cooperative Extension (Home & Garden Information Center) — Soil Testing
- University of Massachusetts Amherst — Soil and Plant Nutrient Testing Laboratory
- Michigan State University Extension — Home Lawn and Garden Soil Test
- USDA Natural Resources Conservation Service (NRCS) — Soil Health
About the Author
Lucas is a writer and researcher focused on sustainable agriculture and permaculture practices.