Did you know that sesame is the world’s oldest oil plant? That’s right– it’s true. If you thought sesame seeds only went on hamburger buns and bagels, prepare to have your mind blown. From cooking oil to sweet desserts, sesame is featured in cuisine around the globe.
Not only are we going to tell you a ton of ways to eat sesame, but we’ll also tell you how you can grow it at home. (It’s easier than you think!)
Sesame an Ancient Seed with Modern Uses
Humans have been growing sesame since ancient times. And it’s no wonder. While tiny, sesame seeds are packed full of flavor. Not only are they delicious and nutritious, but they also are pretty easy to grow in the right climate. Sesamum indicum originated in India and now grows around the world in tropical and subtropical regions.
It’s easy to see why sesame cultivation spread. Sesame is a hardy plant and can thrive in places where other plants won’t. Not only can it grow in depleted soil, but sesame’s extensive root system also makes the plant very drought tolerant. This haleness makes it an ideal crop for permaculturists regenerating overused lands.
Permaculture is about stacking functions, and multiple uses and sesame has that covered. You can use sesame in more ways than just cuisine. Sesame oils can also be used in cosmetics and it has medicinal properties as well. So let’s look at what you need to start growing sesame in your food forest.
Let’s Start Planting Sesame
Sesame is grown from sesame seeds, the same ones that we eat. In fact, you may even be able to sprout the seeds you buy at the grocery store. So if you have some sesame seeds hanging out in the pantry you can take a shot at sprouting them. Otherwise, you can buy your seeds from a reliable seed supplier either locally or online.
Sesame takes between 100-135 days to mature. So, if you don’t live in a warm tropical climate like I do, you probably want to germinate your seeds inside several weeks before the first frost. Sprouting your seeds early allows you to start harvesting your crop in July or August.
However, if you are in a warm climate with an extended growing season, you can seed directly in the ground with good results. Here seeds are planted at the beginning of the rainy season, around May and June. They are then harvested from September to October.
Plant your seeds about ¼ inch in the ground. Place several seeds in each hole and space the holes 2-3 feet apart to allow adequate space to grow. It takes about 10-14 days for your seedlings to sprout.
You want to make sure your seedlings get enough water when they are young. Without enough water germination will suffer. However, once the plants are established, sesame is very drought tolerant. Good soil and drainage, as well as warm temperatures and plenty of sun, will help your sesame thrive.
What Sesame Wants
Once your sesame is established it requires little care to be successful. This is one reason sesame is so popular. Once sesame has germinated it is incredibly heat and drought resistant. In fact, where I live, since sesame is a rainy season crop, we worry more about too much rain with sesame than not enough.
Too much water can lead to waterlogged roots and rot. Well-draining soil is the key to a successful harvest. If you don’t have loamy soil, choose sand over clay-heavy earth. Your plants will thank you for it.
While sesame is easy to grow, it can suffer from pest infestations just like any other crop. Luckily, healthy crops tend to be way less susceptible to insects. If you do find something eating your sesame aphids, caterpillars, and leaf hoppers are the most common culprits. You can get rid of these pests pretty easily and organically by just using neem oil.
How to Harvest All Those Little Seeds
I have to be honest and say the idea of harvesting thousand of sesame seeds was pretty daunting at first. And while the whole process from start to finish was time-consuming, there was something very satisfying when I finally saw all those clean little sesame seeds. But before you get to that end result you do need to put in some work.
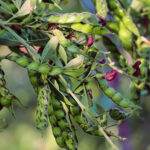
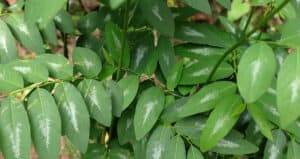
Before your sesame plants produce seeds, they will flower. Sesame flowers are small and delicate. They begin to form at the bottom of the plant and then move up the stalk. As they change to seed pods you will see the same pattern. Seed pods begin to form lower on the plant first and then higher up with time.
When the seed pods first form they are green but as they ripen and mature they brown. Left unharvested the pods will eventually burst open and eject their seed. I read somewhere once that this was the origin of the phrase, “Open sesame.” To prevent seed loss, you want to cut your plant when the seed pods on the bottom first begin to dry.
Where I live people harvest their sesame and tie them into tipi-shaped bundles to dry in the field. Once your sesame is dry, it is time to thresh it. Threshing involves removing all those tiny seeds from their pods. There are many different methods of threshing.
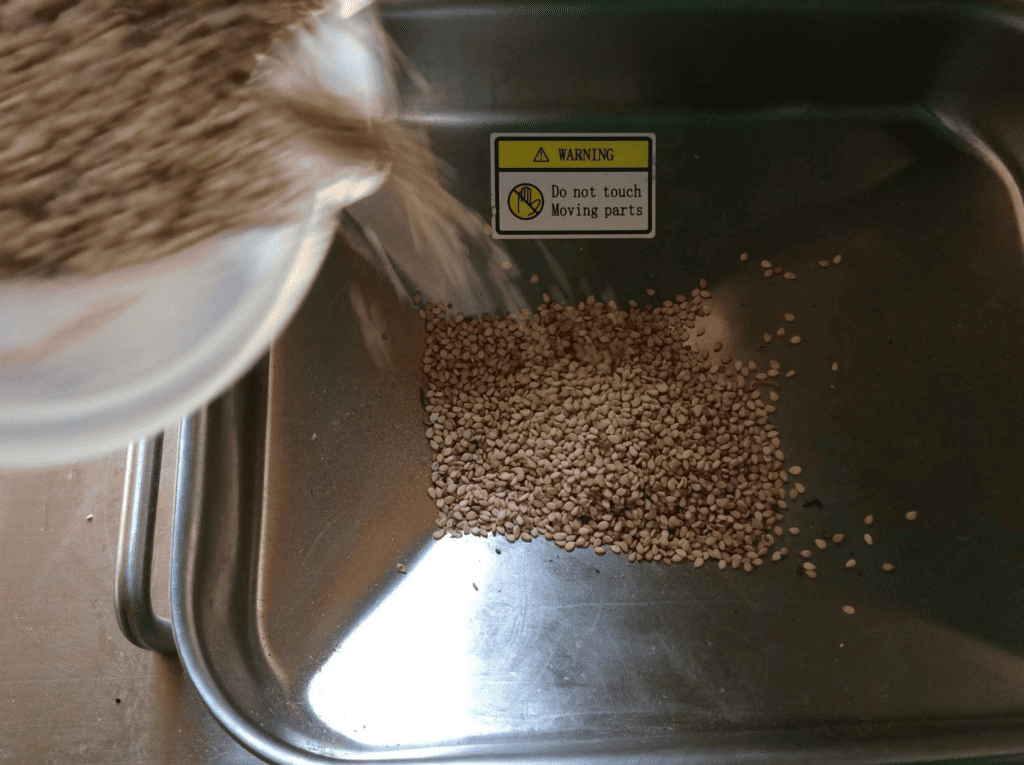
We found that putting the stalks upside down in a sac and shaking was a fairly effective method for small quantities of seeds. However, if you have a whole field of sesame growing this method can be time-consuming. You may find it easier to thresh large quantities of sesame directly in the fields.
Lay out large tarps near your harvested sesame. Place your dried stalks on the tarps and beat them. The seeds will easily shake loose from the seed pods and land on the tarp. If any seeds do escape, hopefully, they will sprout next year. Once all your stalks are clean, remove them from the tarps. Then carefully move the seeds from your tarps to sacks or barrels for storage until you are ready to process them.
You will probably need to clean your sesame one more time to separate out any seed pods and debris that is mixed in with your seeds. And it is important that the seeds are completely dry before you put them in long-term storage. Moist seeds go rancid more quickly and are highly susceptible to mold.
Beyond the Seed: How To Use and Save Your Sesame
Not only is sesame easy to grow but there are also many different ways you can use sesame in your kitchen and on your farm. Sesame has a delicious nutty flavor that can be used in both sweet and savory dishes. Besides just straight up eating the seeds, they also can be ground into a paste or processed into oil. So let’s explore what you can do with all those sesame seeds you harvested.
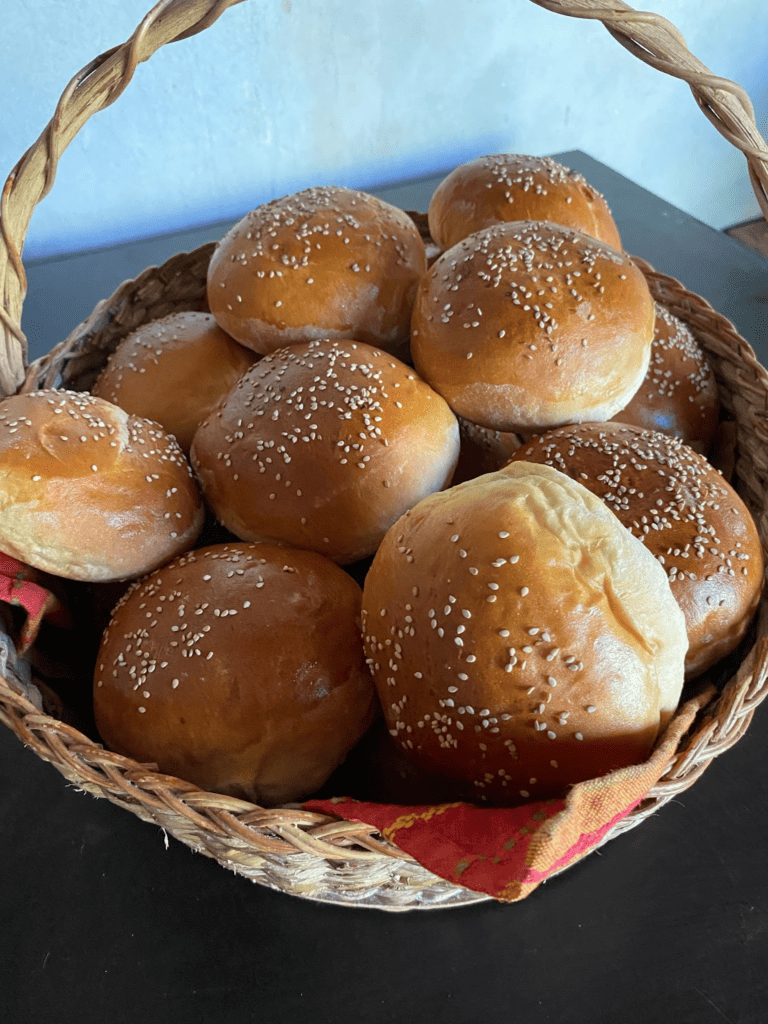
The easiest and most simple way to consume sesame is raw, like any other seed or nut. But personally, I’m not a fan of just eating sesame seeds by the handful. I do, however, love to sprinkle them on top of my salads and burger buns. It adds just the right crunch and nuttiness. You can also add them to a trail mix, or put them in energy or granola bars. Get creative.
While raw sesame is tasty because of its high oil content it can go rancid quickly. You want to make sure you fully dry your sesame before you try and store it. Improperly dried sesame is apt to spoil more quickly. But if you are looking to store your sesame long term your best bet is to further process it into tahini or oil. Once processed in this fashion your sesame harvest can be preserved for several years.
Tahini
Tahini is a paste made from ground-up sesame seeds. While it’s a common ingredient in Mediterranean and Middle Eastern cuisine, it’s relatively unknown in the United States. If you are familiar with tahini, you may only know of its use in hummus. But the truth is tahini is a versatile ingredient that’s super easy to make from sesame seeds. And it lasts virtually forever in sealed jars, making it a great way to store your harvest.
The easiest way to make tahini at home is to use a high-powered blender, like a Vitamix. With this tool, you can whip up delicious homemade tahini in minutes. The best thing is the only ingredient you need is sesame seeds. All you do is place your seeds in your blender and turn it on. Slowly crank it up to full speed. Let it run for two to three minutes, making sure the seeds stay in contact with the blade. When your seeds are a smooth paste, you’re done.
The only trick to using a Vitamix is you do need a lot of sesame seeds, roughly 5 cups or around 700 grams. If you don’t put enough seeds in then there isn’t enough mass in your blender for it to work properly.
Don’t worry if you don’t have enough sesame seeds or a super high-powered blender. You can still make tahini the old-fashioned way, it will just be a bit more work. Traditionally tahini stone ground. You can use a mortar and pestle to grind up small quantities of seeds. This method requires a lot more elbow grease and the end result isn’t as smooth as you get from a blender. You can stir in a little sesame oil to get a smoother consistency.
Once you have your tahini there are a ton of great ways to use it. Hummus is of course a common use, as we mentioned, but there many other recipes that you can use it in. Try it in stir-fries, salad dressing, or even cookies!
Sesame Oil
As soon as you start handling sesame plants you will understand why our ancestors began cultivating them for oil. The plants themselves are oily, leaving a residue on your fingers. That’s because sesame seeds contain between 40-60% oil. The high oil content means you only have to press a small quantity of seeds (when measured by weight) to get a high oil yield.
Let’s do some quick math to show you what that really means. Let’s say just say have a pound of sesame seeds. That is 16 ounces. If you run that pound of seeds through the press you will get around 8 ounces, or one cup, of oil. When it comes to pressing oil that’s a pretty good result.
When we started producing our own oil we purchased a small countertop oil press. They are available from several online retailers. If you think you will be producing oil in any quantity I highly recommend you purchase a press. It makes creating sesame oil a breeze.
We gently warm our sesame before it goes into the press. Warming helps increase your yield. But warming it is different than toasting it. You also can toast your sesame seeds to create toasted sesame seed oil. Toasted oil will have a stronger sesame flavor, while if you only warm your seeds the flavor is a bit more neutral.
Once your seeds are warm all you need to do is feed them into the hopper. The biggest challenge you face pressing sesame oil is making sure your seeds have been thoroughly cleaned of any rocks and debris from the fields. If you miss the small rocks and they pass through your press they can damage your auger or break your motor.
The auger will press the oil from the seeds and it will exit the press to be collected. The remaining solids are usually referred to as sesame cake.

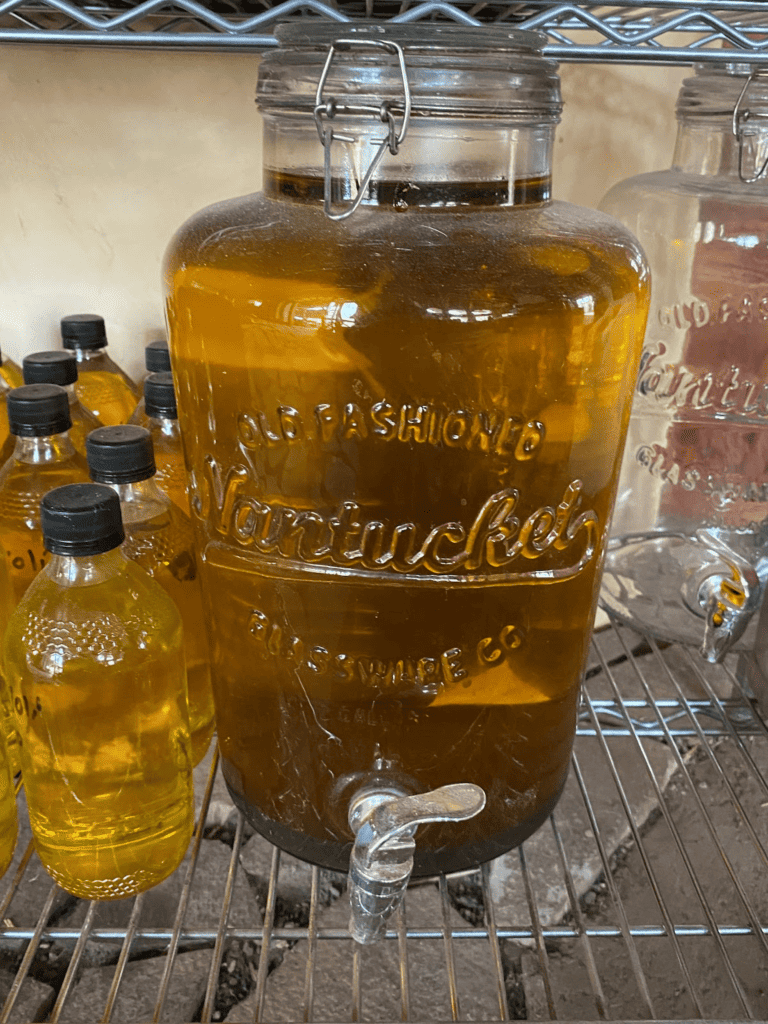
When the oil first comes out of the press it’s a bit cloudy. However, it will clear as it settles over time. Once it has cleared your finished oil will have a beautiful golden color and be rather neutral in taste. We use it for all our general cooking needs, rather than using commercially produced vegetable oil.

While the oil is the end goal, you don’t think of your sesame cake as waste! This byproduct has many uses. Sesame cake makes a great supplement to your chicken feed if you have feathered friends. I also grind it up and use it like flour. My favorite thing to do with it is use it for sesame sourdough discard crackers.
Final Thoughts
I’ll admit the idea of harvesting tons of tiny seeds was intimidating at first. But honestly, in the end, I found sesame was easy to grow and not so terribly difficult to harvest. Once your sesame germinates, it is a remarkably resilient plant. As I’ve said before, it’s easy to see why our ancestors chose to grow it.
Once you have harvested your sesame, you have so many choices on what to do with it. We usually keep a small number of seeds to eat and add to recipes but in the end, we process most of it into oil for long-term storage. Whatever you choose to do with your sesame, you won’t be disappointed.