You may not be familiar with turmeric by name, but chances are, if you’ve ever had an Indian curry, you’ve eaten this pungent herb. Not only does turmeric add flavor, but it also has numerous health benefits, making it a great plant to have in your permaculture garden. Like all good permaculture plants, turmeric has multiple functions and uses. Follow along throughout this growing guide as we dig deep to explore this vibrant rhizome.
Turmeric – Ginger’s Colorful Cousin
Turmeric, Curcuma longa, is an herbaceous plant native to Asia. It is part of the Zingiberaceae family, the same family that includes other spices like ginger and cardamom. Turmeric grows best in tropical and subtropical regions as it prefers hot, moist climates.
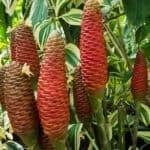
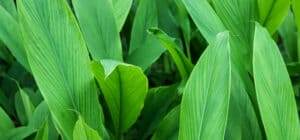
The plant has large elliptical leaves that can reach heights up to three feet or more and produces a beautiful flower that is white with a greenish tinge. But the true prize of the turmeric plant is found underground.
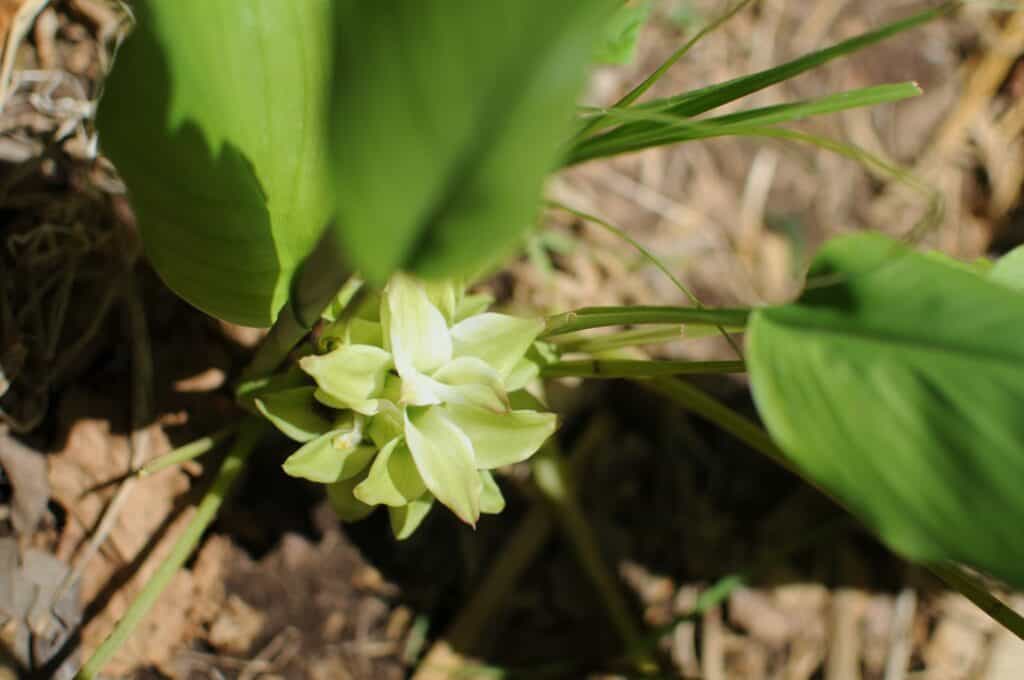
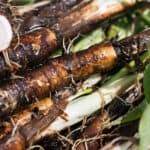
Turmeric, like its cousin ginger, grows rhizomes below the ground. You may think rhizomes are roots, but they aren’t. Rhizomes are a stem that grows under the soil rather than out in the air. All plants have roots, stems, and leaves, but some parts grow above ground and others below it. While we commonly think of stems growing above ground, that is not always the case.
While rhizomes are the primary stem in plants that have them, they grow horizontally below or along the ground rather than vertically. Rhizomes help store plant nutrients, carbohydrates, and aid in reproduction. In turmeric’s case, the rhizomes are packed with curcumin, the flavonoid responsible for its bright yellow color and many of it’s studied medicinal properties.
People have been using turmeric for thousands of years. While turmeric’s medicinal and culinary uses often come to mind, one of the earliest uses for turmeric was dying fabrics. People still use it for that today. The iconic yellow monk’s robe is an excellent example of an ancient technique being used in modern times.
Growing & Propagating Turmeric
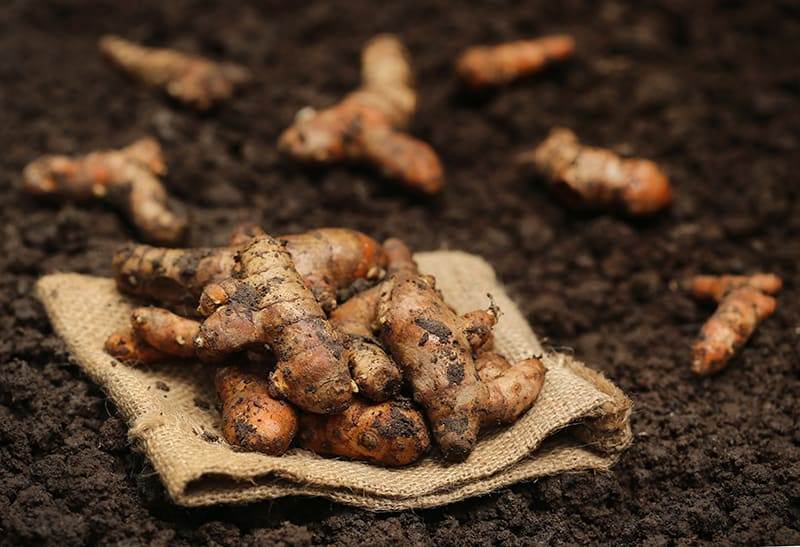
For a tropical plant, turmeric is relatively easy to propagate. You don’t need to order seeds from an exotic plant catalog or anything complicated like that. And that’s because we propagate turmeric from the same rhizomes we eat.
If you’re lucky, you may be able to find some at your grocery store. However, if you live in a smaller town, you may have to look farther afield. Check out Asian specialty stores or high-end specialty grocers. You’ll find turmeric in the produce section near the ginger. If you’ve searched high and low and still can’t find them locally, or if you’d prefer to purchase organic pesticide-free turmeric, you can always order rhizomes online.
Look for nice plump rhizomes with multiple nodes, which is where they’ll sprout from. You can take the bigger rhizomes and break them down into smaller sections in order to multiply the amount of turmeric you can plant. Planting larger pieces often produces more vigorous plants as they have more stored energy within the rhizome to sprout and grow from. Whatever size rhizome you plant, each piece should have approximately two to three nubs on them which are the bumps where they’ll sprout.
Turmeric is easy to propagate and grow if you live in a tropical or semi-tropical location. But even if you live someplace colder, you can still grow this beneficial plant.
Propagation in the Tropics
The first year we planted it on our farm, we planted it at the end of the dry season. We had a volunteer who watered that turmeric day and night. And nothing grew. After a month, he dug up the bed to see what was going on. And he found exactly what he had put there– a pound of turmeric rhizomes.
About two weeks after that volunteer left, the seasons turned, and the rains came. Before we knew it, we had a mountain of turmeric sprouting. From this initial batch of turmeric, we have continued propagating it all over our farm. Every year we harvest what we need and replant the excess rhizomes.
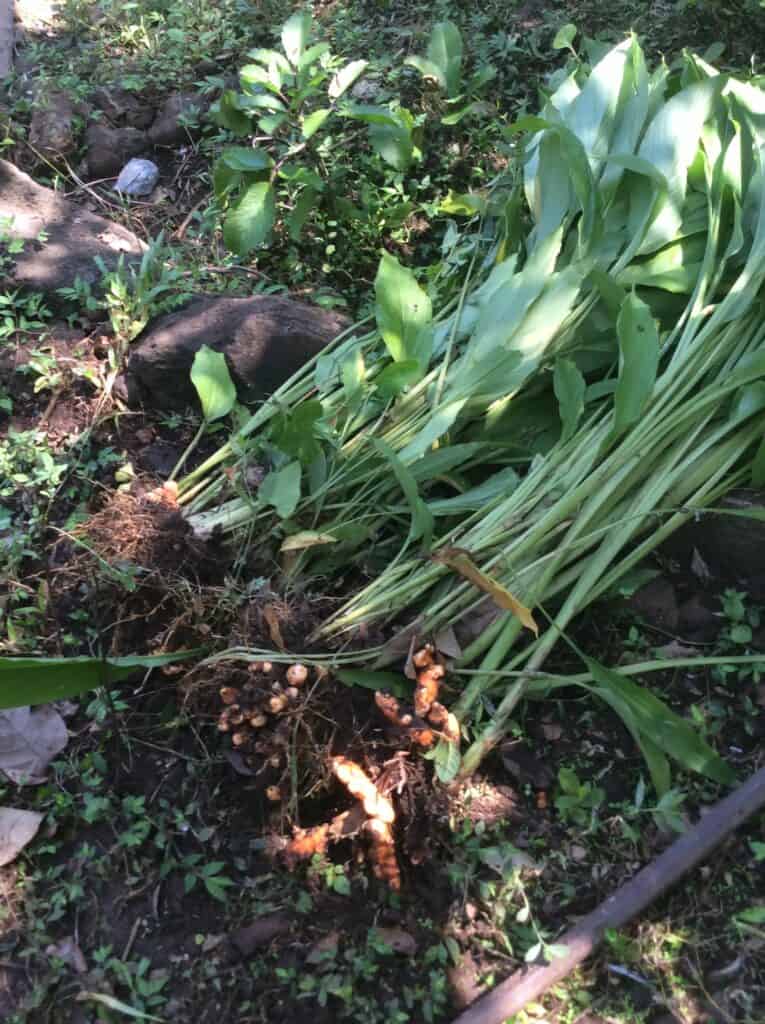
As I said, turmeric propagation is pretty straightforward. Simply bury the rhizomes under the soil. They like damp areas, but you don’t want the soil to be waterlogged. Turmeric can grow in full sun, but you can see by the size and shape of its leaves that it is a plant that thrives in the forest’s understory. So look for areas with dappled sun to mimic its natural habitat. We grow a lot of turmeric along our paths, where it is shaded by taller trees behind them.
Plant it before the first rains to take advantage of the entire rainy season. When the rains end, the leaves will often die back. You can harvest the rhizomes at this time. However, if you leave them in the ground, they will return the following year to become bigger and stronger.
Growing Turmeric in a Pot
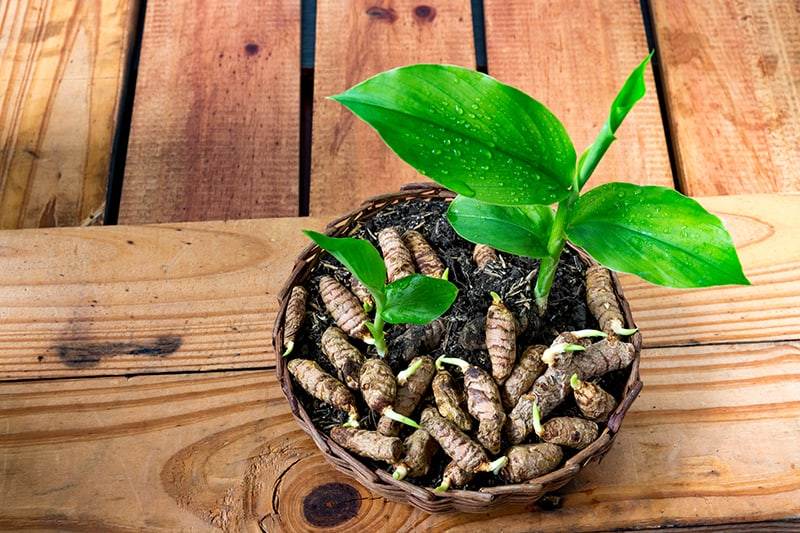
While turmeric propagation in a temperate climate is more complicated than in its native environment, it is very possible to grow turmeric in a pot and harvest it. You will want to start your turmeric several weeks before the possibility of frost passes. Starting early in the year indoors helps you extend the growing season beyond what you will find naturally in a cold climate.
You can start your rhizomes in a small pot to begin with unless you’d prefer not to transplant it later in which case you can use at least a 5-gallon pot to provide some room for the rhizomes to expand outward. Prepare your pot with several inches of good potting soil.
Once your pot is prepared, you will want to select a small piece of your rhizome to plant. You want to make sure the piece of rhizome you choose has several nubs on it. These are what the plant will sprout from. Sometimes you can even see a tiny sprout growing before you plant it.
Place the rhizome in the pot and cover it with at least four inches of soil. Water your plant thoroughly. You may want to cover your plant with a clear plastic bag. The bag will help trap moisture in and encourage germination– think of it as a mini-greenhouse. You also want to make sure your plant stays toasty warm (remember, it comes from the tropics). So look for a warm area in your house for it to live and make sure you wait until all danger of frost has passed before you move your turmeric outside.
How to Care For Your Turmeric To Ensure a Bountiful Harvest
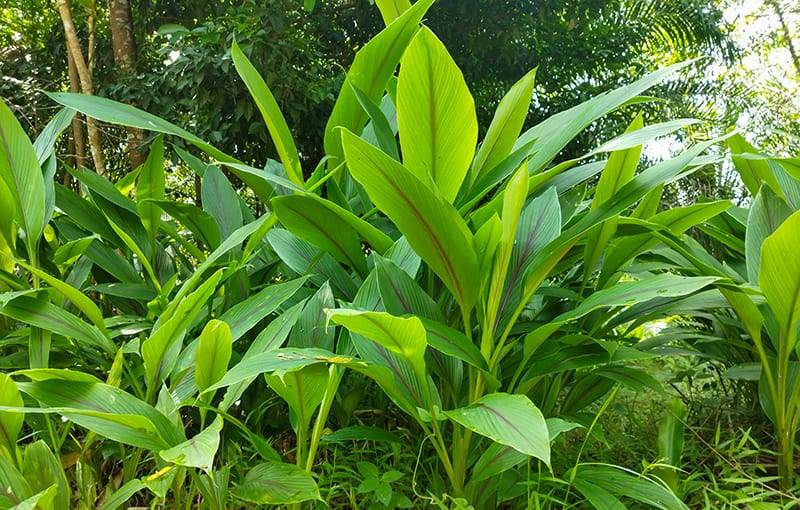
In a warm, humid environment, turmeric needs very little care to grow well. In fact, I worry more about turmeric spreading and taking over my property than I do about pests and diseases. Remember, turmeric is a perennial and will die back every year in climates that have even a mildly cool winter. So as the rainy season comes to an end, it is normal for the leaves to dry out.
If you are keeping your turmeric in a pot, you want to make sure you keep the soil moist. Water and warmth are the key ingredients to keeping your turmeric happy. While you want the soil moist, your pot needs to have good drainage. If the soil becomes waterlogged, you run the risk that the rhizomes will begin to rot.
When turmeric is grown in a monoculture, like they do for production in India, it is more susceptible to diseases like rhizome rot and foliar diseases that can easily spread through a crop. Pests like the shoot borer and leaf roller can also prey on turmeric crops. However, one of the advantages of permaculture is that diversity in your food forest helps minimize pest infestations.
Digging for Gold – How to Harvest Turmeric Rhizomes
If you live in a tropical climate, you’ll want to harvest the golden rhizomes at the end of the rainy season. The best way to know its harvest time is when the leaves begin to brown and wilt. If you have it growing in a container, then you will want to harvest it towards the end of fall. Keep in mind turmeric is a perennial plant, so if you don’t harvest when the leaves die, the plant will return the following season.
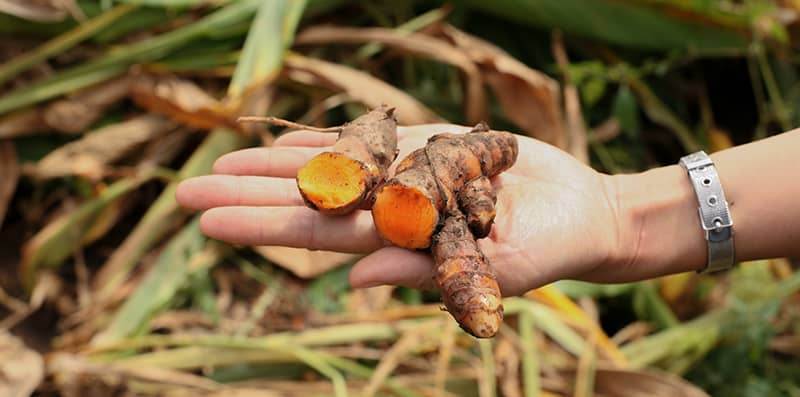
Ideally, you should wait at least until the second season to get good-sized rhizomes. However, I’ve certainly harvested young turmeric and used it just fine. Heck, I’ve harvested turmeric in the height of the rainy season as well, but the rhizomes get larger if you let them grow for the entire season.
It’s relatively easy to harvest turmeric. You just want to dig the rhizomes up straight from the ground. While you can use a trowel if you plan to harvest more than a plant or two, I recommend using a bar or pitchfork to help loosen and pry the rhizomes from the ground.
While it is the rhizome we are harvesting, all those leaves are not without use. They will impart the same spicy flavor and distinctive color as the roots.
Beyond Curries – Creative Ways to Use and Preserve Your Turmeric Harvest
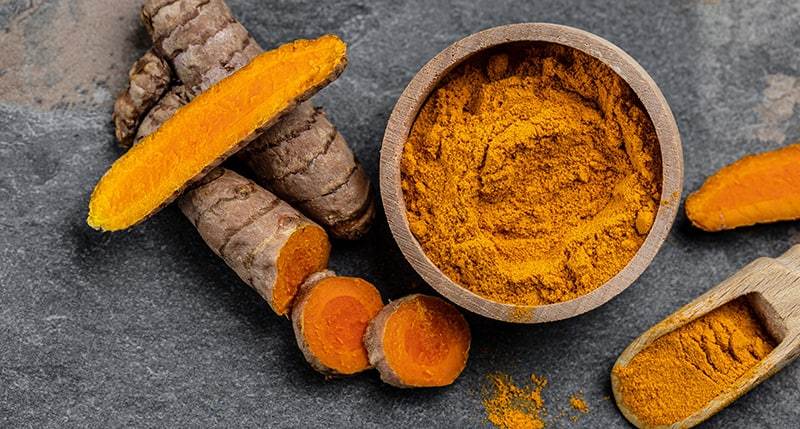
You can use turmeric fresh or dehydrate it for later use. Many sites on the internet reference boiling the rhizomes before dehydrating them, but I have never done that. I simply grate it with a box grater and then dehydrate it. Once you have the dehydrated turmeric, you can store it in sealed jars or grind it into a powder.
I recommend having a grater devoted solely to turmeric as you will find it quickly stains your equipment.
Turmeric is an essential spice in Indian cooking, but it does more for you than just tickle your taste buds. Turmeric has powerful antioxidant and anti-inflammatory properties. This is an excellent example of food as medicine. To get the most out of your turmeric, it is best to combine it with a bit of black pepper. The piperine compound present in black pepper helps increase the bioavailability of curcumin, the active medicinal compound in turmeric.
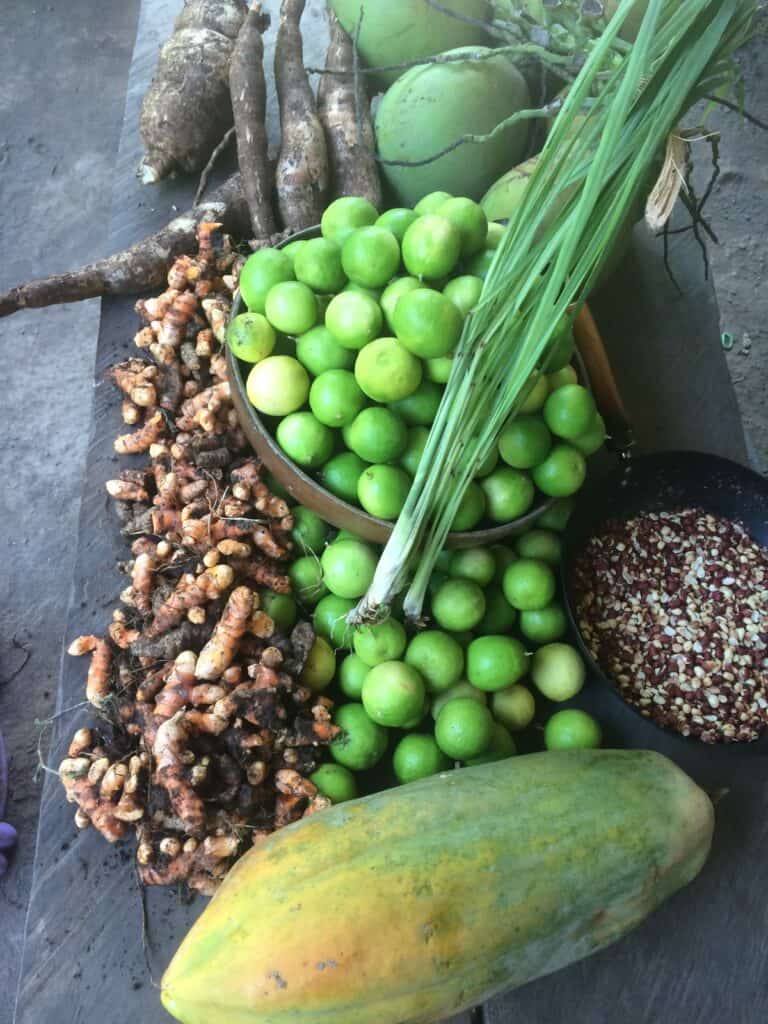
We love to make curries using turmeric and other products from the farm. But you can use turmeric in more than just curry. Golden milk is another delicious way to add turmeric to your diet. You can make golden milk with coconut milk, turmeric, and then a variety of different spices. Try it as a coffee replacement.
You can also ferment with turmeric. Add it to your pickles or other Lacto-fermented vegetables. It helps develop more complex flavors as well as add additional health benefits to your pro-biotic vegetables. But Lacto-fermentation isn’t the only way to preserve turmeric. We also preserve turmeric in honey. While you can mix turmeric alone in honey, my favorite way to do it combines turmeric, ginger, and black pepper. This powerful medicinal concoction is excellent for relieving inflammation, soothing stomach problems, and as a general immuno-booster. Plus, it tastes great. You can add it to meals, teas, or just take a spoonful of honey straight from the jar!
So far, I’ve talked about different ways you can eat turmeric, but all good permaculture plants are multipurpose, and turmeric is no exception. I also make topical medicinal salves by infusing turmeric into a carrier oil. Then I mix the infused oil with other herbal oils and butters depending on its purpose. The only downside to turmeric infused oil is that it can stain your skin and practically anything it comes into contact with.
As I mentioned earlier, people have been using turmeric to dye fabric for thousands of years. Turmeric is an easy way to get started with natural dyes as it doesn’t need a mordant to fix it. However, you will find that the color fades over time.
Final Thoughts
While turmeric is a tropical plant, it can be grown in temperate climates with proper care. And with all its uses and benefits, it’s definitely worth devoting some attention to this Indian spice. Turmeric is good for so much more than just brightening up your curry. Don’t get me wrong, we make plenty of curry around here, but that’s just the beginning of what we use our turmeric for.
I love adding it to my ferments and brewing up witchy concoctions in my kitchen. I’ve been working with turmeric in my kitchen for years now, and I’m still finding new and exciting ways to experiment with it. For me, turmeric ranks up there in my top ten favorite tropical permaculture plants. I’m sure you will agree with me once you get your turmeric growing in your permaculture garden!


