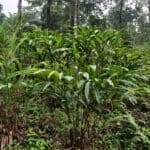
Cultivation of Cassava
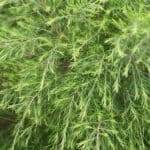
Cassava, also known as Yuca or Manioc, is a bountiful crop that is unceasing with generosity. There’s a good reason why it’s one of the world’s most important staple crops. It’s easy to grow, drought resistant, tolerant of marginal soils, and a versatile, delicious food source.
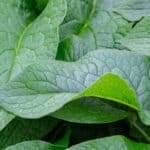
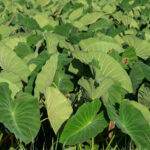
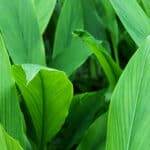
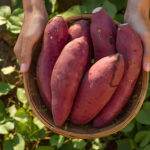
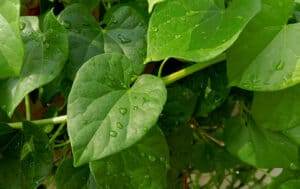
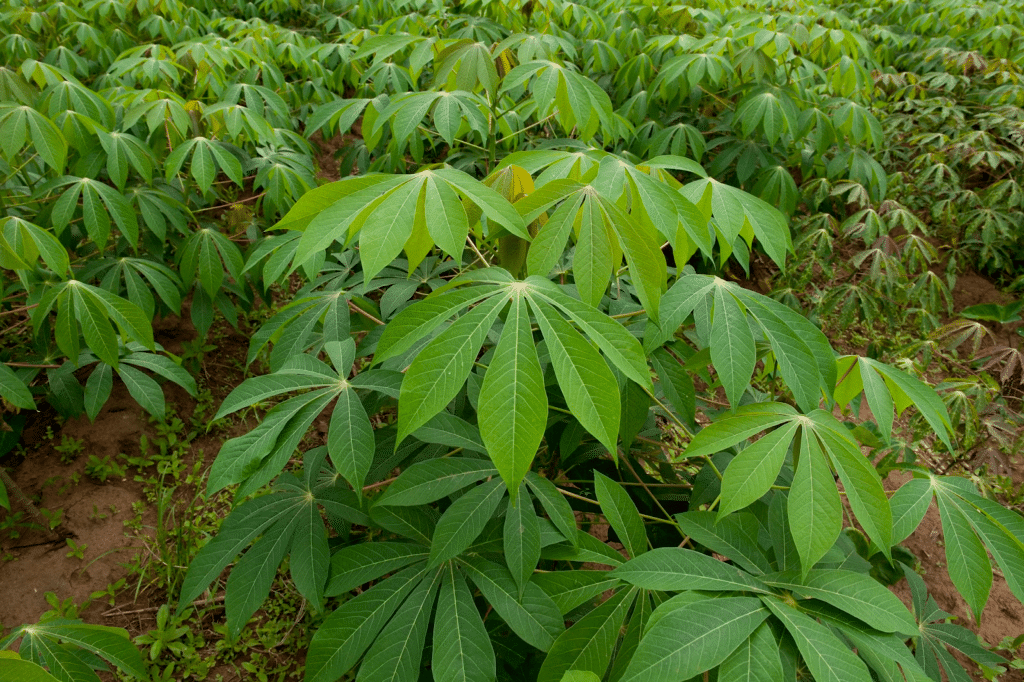
The plant is most valued for its starchy tubers, which can be cooked similarly to potatoes. In some parts of the world, the leaves are also a valued food item. Around the world, Cassava is a staple food source for more than half a billion people and is considered one of the world’s top staple crops. Cassava is also one of the crops with the highest yields per unit area. Starch extracted from Cassava is also well known as Tapioca.
Cassava originates from the Brazilian Amazon but has been cultivated for millennia in tropical regions of Mexico, Central America, and South America. Dozens of different varieties have been domesticated and selected over its long history of cultivation. Cassava was introduced to Africa in the 17th century and has since become an important staple food in the region. Around this time, it was also introduced to Asia, where it is also commonly consumed. The scientific name is Manihot esculenta, and it is in the Euphorbaceae family.
Cassava is an excellent low-maintenance crop for anyone living in tropical regions. It is incredibly forgiving and can produce an absolute abundance of food when properly cared for.
Growth Requirements
Cassava grows best in tropical and subtropical climates with warm and humid weather. It can also be cultivated as an annual crop in temperate climates with long growing seasons.
Water
While Cassava requires moisture during the first couple of months after planting, they become drought-tolerant once properly established. About 1000 mm of rain per year is required for suitable harvests, although cultivation is still possible in areas with only 400 mm. Supplemental irrigation can be beneficial in regions with inadequate rainfall.
Light
Cassava typically does best in full sun, although it can grow in partial shade. In some places, it is cultivated as an understory crop in agroforestry systems. Lack of sunlight can result in a decreased yield.
Temperature
Climates with average temperatures ranging from 20-30°C (70-90°F) are best suited for Cassava. Below 10°C (50°F), growth is inhibited, and plants may become stressed and susceptible to disease. They do not handle frost. Temperatures of over 40°C (100°F) for extended periods of time may cause plant stress.
Soil
The best soils for Cassava are loose and well draining. Waterlogging is one of the biggest weaknesses of Cassava which can lead to numerous diseases and tuber rot. This being said, Cassava grows well in various soil types if given proper attention.
Other Considerations
Cassava is susceptible to damage under high-wind conditions. In these cases, it may be more suitable alongside a wind-break or a semi-protected environment. Wild animals can also be an issue, but measures can be taken to reduce risk.
Varieties Of Cassava
There are many types of Cassava with unique growth requirements and culinary values.
They are often classified into 2 main groups:
- Sweet Cassava is the most commonly cultivated for the consumption of the tuber. These contain low quantities of toxic compounds, which are easily detoxified through the cooking process. These are the varieties most cultivated by subsistence farmers, gardeners, and permaculture enthusiasts. When grown under less-than-ideal conditions, Sweet Cassava may produce bitter compounds due to plant stress.
- Bitter Cassava is often cultivated for processed products such as starch and flour. These varieties tend to grow larger and are more resistant to animal pests. These require thorough processing (soaking, fermenting, cooking, drying, etc.) to remove toxic compounds. Improper processing and consumption of Bitter Cassava can lead to serious health issues.
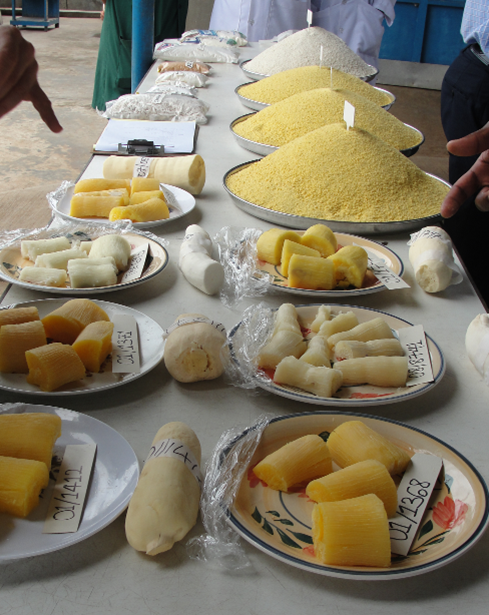
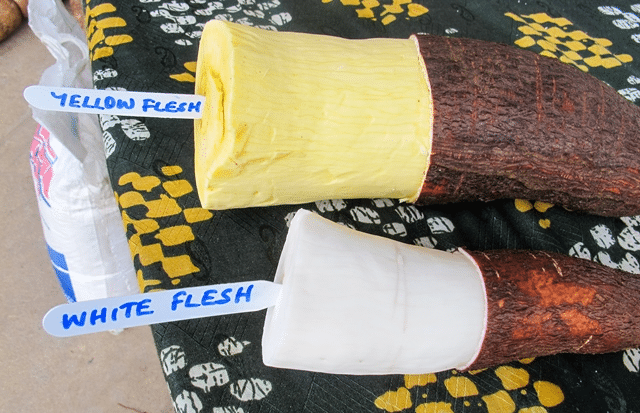
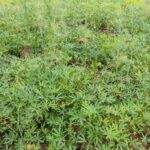
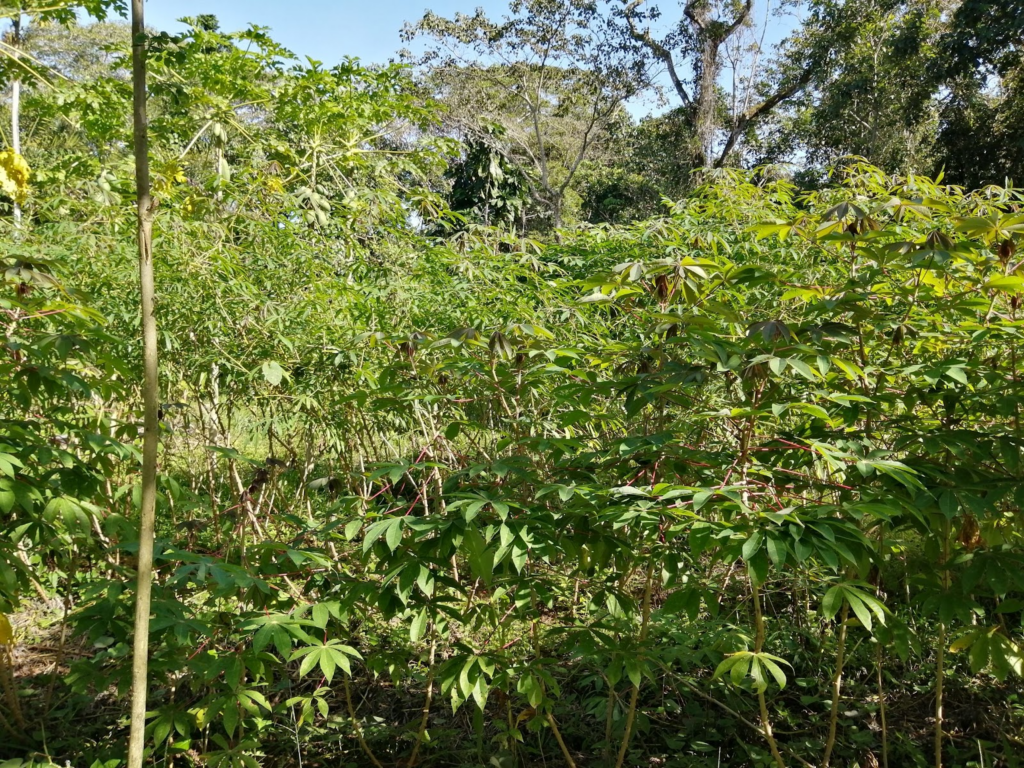
As you can imagine, the varieties most suited for the context of this article are the Sweet Cassava varieties. Even within this classification, there are many different types with unique properties. The physical structure of the plant can vary from bushy and branching to tall and lanky. Bushy varieties are often recommended for windy areas as they are less prone to damage under these circumstances. Leaf shape and colors of various plant parts can also vary. Tubers are most often white, but there are also some varieties with yellow tubers that are higher in beta-carotene, a precursor to vitamin A. Certain commercial varieties have also been produced that are more resistant to pests and disease.
Propagating Cassava
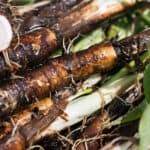
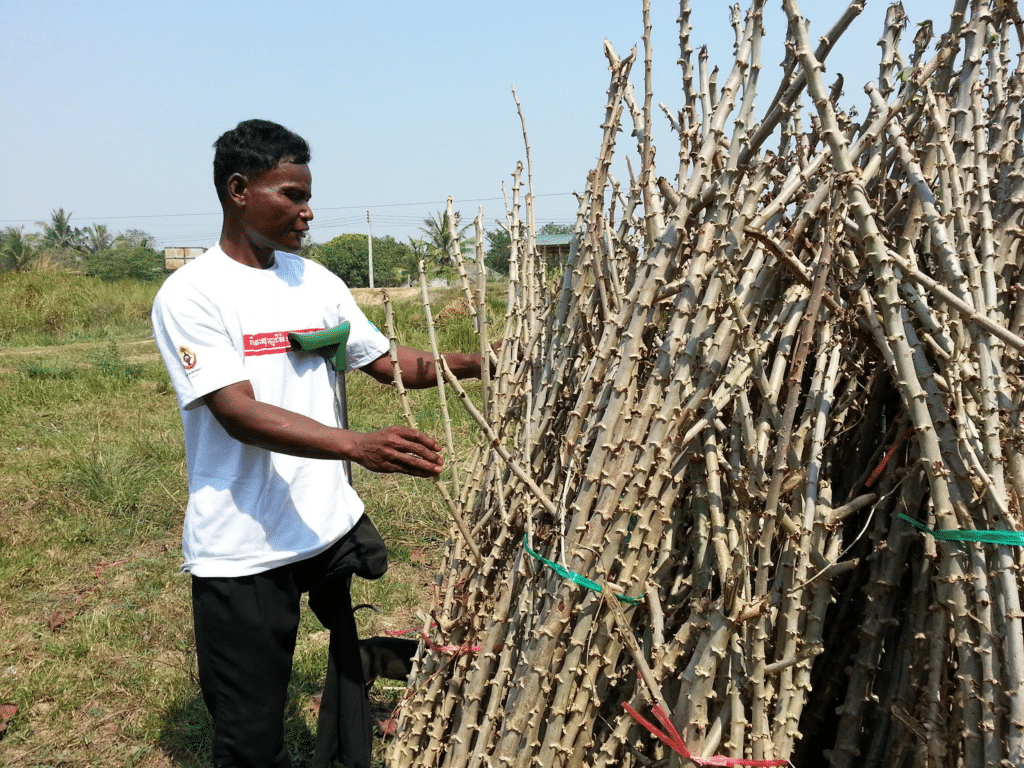
Cassava is propagated through cuttings which are typically acquired after the harvesting of tubers. A single plant can easily yield 5 to 10 quality cuttings for next season’s crop. Always harvest plant materials from healthy plants that are free of disease. If there is a high incidence of disease from your location, they can be disinfected by soaking for 10 minutes in 1% bleach solution or the disinfection solution of your choice. Use a sharp tool to make cuttings (machete, clippers, loppers, etc.), and always make clean cuts to reduce the risk of disease.
Making A Cassava Cutting
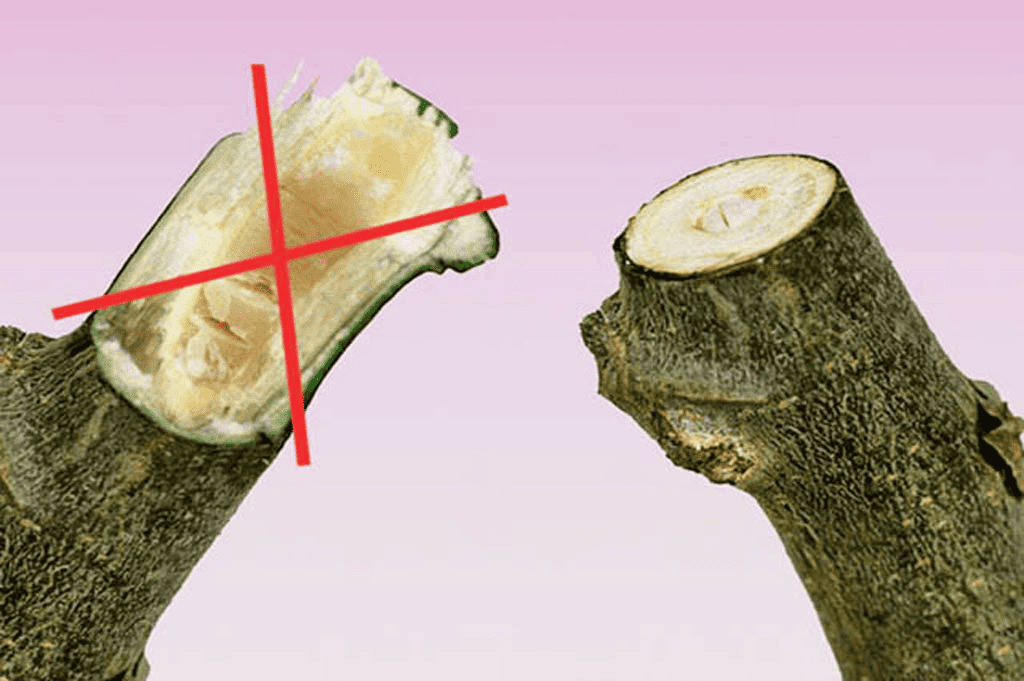
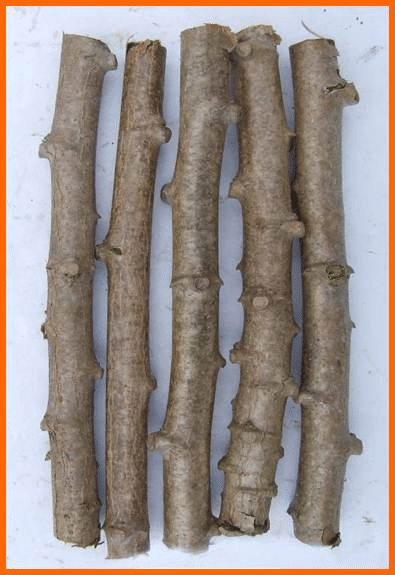
Cuttings for planting Cassava should be 15-20 cm (6-8 inches) in length and have a diameter of around 2 cm (0.75 inches). The best cuttings usually come from the thicker stems found at the bottom of the plant. While you can use thinner stem materials, these will be less resilient. It is best to do Horizontal cuts, as this typically results in a denser and sturdier tuber formation.
You want the cutting to have about 6-10 nodes, ideally with the nodes spaced closely together instead of farther apart. If the nodes are farther apart, you will require a longer cutting which means deeper planting and tubers produced deeper in the soil. While this won’t specifically harm the plant, it will make harvest more difficult.
Storing of Cassava Stems
In regions with unfavorable seasons for planting (such as cold winters or dry seasons), you can store whole stems for future planting. Keep them in a shady and moist location in the upright position. If the climate is dry, placing the stem base into moist soil can help preserve the vigor of the cutting. Under proper conditions, you can store stems for 2-3 months for future planting. Once the weather is favorable, remove a small portion from the top and bottom of the stem and proceed with making cuttings.
Multiplication of Stem Material
If you are looking to expand your production of Cassava, it is possible to multiply your propagation material intensively. Through this process, you will end up with a lot of material suitable for cuttings, but you will not have tuber production like in typical plantings. Do this process at the beginning of the rainy season when there is adequate moisture in fertile and well-draining soil for best results.
To do this, there are various methods. It takes around 6-8 months to produce viable propagation material.
- Hardwood Mini-Cuttings – You can make hardwood mini-cuttings from the same material used for conventional propagation with a diameter of about 2 cm (0.75 inches). As the name insists, these are smaller and only have 1-2 nodes per cutting. These will be planted in rows 10 cm (4 inches) apart, with the mini-cutting laying half buried in the ground and the nodes pointed parallel to ground level. To clarify, the nodes should not be facing up or towards the ground but facing the horizon.
- Semi-Mature and Tip-Shoot Mini-Cuttings – These cuttings are made from material you would not really use in conventional cultivation. The semi-mature mini-cuttings originate from the top of the main stem and are about 10 cm (4 inches). They should have 4-6 nodes. Tip-shoot mini-cuttings occur at the very top of the plant, are longer about 20 cm (8 inches), and will have 6-10 nodes per cutting. Both types of cuttings should be planted vertically in the ground, 10 cm apart, and buried about 2/3 of the way into the soil.

Planting Cassava
Planting should be conducted as early in the rainy season as possible. This will ensure proper development during the first 2-3 months when the plant is most susceptible to drought. In the wet tropics, planting can occur year-round. In cooler climates, it should be conducted well past the threat of frost and once average temperatures are about 15-20°C (60-70°F).
Preparing Your Soil
Cassava tubers grow large and usually in a circular formation surrounding the base of the cutting. For this reason, it is best to have an area of at least a square meter of suitable soil in your planting location.
Soils should be well loosened before planting to promote healthy tuber growth and drainage. Planting in mounds or raised beds and the addition of drainage canals can also help improve drainage. Cassava does not require much soil fertility and does well in marginal soils. This being said, yields are enhanced with the addition of compost and other organic fertilizers.
Planting Methods
There are three main ways to plant a Cassava cutting. The differences regard the positioning of the Cassava cutting into the soil. A cutting may be placed vertically into the ground, at an angle (usually 30-60 degrees), or buried horizontally. Planting depth and node distance will also have an effect on tuber formation. Shallow plantings result in more condensed tuber production that is easier to harvest, while deep plantings will have more separated tubers which are often more difficult to harvest.
While numerous studies have been conducted regarding the most effective method for planting, researchers have had mixed results. This has suggested that the most effective planting method depends on local climatic conditions and specific variety. If Cassava is cultivated locally in your region, inquire with local experts about their preferred method.
- Vertical Planting: This method is most recommended in areas with excessive rainfall where the cutting may be vulnerable to rotting or other moisture-related diseases. To do this, simply bury the cutting 2/3 into the soil perpendicular to the ground.
- Angled or Slanted Planting: This method is also suitable for areas with heavy rainfall, although it may be more vulnerable to rot than vertical planting. The largest benefit of this method of planting is that the angled position of the cutting provides more leverage when it comes to harvesting. The fact that the cutting is also not as deep in the soil makes harvesting easier.
- Horizontal Planting: Horizontal planting is most suited for areas with dry-climatic conditions. Horizontal plantings are also considered the easiest to harvest. Some sources suggest that horizontal planting may provide the highest yields in soils with high fertility. To conduct this planting, simply bury you cutting 10 cm in the ground horizontally.
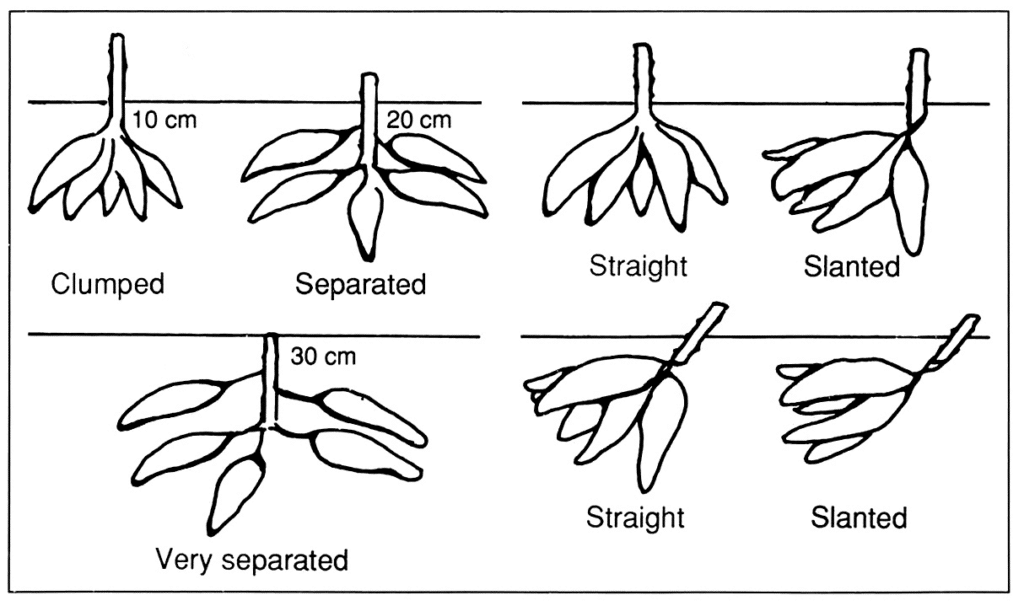
Aside from the cutting positioning, there are some places where two cuttings are planted per planting site. This is usually done with the angled planting method, with the cuttings planted in a sort of “X” positioning.
Other things to consider when planting Cassava
- Animals such as wild pigs and rodents love to eat Cassava tubers. If this is a threat in your location, consider planting deeper into the soil where the tubers will be less accessible. The downside is that this will also make it more difficult to harvest.
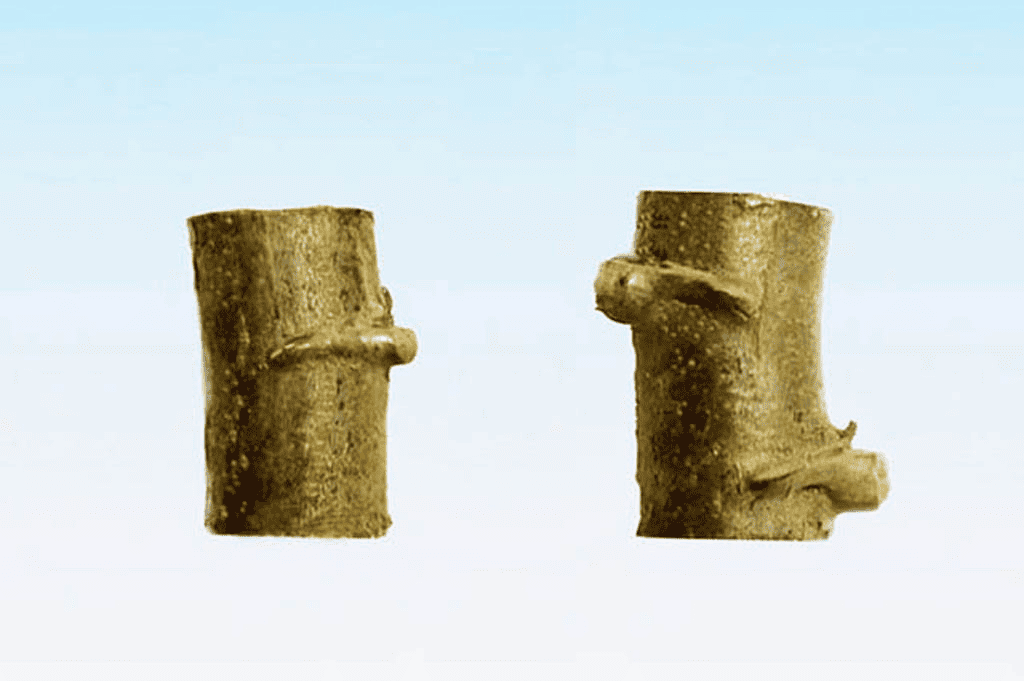
- ALWAYS plant your cuttings facing the upwards direction. You can ensure this by checking the position of the leaf scars on the cutting.
- Applying a thick layer of mulch will help retain moisture and buffer extreme temperatures from the soil. In wet locations, leave about 2 cm (1 inch) of space between the cuttings and the mulch to reduce the risk of rot.
Intercropping Cassava
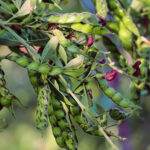
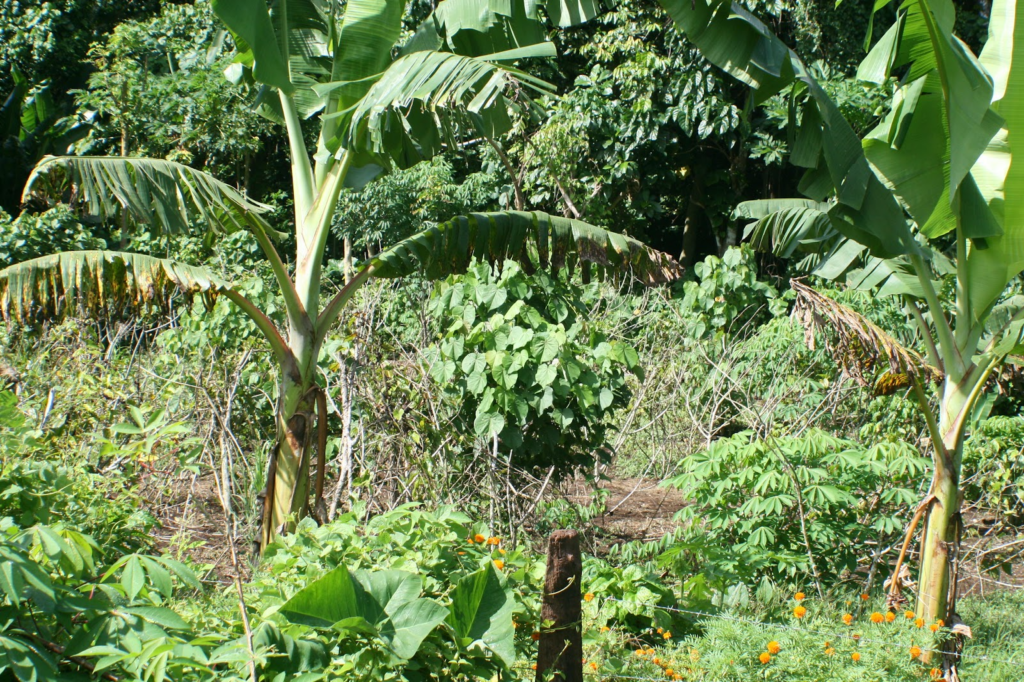
Cassava is a crop well suited to intercropping with other plant species. Some plant it with different legumes or cereals, such as dry-land rice or corn. It is also often cropped alongside Bananas and Plantains. These cannot only help provide extra nutrients to the soil, as is the case with legumes, but they can also help reduce the competition of unwanted weeds. Planting of additional species is typically conducted after the cuttings have already sprouted. Cereals should be planted outside of the direct root zone as they could compete for nutrients. Make sure to tend to any plants that may be interfering with the growth of your Cassava.
Plant Growth and Maintenance
Cassava is a relatively maintenance-free crop that can flourish with little attention. This being said, a little care usually won’t hurt!
- Within the first week of planting, you should start to see the first sprouts appear from your cutting. If some cuttings don’t sprout, you can replace them with any leftover propagation material to fill in the gaps.
- If you are experiencing dry weather during the first two months after planting, it will help to provide additional water to each plant. This is particularly important the first couple weeks after planting when they are most susceptible to drying out.
- Weeding is typically the most laborious part of plant maintenance. Large noxious weeds could increase competition for nutrients, so it doesn’t hurt to remove them. Aggressive climbing vines can also cause damage or interfere with proper growth.
- In windy locations, adding plant supports may help reduce the risk of wind-related damage. Plant supports can be made with large posts and string/rope to help reduce the movement of plants. Adding soil to the plant base may also help improve the sturdiness.
- Other tasks may include the addition of mulch, composts, and the improvement of drainage via channelization. If there has been lots of erosion in your area, adding soil to the base of the plants may be beneficial, especially if you see exposed tubers before they are ready to harvest.
- It is also wise to routinely check up on your plantings to see if there are any complications. Wild animals are a common hurdle in some locations and may require unique management or early harvesting.
- Pests and diseases do occur in Cassava but they are not typically catastrophic in small plantings. They most often affect large industrialized plantations. The most common of these are mites which will display irregular yellowing of leaves. These and other pests can be treated with applications of various organic foliar and soil additives.
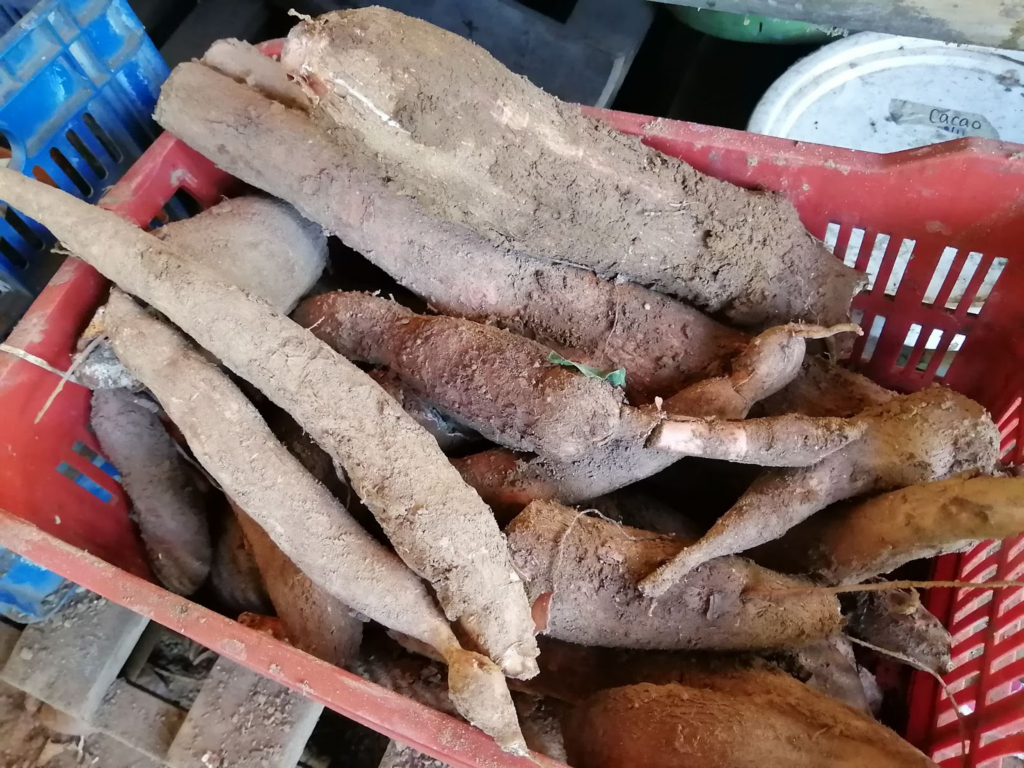
Harvesting
When To Harvest Cassava
Harvesting can occur anywhere between 6 and 14 months after planting, although eight months is recommended in most locations. After 14 months, tubers start to become woody and less pleasurable to eat. This being said, tubers are still edible after this period, though tender sections may need to be selected.
Signs that the tubers are ready for harvesting include yellowing of the leaves and cracking in the soil caused by the growth of the tuber. Sometimes the growing tubers will expose themselves above soil level if it was a shallow planting.
Leaves can also be harvested from plants just 3-4 months after planting. Harvesting of leaves should be limited so as not to interfere too much with tuber production.
Consider that after harvesting, fresh tubers only last 2-3 weeks in unrefrigerated conditions. For this reason, it is best to leave the tubers in the ground until they are needed. Physical damage caused during harvesting and transport can drastically decrease shelf life. For this reason, always handle the tubers with utmost care if you wish to store them.
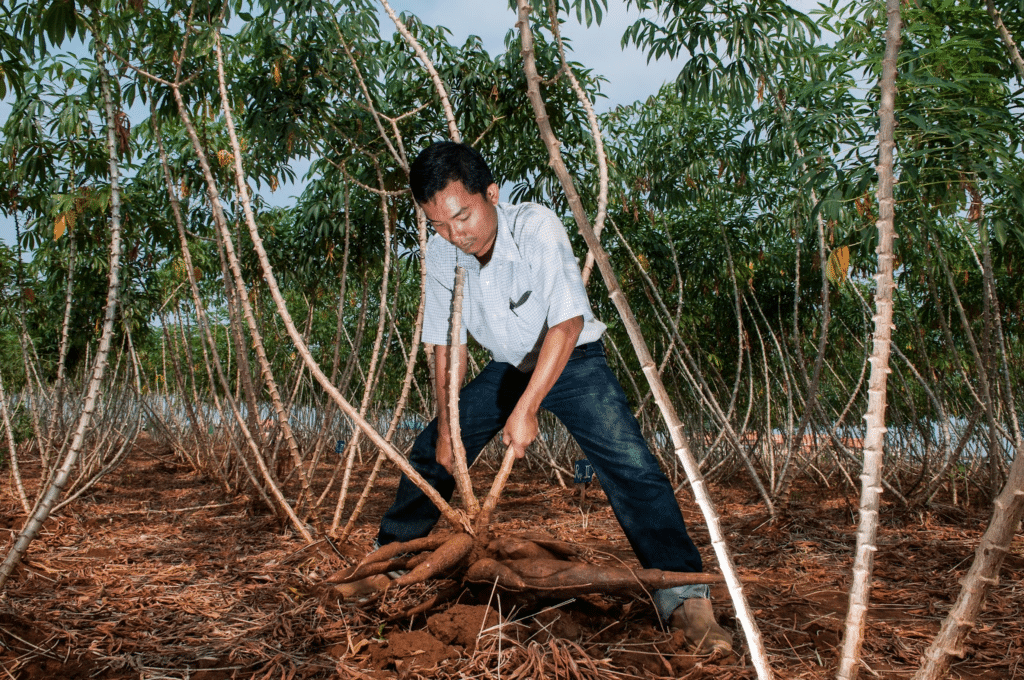
How To Harvest Cassava
Begin by cutting the stem and removing plant materials 30 cm (12 in) above the plant base. If there are multiple stems, you can leave them to have increased leverage during the harvesting process. Do this with a sharp tool to not damage the stem material, which you can use for future propagation.
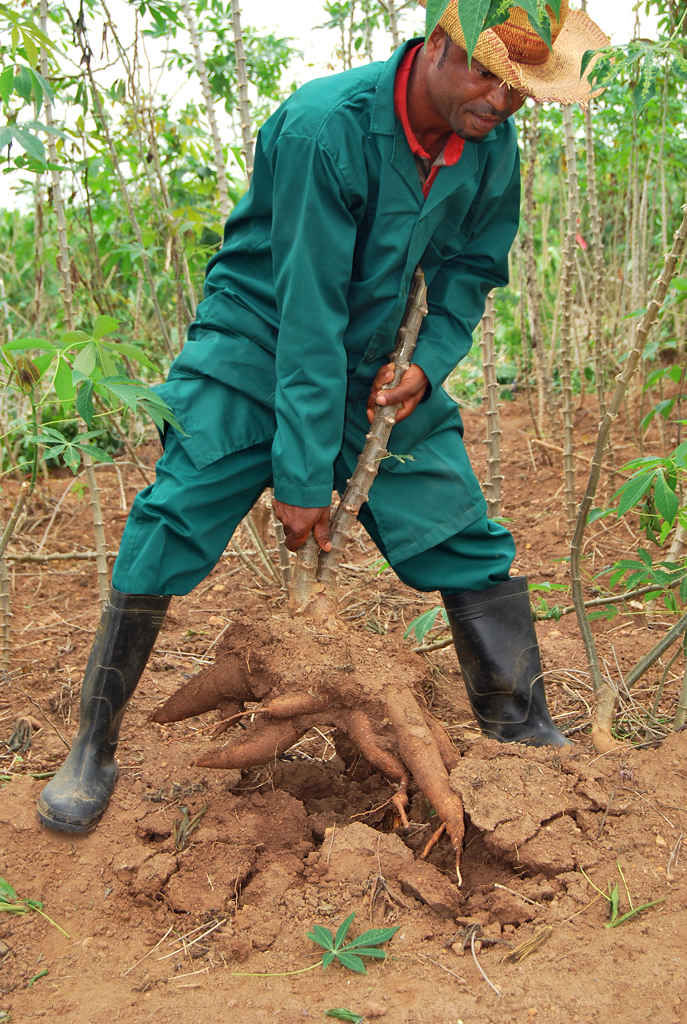

The rest of the process can often be done with no tools other than the hands. Simply move the stem base back and forth and in a circular direction to loosen the tubers and break any fine roots. Once loosened, you can pull the stem up with the tubers attached.
If the tubers are deep in the ground or if your soil is compacted, remove some of the surface soil to make this easier. Otherwise, you may require tools for harvesting. You can lift the tubers with a pitchfork or broad fork, just be wary not to damage them while doing this.
Once unearthed, you will want to remove them from the stem base using a sharp knife. Consider that Cassava will easily resprout from any left over stem material in your planting site. While for many people, this might not be a problem, and may even be welcome, some folks may want to carefully clean up and take any unwanted stem material to the compost pile.
Post Harvest Care and Storage
Transport tubers with care and gently wash them to remove any excess dirt, but be weary not to scrub or damage the protective outer peel. Separate any damaged or diseased tubers and use these for immediate cooking. The rest of the tubers should be stored in a cool, shady, and well-ventilated place until needed for cooking. You can refrigerate tubers to extend their shelf life.
Cooking Cassava
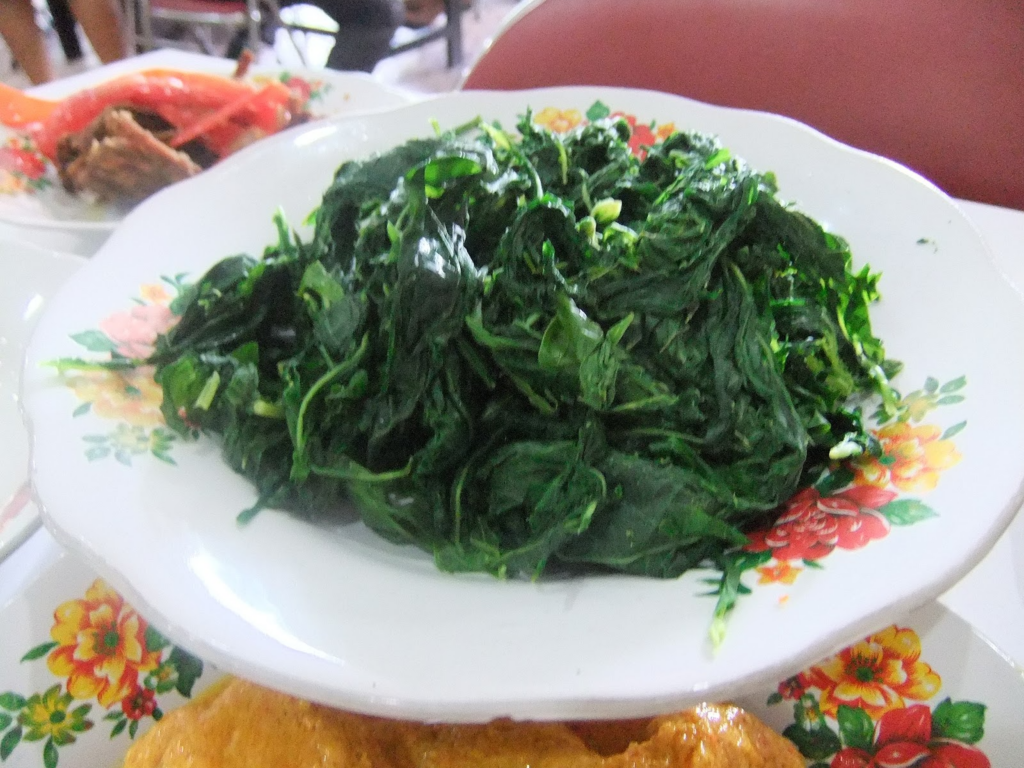
Cassava is a fabulous starchy tuber that will be most reminiscent of Potato to most readers. You can boil, mash, fry, or use it almost interchangeably with any potato recipe. The qualities of the Yucca can vary slightly depending on the variety, but they are generally a bit more starchy and, in some cases, drier than potatoes. The leaves can also be consumed after proper cooking (about 20 minutes in boiling water) and are similar to spinach or other cooked greens.
Before moving forward there is one thing you should consider. Always ensure to cook cassava properly until it is completely tender on the inside. The raw tuber contains cyanide and requires thorough cooking for detoxification. This is the same for the leaves. Never eat any part of cassava raw!
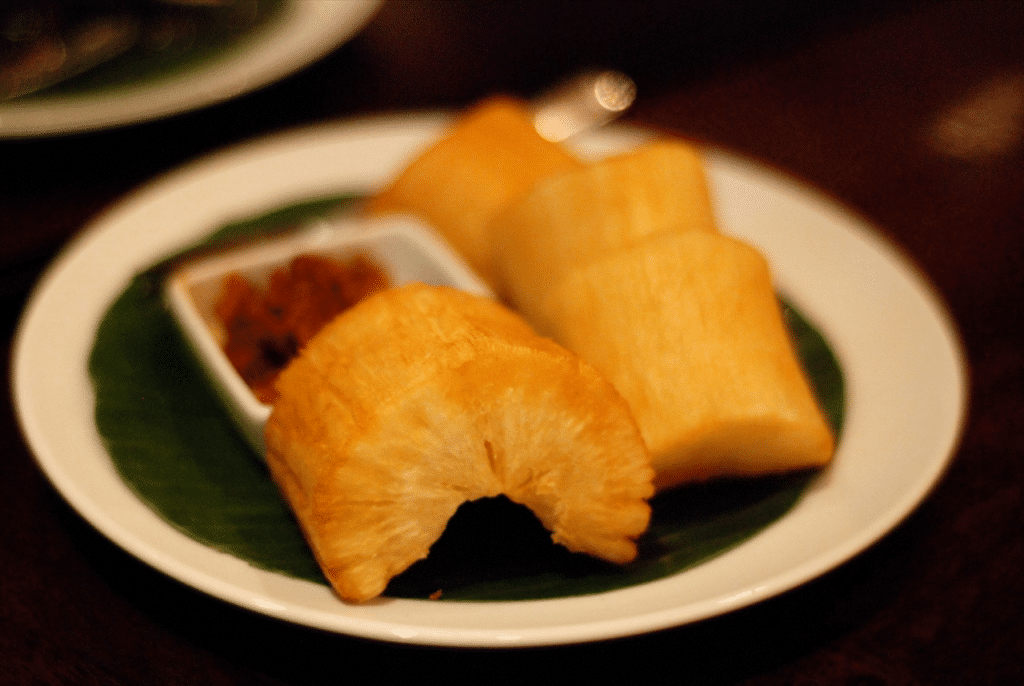
One of my favorite parts about Cassava is peeling it. Unlike other tropical tubers, Cassava is extremely easy and satisfying to peel. It has a thick outer peel that easily separates from the edible portion of the tuber.
To begin, I like to cut it into small pieces about 7-8 cm (4 in). Afterward, gently place a sharp knife lengthwise into the piece of tuber just as deep as the peel. Begin prying out the peel by moving the knife along the underside of the peel, and it will begin to separate effortlessly. It takes some practice, but you can quickly master this. Other people simply run a knife lengthwise along the peel, this works too.
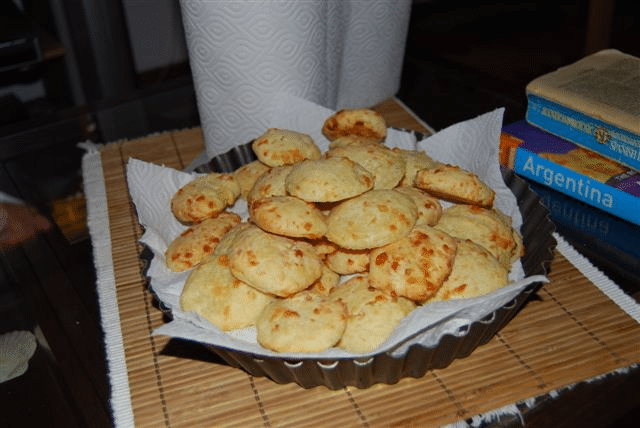
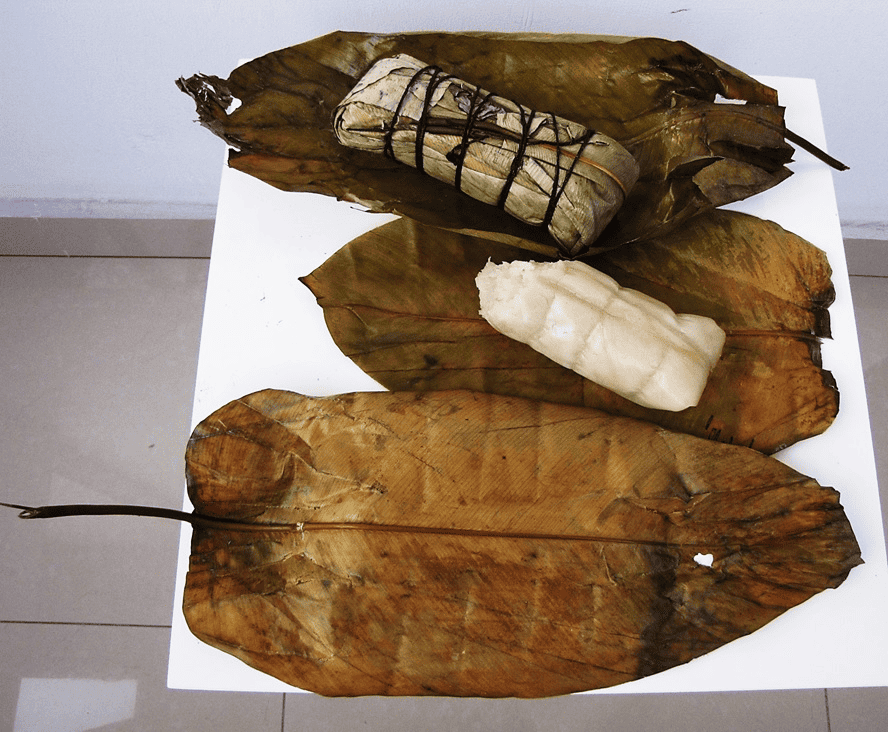
For those with a knack for cooking, there are many different types of bread and pastry like items that are made with Cassava in the Americas. I’m not personally familiar with the recipes, but a quick google search will give you dozens of results. Cassava pizza dough is a favorite amongst those with a gluten intolerance. In Chiapas, Mexico, I have consumed tortillas from Cassava that were simply made by grinding raw cassava tubers and using the resulting dough instead of the classic nixtamal (corn dough). They were absolutely delicious.

Conclusion
Cassava is an absolutely fantastic crop. The fact that it grows easily, abundantly, and with little to no effort makes it a no-brainer to anyone gardening in the tropics. It’s also delicious and can be used in so many different ways. Even for those in more temperate regions, Cassava may be a fun and exciting crop to try.