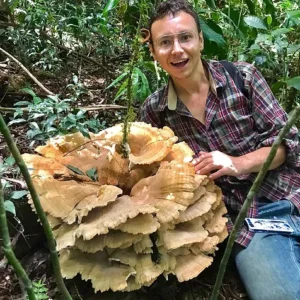
Capturing the magnificence of Taro with words is no easy task. It’s a culturally significant plant that is cultivated around the world as a staple source of calories. In some cultures, such as in Hawaii, Taro is considered a sacred plant and a vital character in their creation story, mythology, and history.
Taro is not only spectacular because of the generous abundance of food it produces, but growing the plant is a joy. It grows prolifically, is extremely adaptable, and has seemingly philanthropic characteristics. It takes extremely well to cultivation and has attractive succulent foliage. Almost the entire plant is edible (when properly cooked) and the harvests can be notable. When cooked, the underground root has culinary characteristics reminiscent of a potato.
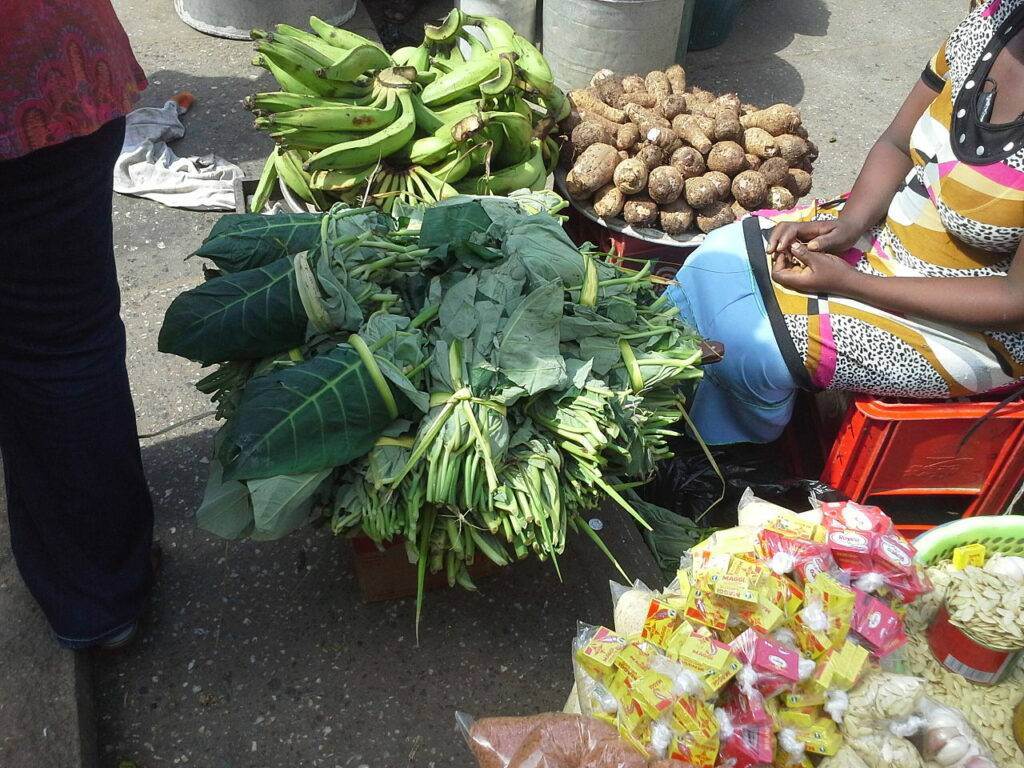
While it might not be a plant familiar to readers in temperate climates, almost anyone from the tropics knows it. It’s one of the staple crops that, along with Banana, Yucca, Yams, and Sweet Potato (and others depending on your location), have acted as a principal source of calories to people for generations.
Originally from Southeast Asia and the Pacific Islands, it has now been intentionally spread to almost all tropical parts of the world. Its adoption by cultures around the world is a mark of its generosity and splendor.
About Taro
Taro is an herbaceous perennial best known as a starchy root crop. While this root is often called a “tuber”, it is botanically classified as a corm. In Latin America, Taro is commonly known as “Malanga” while in Hawaii it is known as Kalo. Some may know Taro better by its other common name, “Elephant Ears”, which is also used for related plants. This being said it is important to exert CAUTION because not all plants known as “Elephant Ears” are edible and some are toxic.
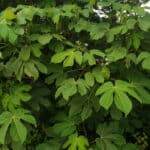
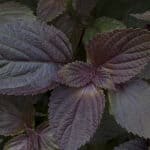
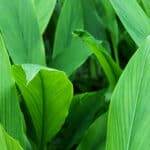
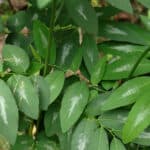
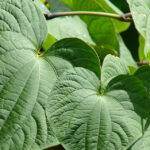
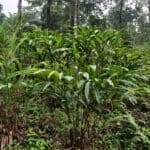
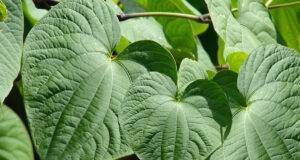
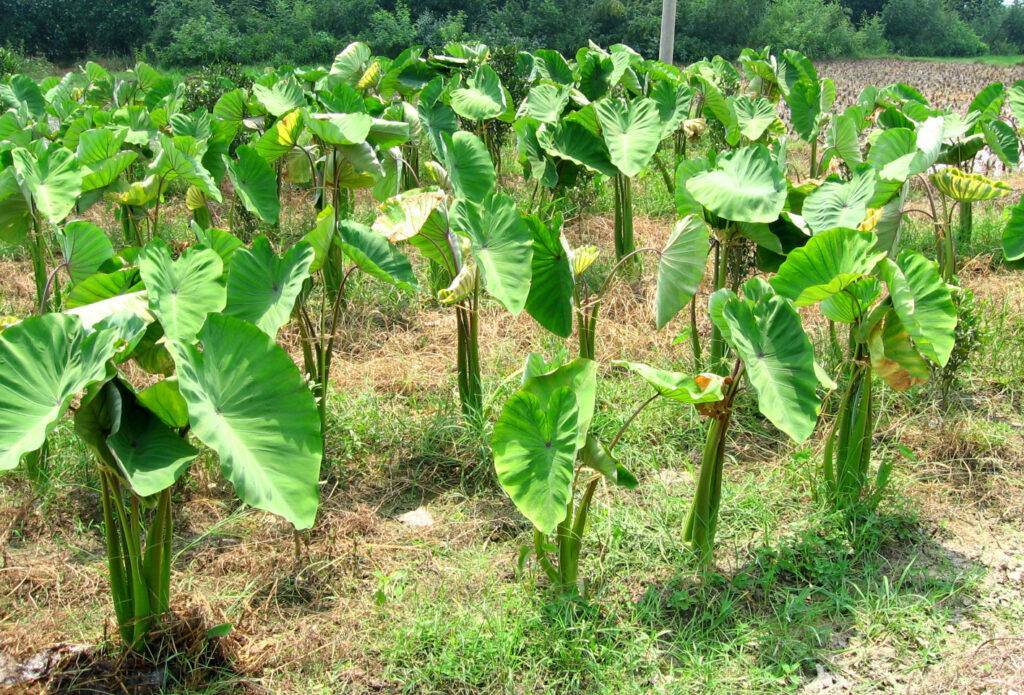
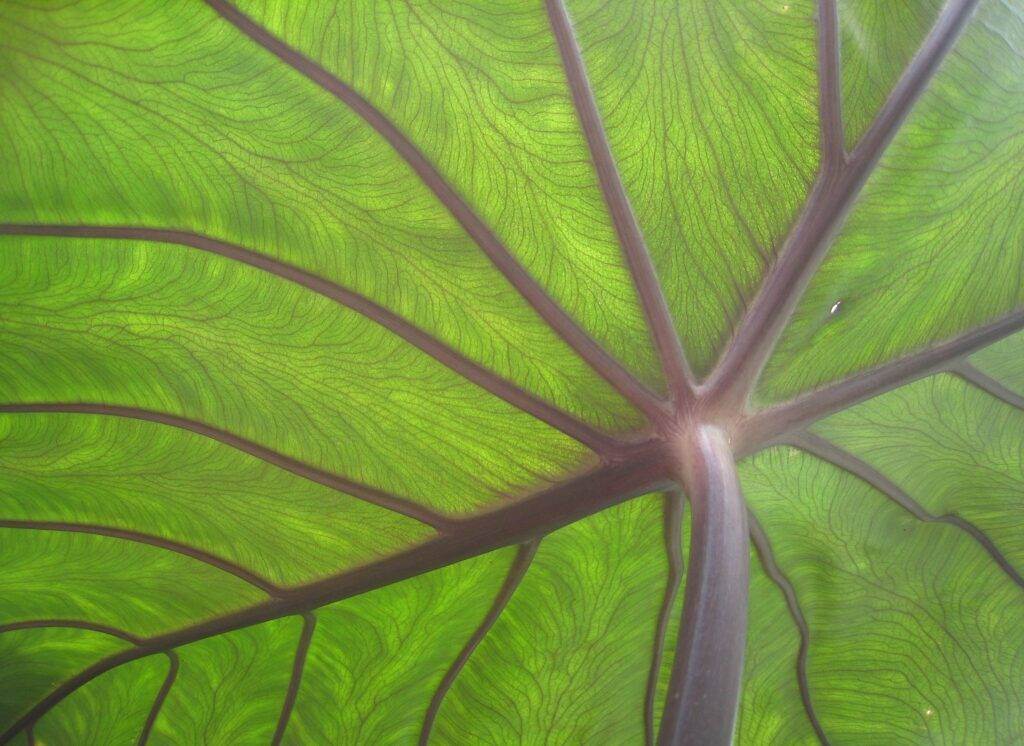
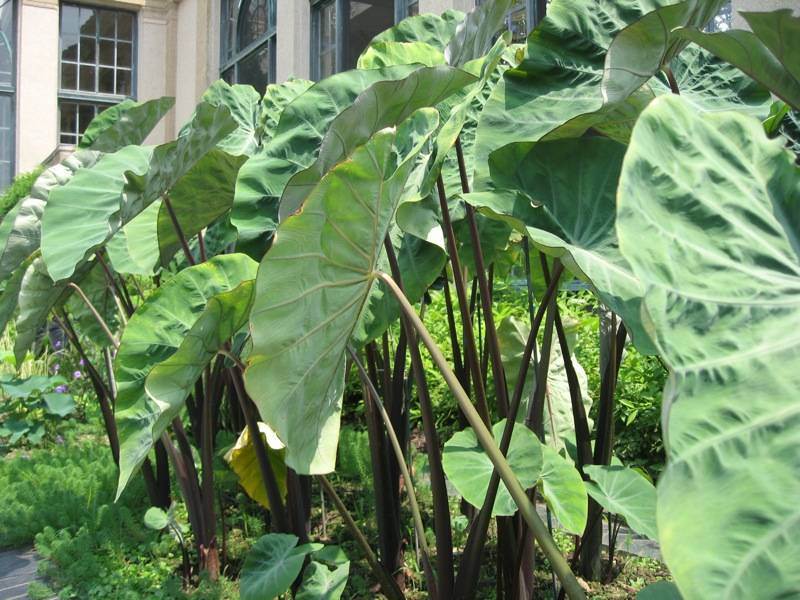
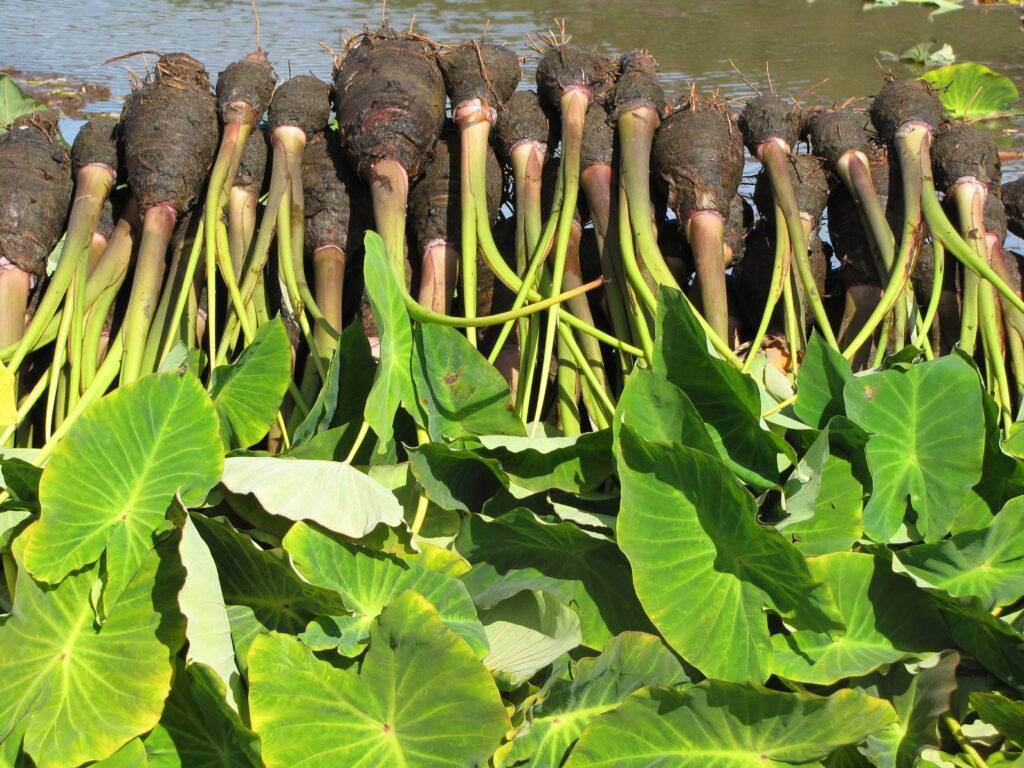
The plant itself is herbaceous with numerous leaves that grow from the underground corm. The leaves are large and “v-shaped” with a central petiole (“leaf stem”) that connects to the corms. A single plant can grow up to 2 meters tall, but they are usually just over a meter. The petioles are partially hollow, an adaptation for saturated soils that permit oxygen to permeate into the underground corm. The petioles can be entirely green, pink, or purple. Sometimes they just have a tinge of color at the base of the plant.
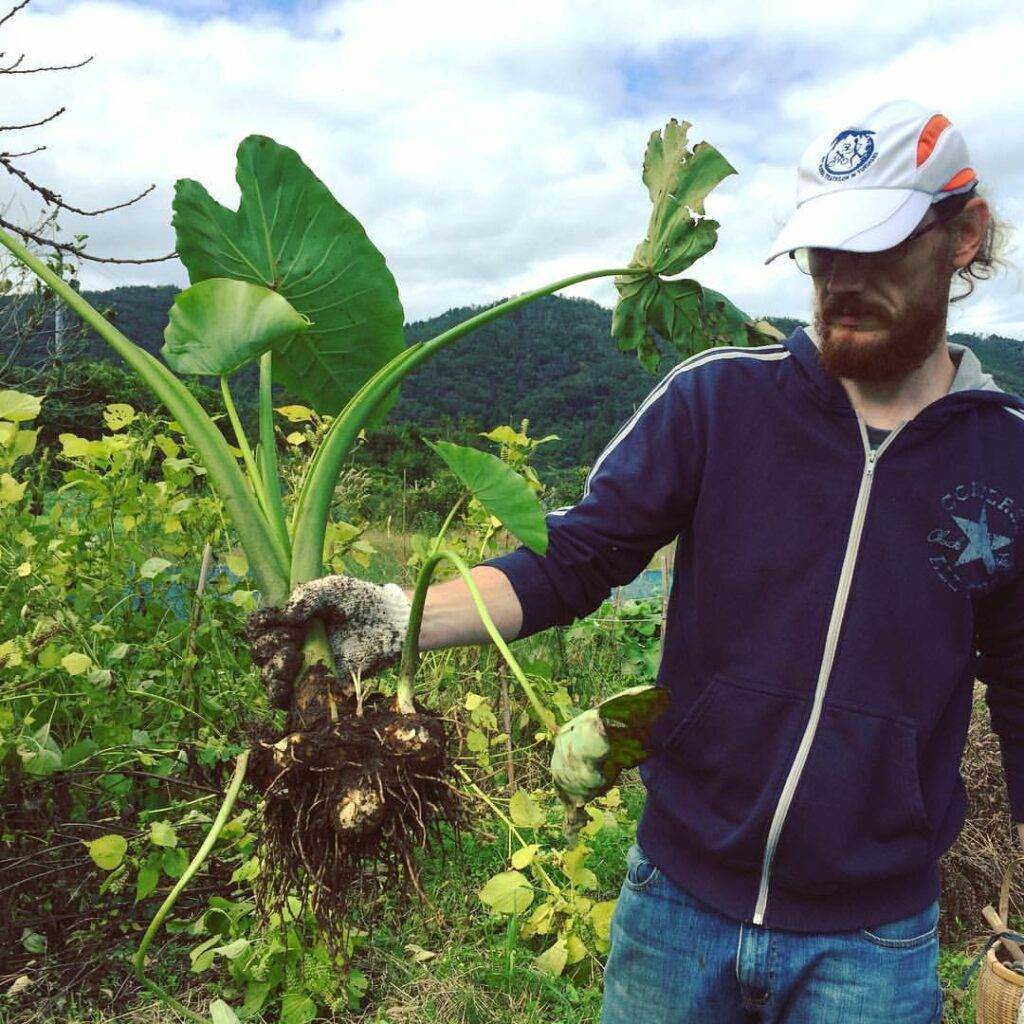
Below the petiole is the corm. There is a visible line around the circumference of the plant where the corm and petiole meet. Most varieties tend to have a single “mother corm” from which small corms with individual pups or “suckers” grow.
Taxonomy and Origins
Taro is scientifically known as Colocasia esculenta and is in the family Araceae. This family includes various other food crops, including members of the genera Alocasia, Crytosperma, and Xanthosoma. Certain plants within these genera are toxic and should not be consumed! While some may look very similar, never consume a plant without 100% certainty that it is an edible variety. Some species (including Taro) are also used as ornamental plants. While we are focusing on Colocasia esculenta for this article, other related crops have similar but distinct cultivation methods.
Wild Taro is native to Southeast Asia and Oceania, where it can be found in India, China, Japan, Papua New Guinea, Australia, Hawaii, Indonesia, Polynesia, and neighboring regions. Wild Taro produces relatively small corms, while cultivated Taro produces particularly large ones.
The exact origin of domestication is debated. Archaeological evidence shows it was cultivated as early as 7000 years ago in Papua New Guinea. Some scholars believe it was domesticated during the independent origin of agriculture that happened in the highlands of Papua New Guinea during this time period.
Thanks to its long history of domestication and spread, Taro cultivars are highly diversified. This is not only due to artificial selection but also possibly because of hybridization with other Colocasia species. While the genetics of this plant hasn’t been completely worked out, it is clear that there are numerous varieties with distinct climatic adaptations. In Hawaii, there are at least 300 endemic varieties alone!
Varieties of Taro
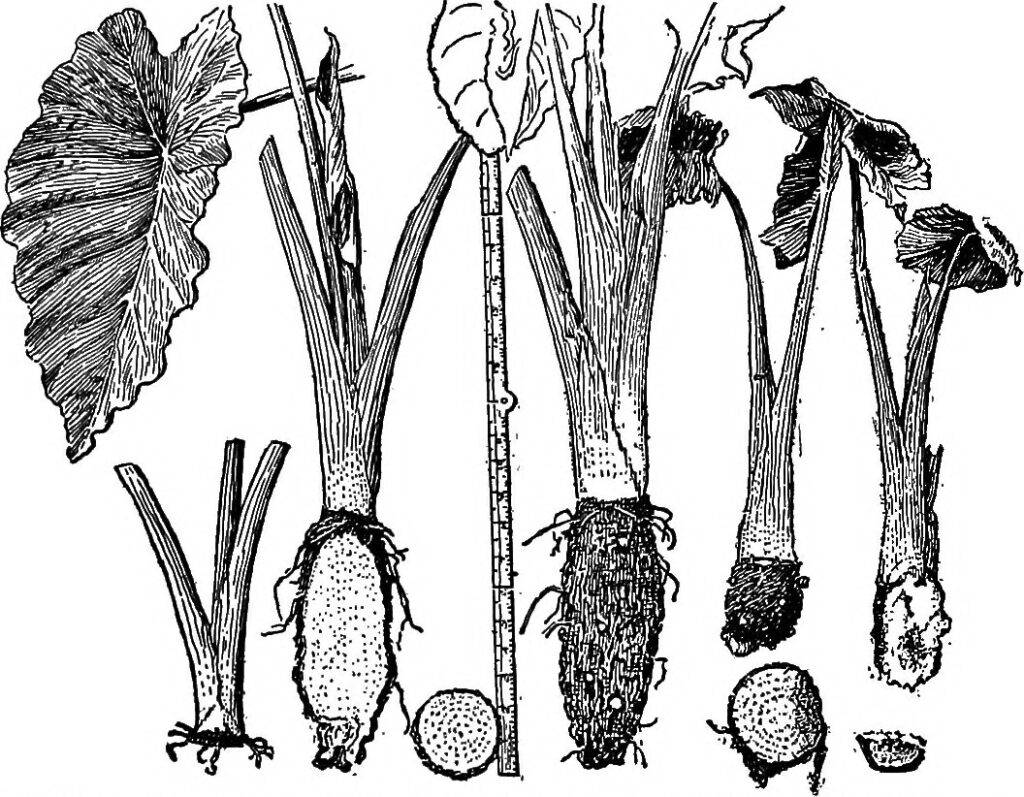
There are thousands of Taro varieties with unique aesthetics, gastronomic values, and environmental preferences. While there are many ways to classify them, there are two distinct genetic varieties.
- Dasheen Variety – Colocasia esculenta var. esculenta
This is the most commonly cultivated variety of Taro. This variety tends to produce one large corm with many small corms. - Eddo Variety – Colocasia esculenta var. antiquorum
This is believed to be closely related to the original “wild Taro” that occurs naturally throughout Southeast Asia. These cultivars produce many smaller corms, sometimes in irregular shapes. This variety is cultivated in China and Japan.
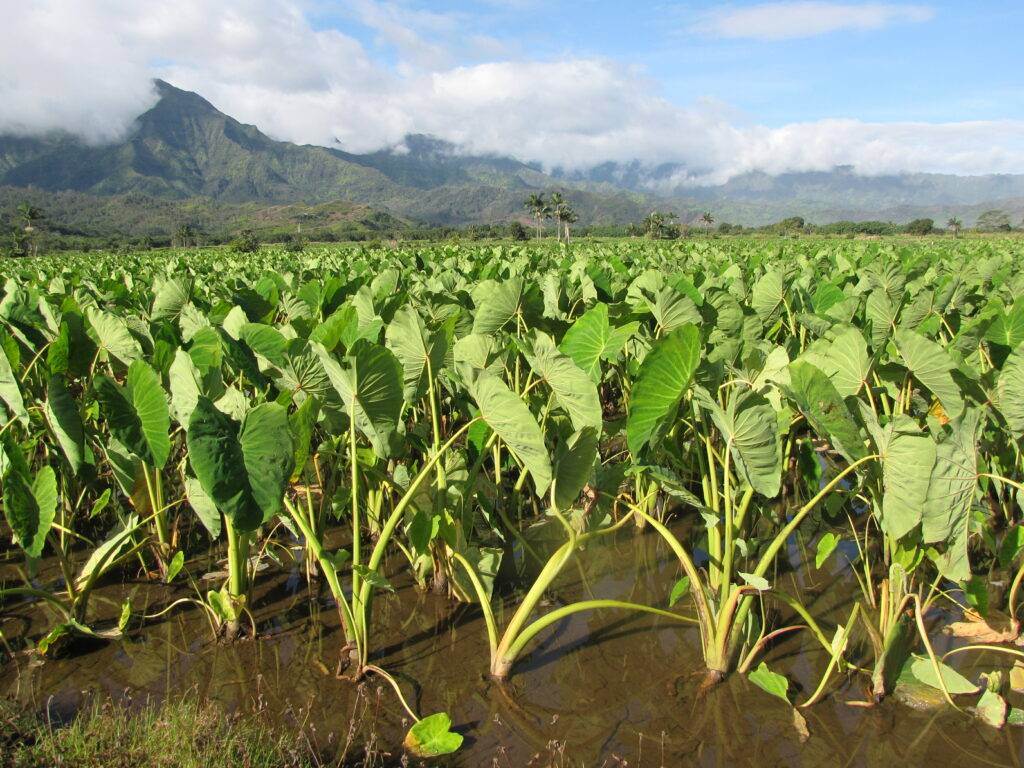
In Hawaii where Taro is cultivated in flooded fields, it is also classified as either “Wetland Taro” or “Upland Taro”. Cultivars may be adapted to one of these specific cultivation strategies or be multipurpose.
- Wetland Taro
Wetland Taro varieties grow well in flooded and highly saturated soils. This cultivation method is primarily conducted in Hawaii where it is valued for producing larger and more delicious corms. Wetland varieties will often grow in upland conditions but with a reduced yield. - Upland Taro
These are varieties best suited to uplands outside of flooded conditions. They still handle high quantities of moisture and do great in swampy wetland soils, but some varieties are more suited for drier soils.
Cultivating Taro
Considering the diversity and widespread nature of Taro, it is no surprise that there are many different ways to cultivate it. While techniques differ, there is no right or wrong way to do it. Differences in cultivation may just be cultural preferences but they may also pertain to its local context.
Growth Requirements
Taro likes warm weather, easy access to water, and plenty of sunlight. It is best suited for the tropics where it thrives from sea level up to about 1800 meters. It prefers loose soils and climates with at least 120 cm of rain during the growing season. Rain can be compensated for via irrigation or by planting in particularly wet soils. When moisture is limited Taro should be planted in partial shade.
Cultivating Taro in Temperate Climates
Taro can be cultivated in temperate climates but requires warm weather and at least 200 frost-free days. Temperatures below 7C significantly impact the growth of the corm. In these conditions spring planting and starting indoors is recommended. The plants are harvested in the fall and young corms can be overwintered below a thick layer of mulch. Alternatively, propagation material can be brought inside and overwintered in a cellar, garage, or other protected environments.
Propagating Taro
Taro is propagated from vegetative material. Because of its long history of domestication in this manner, cultivated varieties rarely if ever produce seed.
The best material for propagation are the suckers or “pups” which grow from the mother corm. These occur abundantly following a harvest but they can be removed from a growing plant whenever they are available. You can also use corms for propagation but this is not ideal.
Harvesting Suckers
Suckers can be taken from plants at any time. A single plant can quickly give way to 10+ generations of new plants within a couple of years. Before harvesting suckers, ensure that you are getting them from an area that is free of diseases. Avoid harvesting suckers from plants with diseased leaves or rotting in the corm.

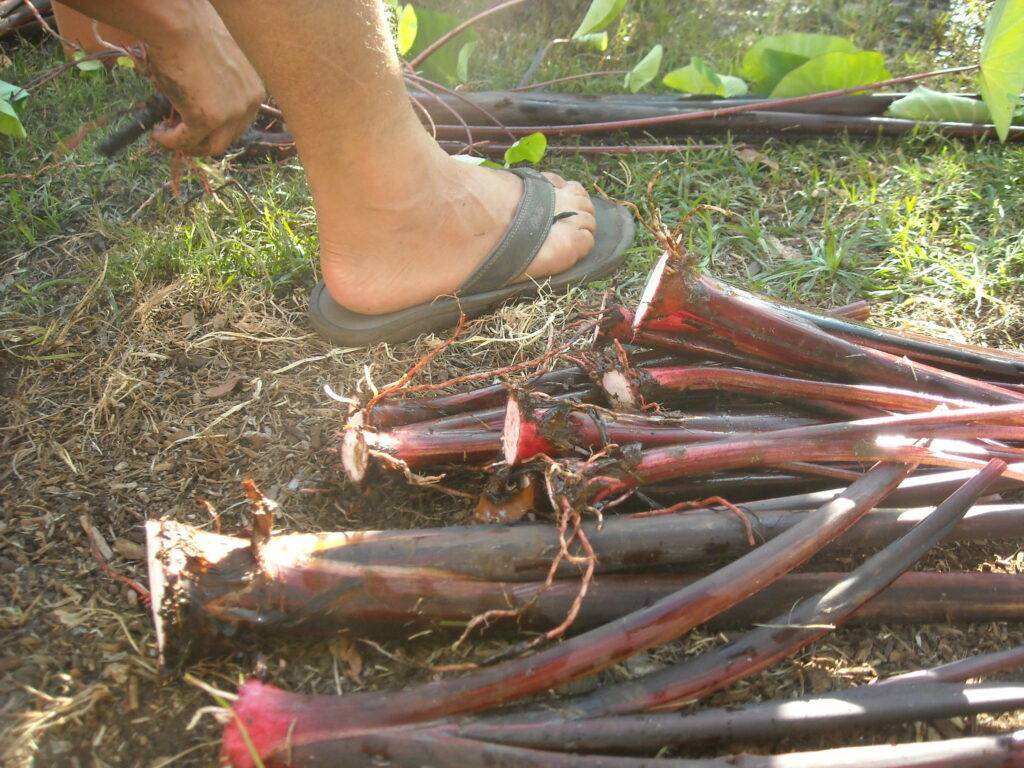
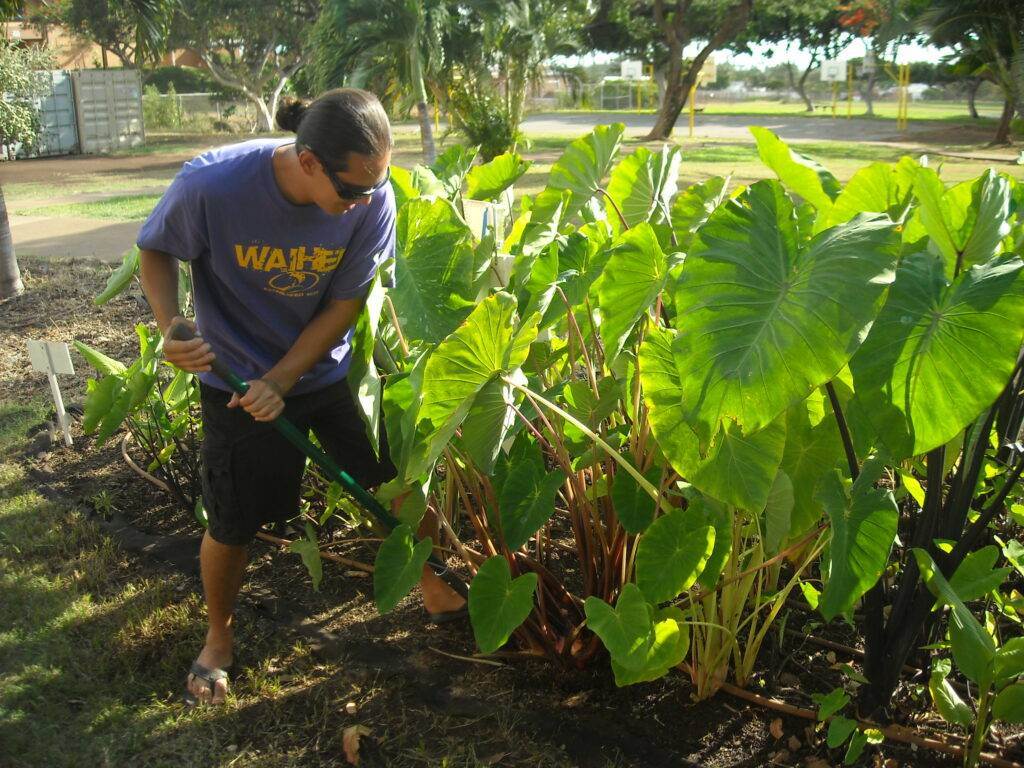
Removing a sucker from a living plant is easy. First, find a suitable sucker at least 30 to 50 cm in size. Generally speaking, the larger suckers are hardier and have quicke growth. If you are working with loose soils, suckers can often be removed by hand by gently “plucking” them from the mother corm. In situations where the soil is more compacted, you can use a spade to “plop” out the young corm from the mother. For many growers, the removal of small plants is part of regular maintenance. Alternatively, starts are widely available after harvesting a mother corm.
Preparing The Start
Once you have your pup it is time to prepare it for planting. Have a sharp knife or machete handy for this procedure.
- You will want to begin by cutting off the largest leaves (there’s usually 2) right above the “Y” where the petioles split. This helps the plant better adapt to its new environment.
- Remove most of the corm by cutting it off just 3-4 cm below the leaf base. Leave this new start to air-dry for 24 hrs before planting to promote callusing on the cut and reduce its vulnerability to disease.
While this seems counterintuitive, there are reasons why some growers remove the corm. While there is some energy stored in the corm, removing it does not result in fundamentally slower growth.
- It produces a symmetrical and even corm.
- They may produce fewer suckers which will compete with the mother plant.
- It could also help reduce the prevalence of pests.
Propagation From Corms
While Taro isn’t traditionally cultivated from corms it can be advantageous for various reasons. Corms can be easily transported, stored, and overwintered in cold climates. Even in areas where there are only mild frosts, it is favorable to grow Taro as an annual and store the corm during the coldest months of the year indoors. This would mean planting your corms in spring after the threat of the last frost has passed (somewhere between March to April) and growing it out until you get the first frost.
Growing from corms is also convenient because corms can easily be shipped or transported long distances. In some cases, you may even be able to find corms sold in gourmet markets or grocery stores that carry exotic foods.
Planting a corm is about as easy as you would think. Simply loosen the soil in your planting area about 12-24 cm deep and an equal distance in diameter. Add some nice worm castings or compost (a heaping shovel full should be fine depending on your soil), and then plant your corm so it is buried at least 4-5 cm below the top of the soil.
In some cases, especially with large corms, you may get many small suckers growing from the corm at once. In this case, wait until they are about 15-30 cm in height to divide them and spread them as needed.
Preparation and Planting
Site Selection
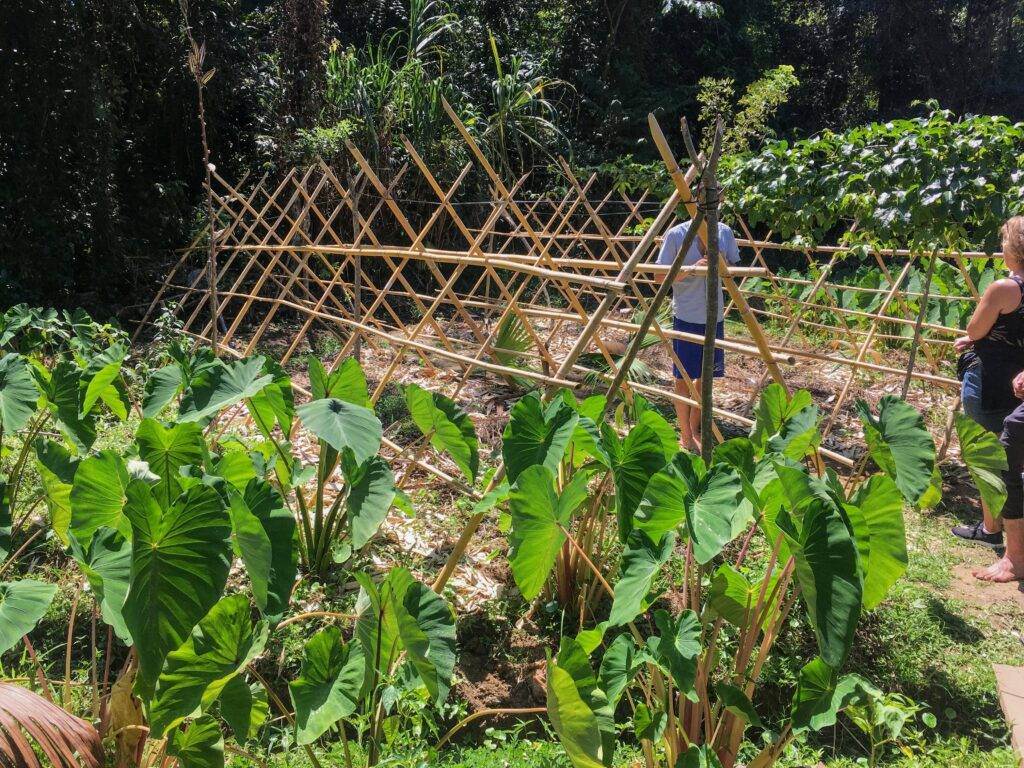
Taro does great in wetland soils where many other crops fail. These are excellent places to try planting if you have them in your landscape. Alternatively, Taro can also do great in better-draining soils, given there is adequate water availability. When water is abundant, Taro does great in full sun, but if water is limited, consider planting in partial shade.
Due to the sheer beauty of Taro, don’t be shy to attempt using it as a multi-purpose ornamental. It can easily be planted in rows along a path or other edges on the property. It also adds a great touch near water features, such as pools, ponds, or fountains.
Preparing The Soil
When planting Taro it is important to properly loosen the soil. This allows the corm to grow without being impeded by densely compacted soil. Adding compost will also generally benefit the yields and plant health. Taro will also grow fine with minimal land prep but yields will be reduced.
Planting Taro
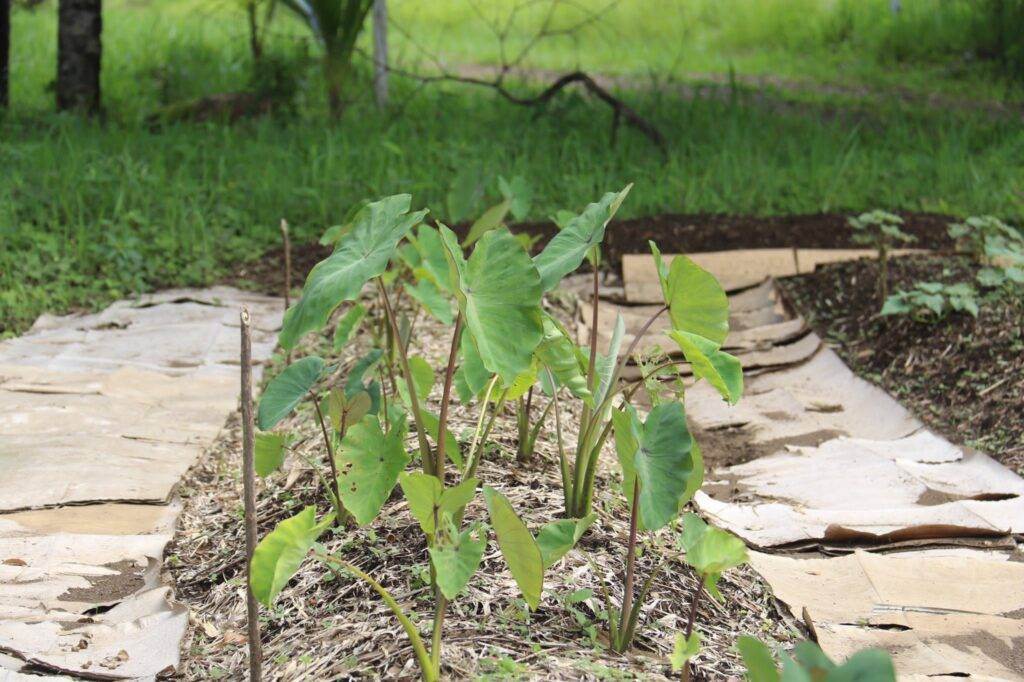
It is best to plant Taro when there is consistent rain and high humidity. While a mature plant can handle a bit of dry weather, young plants easily dry up.
You will want to plant each individual about 30-40 cm apart and 20-30 cm deep. You’ll want to plant them deeper than your intuition might say because the corm will actually push the plant up as it grows. Planting deep is important to ensure the corm has plenty of soil to grow into. Alternatively, Taro can also be cultivated on mounds.

Maintenance
There isn’t too much maintenance required in the cultivation of Taro, and some home-growers do absolutely nothing. Below is a list of some practices used to improve the growth and prosperity of the plant.
- Remove dead and diseased foliage.
- Remove pups/suckers. These will reduce the final size of the mother corm. These can be used for propagation.
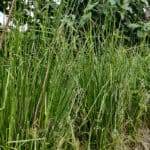
- Remove weeds that can compete with your plant. In particular, weedy grasses and vines can be an issue as they overtop and strangle the plants.
- Irrigate if necessary during dry periods.
- Top dress with compost and mulch up to 10-15 cm of organic matter.
Pests and Diseases
Taro rarely suffers from pests and diseases outside of large-scale cultivation. If you are having issues with your plants it is likely because of climatic stress. Alternatively, it could be because your propagation material was already infected before planting. In the latter case, you should search for new propagation material and replant in an unaffected area. Infected plants should be removed immediately and discarded with care not to spread the disease. If you really want to preserve your Taro you can remove it completely, clean off any diseased vegetation, and attempt to disinfect it by submerging it in a 5% bleach solution for 20 minutes.
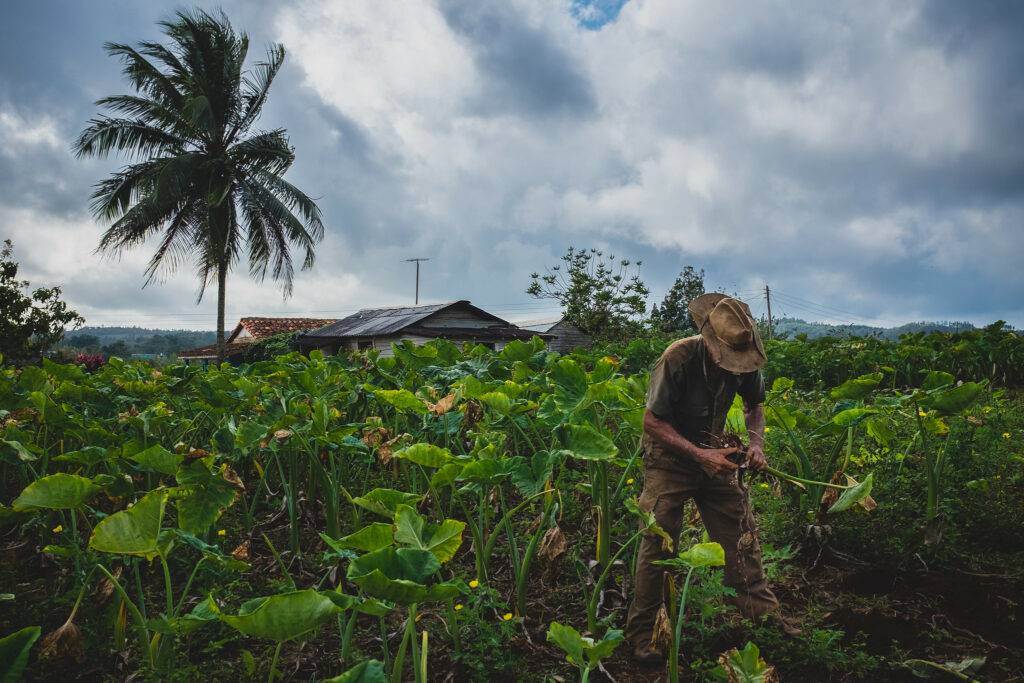
Harvesting Taro
Taro is ready to harvest 5-7 months after planting depending on climatic conditions. You can leave your plants for longer and the corms will just get bigger. Many traditional growers just have a patch which they harvest from whenever they need it.
To harvest you must first find the “mother corm” which comes from the sucker that was originally planted. This will be the largest and have the tallest above-ground vegetation. This is what will be harvested.
- Begin by removing the above-ground vegetation about 10 cm above where the corm begins. Leaving a bit of the stalk will help preserve the freshness of the corm.
- Remove dead leaves and other debris at the plant base. You should expose the top of the corm and the base of the stalk. At this point, you can dislodge pups that are attached to the mother corm and use them for further propagation or leave them in the soil.
- In loose soils harvesting can be done by hand, by simply grabbing the base of the plant and wiggling it back and forth. Once it has mobility you can twist it until the mother corm pops out. In compact soils, a small hand shovel or spade can help.
Once you have the corm it can be cleaned up by removing any debris and excess roots. Rinse it clean and keep it in a well-ventilated, shady place where it can last for weeks, if not months.
Cooking and Using Taro
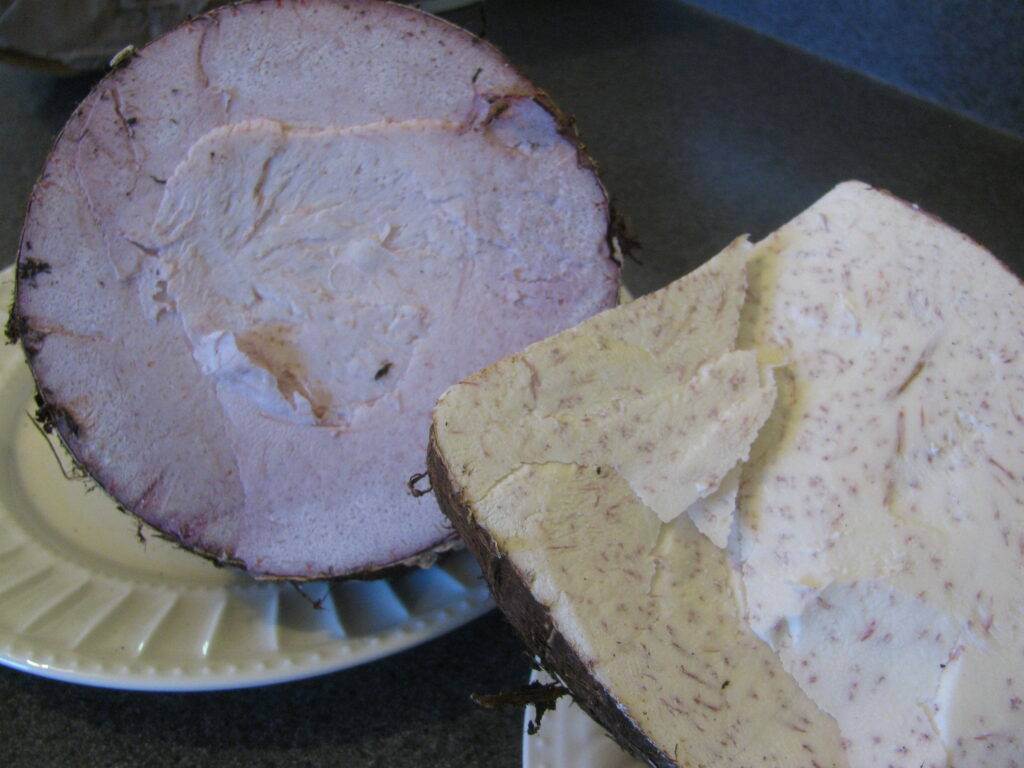
Cooking with Taro is similar to other starchy root crops but with some distinct things to consider. Like a potato, Taro becomes creamy, soft, and fluffy once adequately cooked. It can be roasted, boiled, fried, or made into a delicious mash. The consistency is a bit more sticky than mashed potatoes and the color ranges from white to pink or purple. Certain varieties are a bit more watery while others are nutty. The flavor/texture of Taro is sometimes compared to a cross between potatoes and chestnuts.
Do not eat Taro raw! It requires THOROUGH cooking!
It is important to note that while the entire plant is edible, it needs to be thoroughly cooked. This is because raw it contains oxalate crystals that cause uncomfortable irritations to human tissues. In particular, it can cause rashes, itchiness, and general discomfort in the mouth, esophagus, and skin. Once cooked, these oxalate crystals are broken down and rendered harmless.
Many individuals are highly sensitive to this and even get irritation from handling raw Taro for cooking. For this reason, it is recommended to wear gloves when peeling and preparing raw Taro. Alternatively, a thin layer of oil on your hands will protect them from oxalate crystals.
Cooking Taro
There are many ways to cook Taro. The most straightforward way is to simply boil the corm for 45-60 minutes with peel and everything. Once cooked the tough and fibrous peel can be removed easily. Chopping it into pieces can reduce cooking time to 30-45 minutes. Alternatively, it can be placed into a pressure cooker and be done in 5-10 minutes. Exact cooking times will vary depending on the variety you are working with.
When cooked like this, Taro can be made into a “mashed potato” or simply served with butter, salt, and pepper. The possibilities are endless and it can be treated similarly to a boiled potato.
In some cases, like when adding to a stew, you may want to remove the tough and fibrous peel. This is best done with a sharp kitchen knife just as you would peel other vegetables. At this point, it can be cut into cubes and added directly to stews, soups, and even stir-fries. Just make sure you properly cook it to break down the oxalate crystals. Peeled Taro can also be cut into thin slices and fried to make Taro chips.
Cooking Taro Leaves
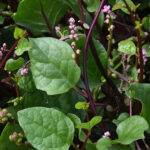
Taro leaves are also a rich and nutritious ingredient for stews, soups, and countless other dishes. It can be used similarly to spinach, although like the root, it requires thorough cooking. To prepare the leaf just remove the fibrous stem and the tough central vein of the leaf. Cook thoroughly at a high temperature for 20-30 minutes. Alternatively, Taro leaves are also great for wrapping fish, meat, and other veggies.
Conclusion
Taro is an amazing plant with many favorable characteristics. Its sheer presence is aesthetically stunning plus it’s a delicious ingredient for countless dishes. The fact that it is so easy to care for and propagate makes it an excellent source of food that can easily become a staple source of calories. If you live in a tropical region then there is a good reason to include Taro into your design!